Rust-Oleum Projects
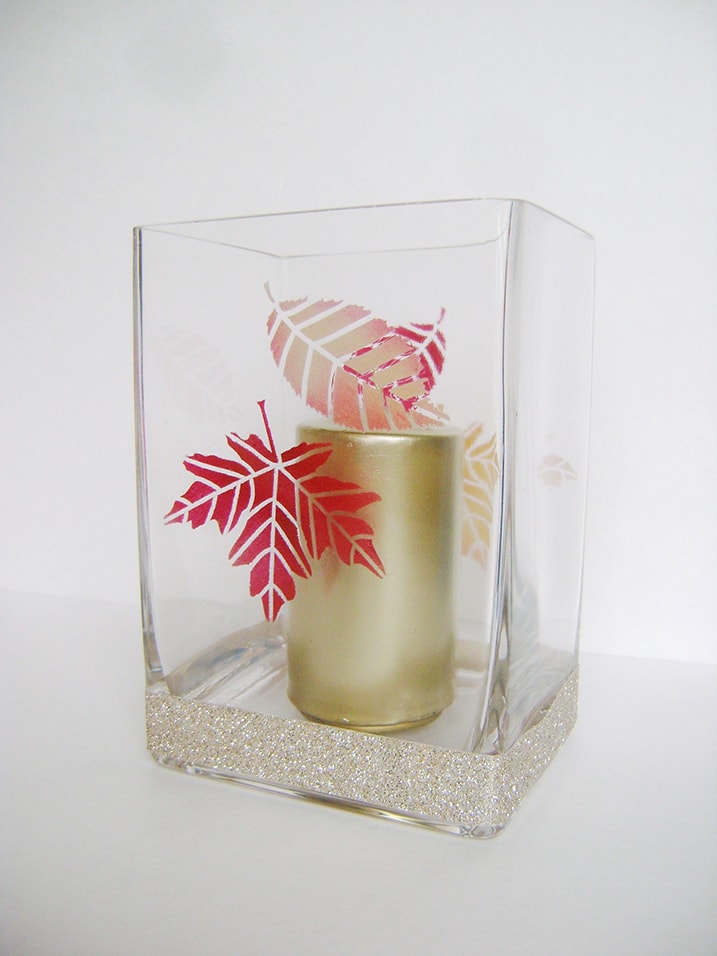
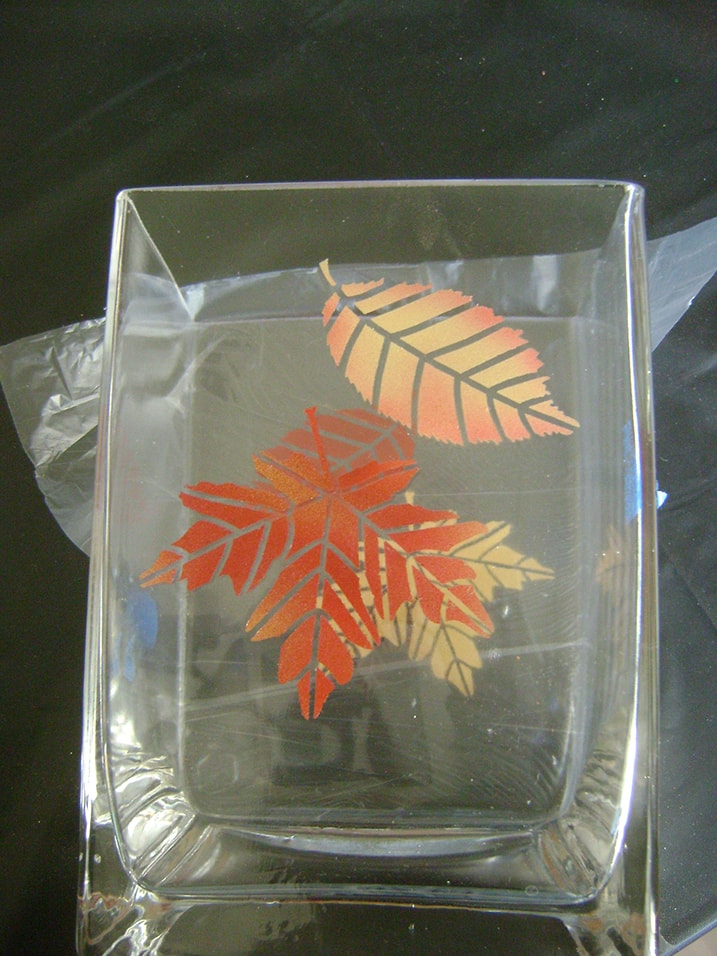
Aztek Airbrushed Autumn Leaves Centerpiece
Browse Projects
-
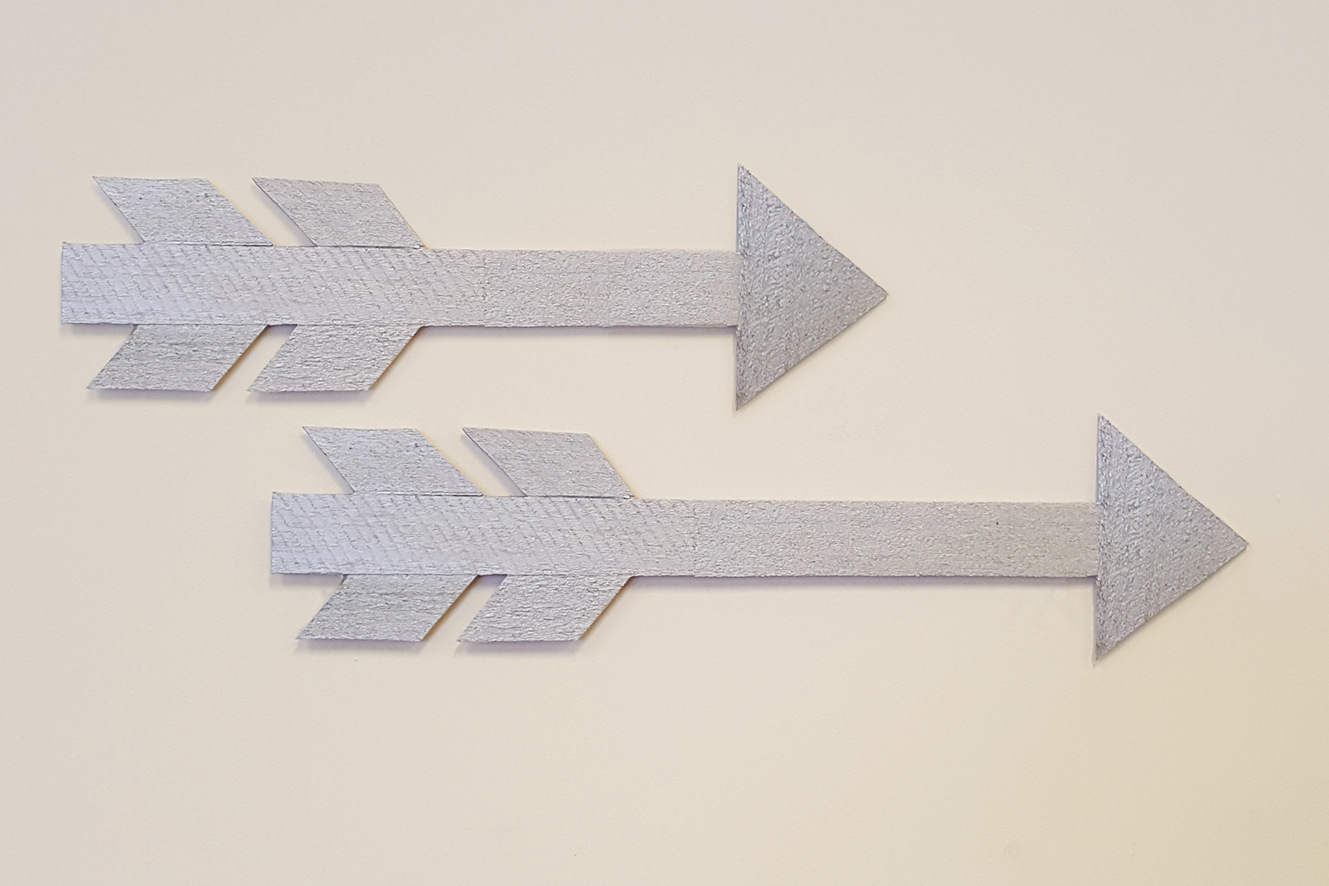
Arrows
-
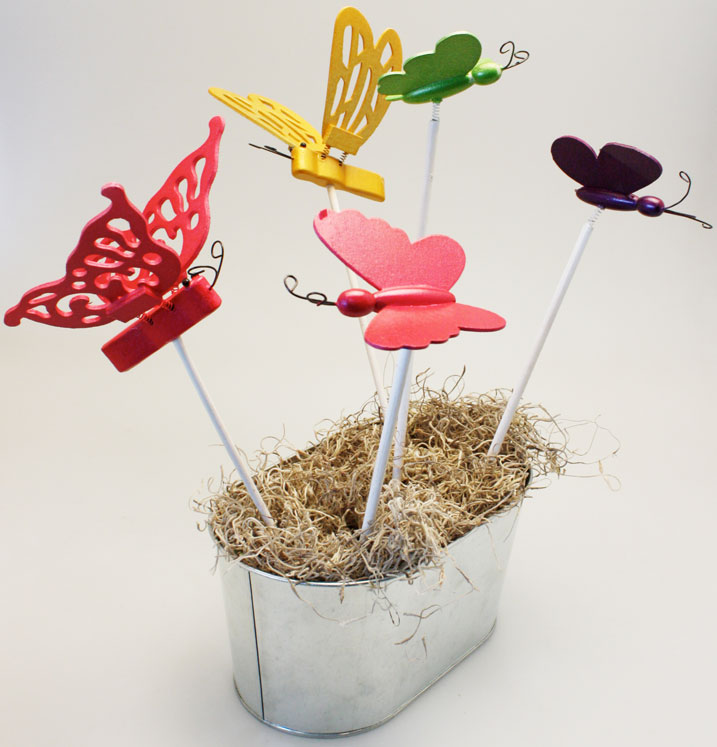
Tabletop Butterfly Garden
-
Tools & Supplies:
-
Leaf Stencils
-
Scotch Spray Mount Repositionable Adhesive
-
Paper Towels
-
Scissors
-
Painter's tape
-
Plastic Wrap
-
Vase
-
Candle
-
Gold Metallic Ribbon
-
Gold Polymer Clay
-

Allow all paint to dry between steps.
Protect areas not being painted from accidental overspray.
Clean the stencils with hot soapy water between applications to avoid thick paint buildup.
Step 1
Clean the glass inside and out with soap and water. Do not leave fingerprints or soap residue on the glass.

Step 2
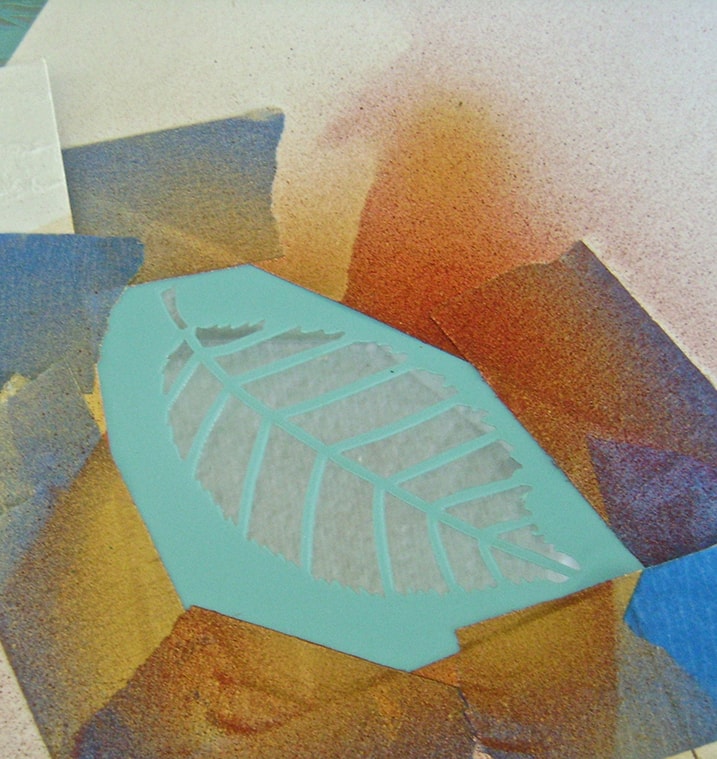
Spray adhesive on the backside of the leaf stencils.
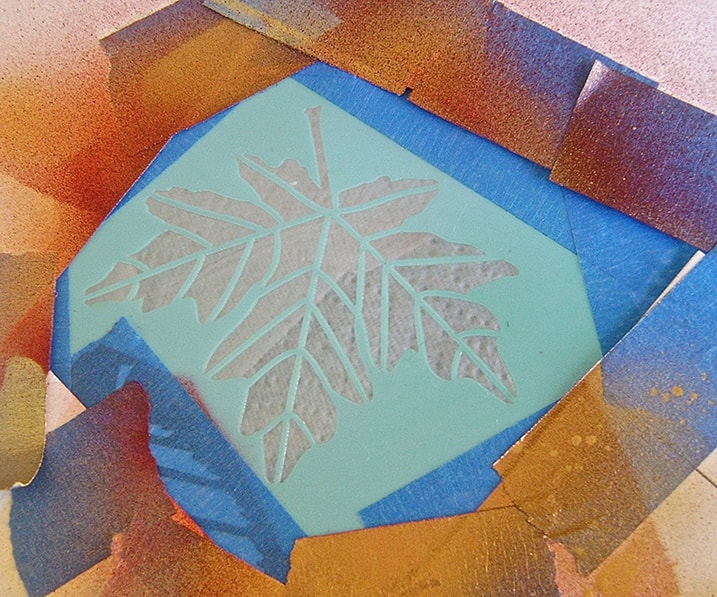
Step 3
Position the long oval leaf angled near the top of the vase. Mask the rest of the glass to avoid overspray.
Step 4
Create a deeper red color by mixing a little green paint with the red. Fill a paint cup.
Step 5
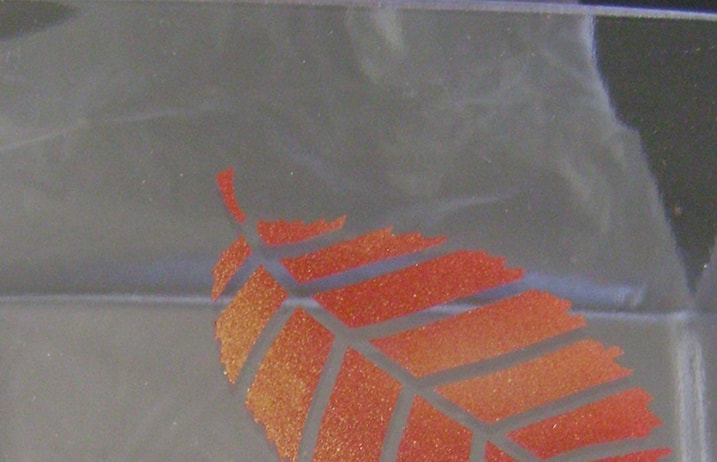
Airbrush the leaf with the red paint.
Step 6
Fill a paint cup with the gold paint and add highlights to the red leaf.
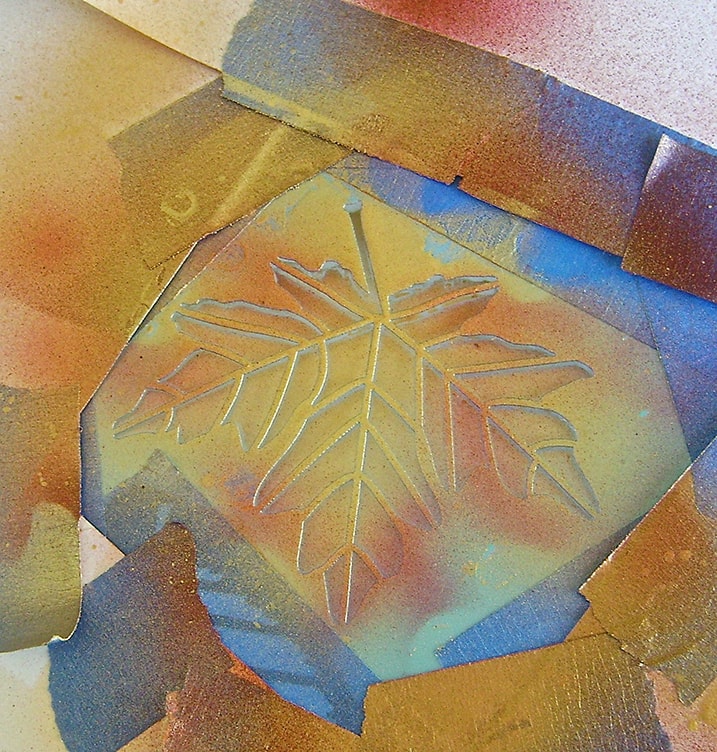
Step 7
Adhere the maple leaf to the glass below the oval leaf. Cover areas not receiving paint. Airbrush the leaf with the gold paint.
Step 8
Switch to the red paint and add highlights to the gold leaf.
Step 9
Protect the paint from scratches by covering it with plastic wrap and taping it to the vase.
Step 10
Turn the vase over and airbrush the leaves on the other side. Reverse the colors by painting the oval leaf gold with red accents and the maple leaf red with gold accents.
Step 11
Remove the stencils and clean around the images to remove any stray paint.
Step 12
To protect the images, apply a coat of clear nail polish topcoat. Be sure to cover the paint edges.
Step 13
Apply topcoat to the wrong side of the metallic ribbon and stick it to the vase on a short side of the glass.
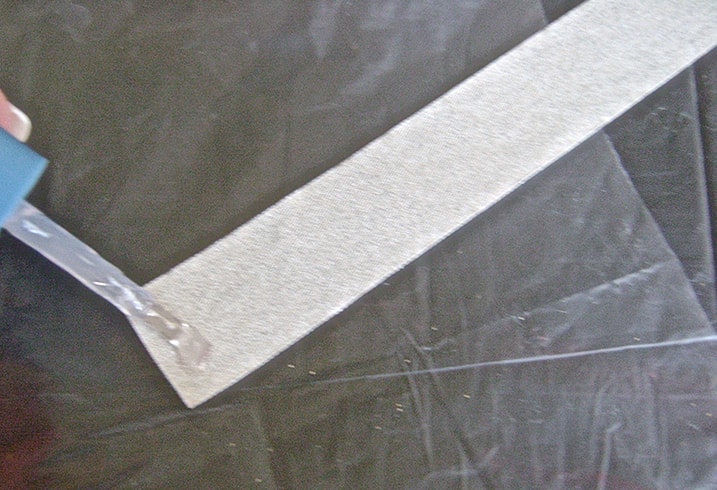
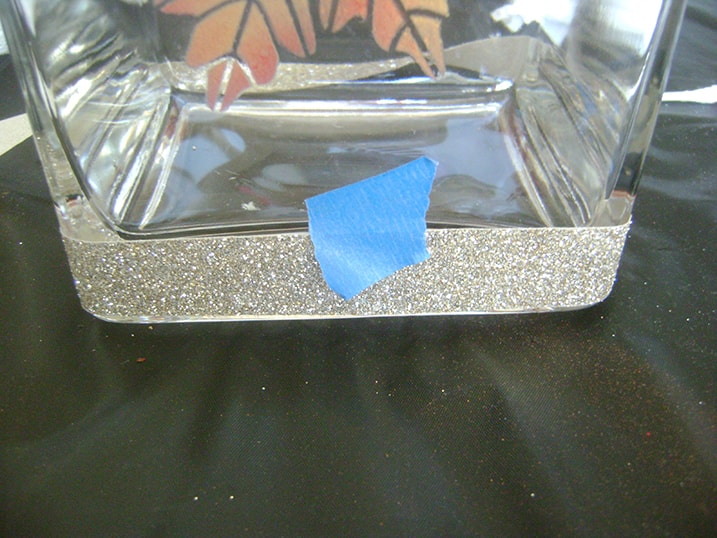
Step 14
Use painters tape to temporarily hold the ribbon to the bottom of the vase as you glue the ribbon around the vase with one or two dabs of topcoat between the glass and ribbon on each of the four sides.
Step 15
Cut the ribbon so it overlaps the other end and use the topcoat to invisibly glue them together.
Step 16
A candle may not stand up straight in the center of the vase because the bottom isn’t completely level. Fix this by rolling a thin piece of polymer clay into a tube in your hands. Use it to form a ring on the bottom of the candle. Press the candle into the vase.

Project designed and created by Gloria Uhler at Domestic-Divaonline.com for Testor’s Corp.