Customer Project
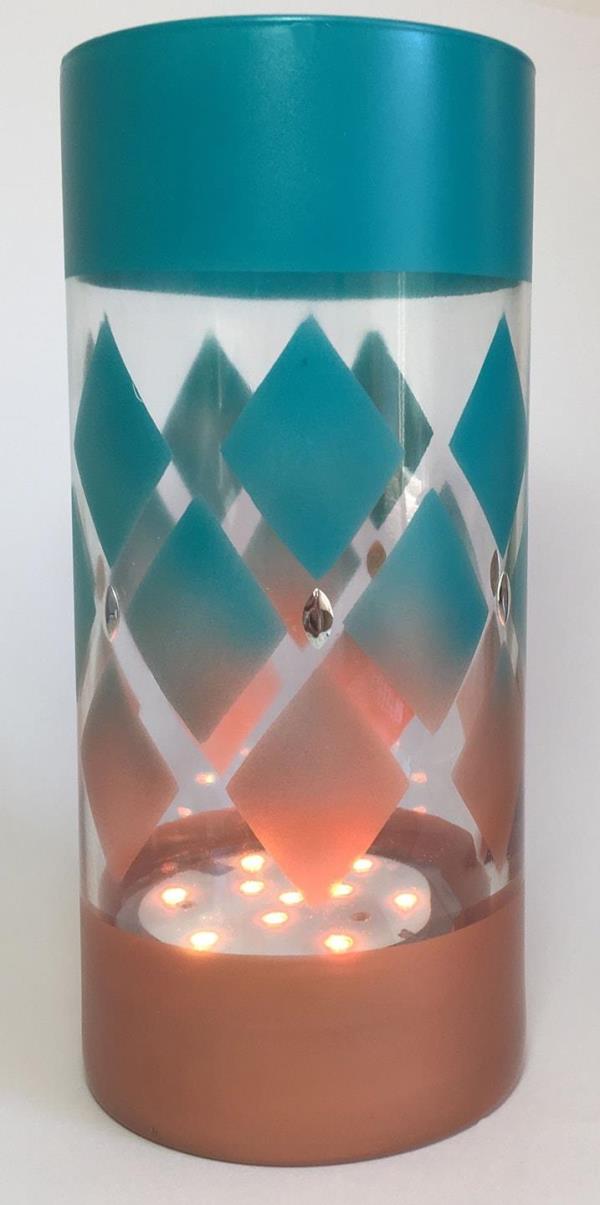
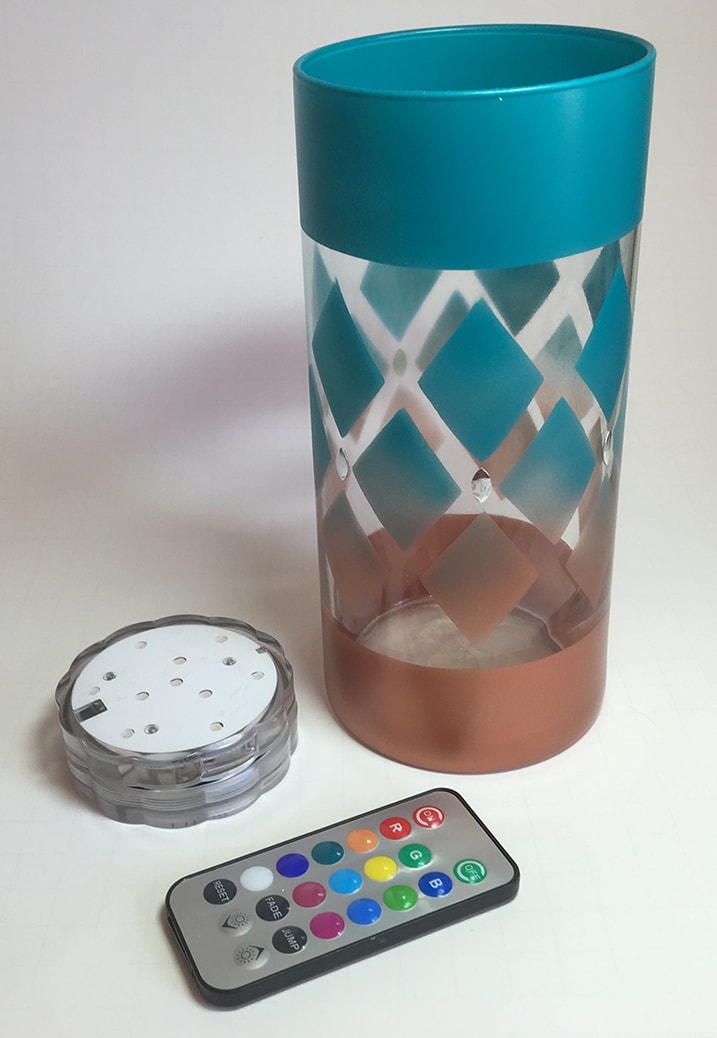
Diamond Patio Lantern
Browse Projects
-
Inspired by Nature
-
Peace, Love, Garden
-
Tools & Supplies:
-
E6000 Adhesive
-
Upspirit 10 LED submersible light unit
-
3 3/8" x 7" Glass Cylinder
-
2 oz Clay
-
Acrylic Roller
-
Thick Rubber Bands
-
Deli Paper
-
3/8" Long Metal Ovals
-
1.25" x 1.75" Diamond Clay Cutter
-
Ruler
-
Toothpicks
-
Paper Towels

Tips: Protect your work surface. Always allow paint to dry completely before moving to the next step.
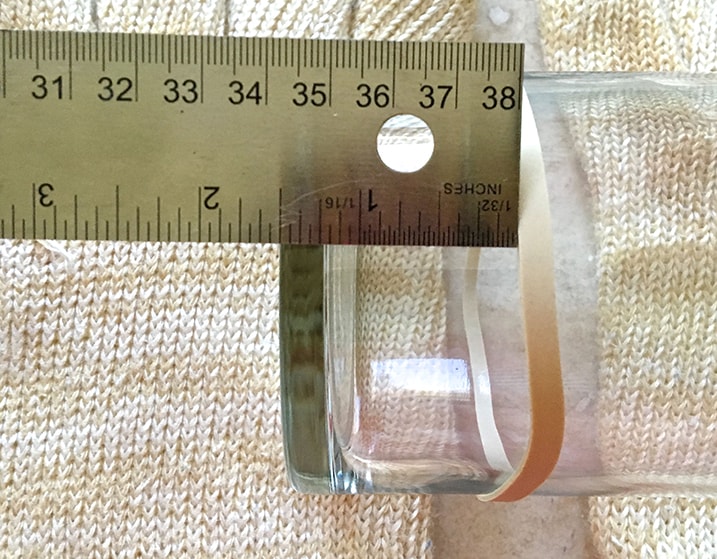
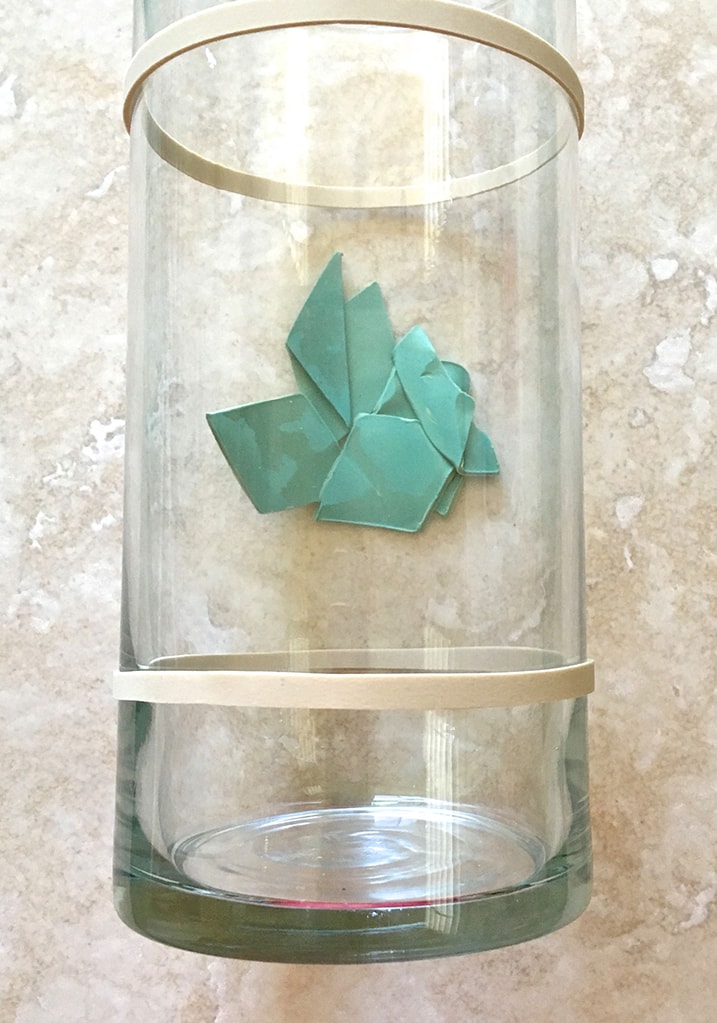
Step 1
Place a wide rubber band at the bottom and the top of the glass cylinder 1.50” from the edges.
Step 2
Roll out a piece of clay no less than 1/16” thick with an acrylic roller. Create a sheet measuring 11” x 4.5”
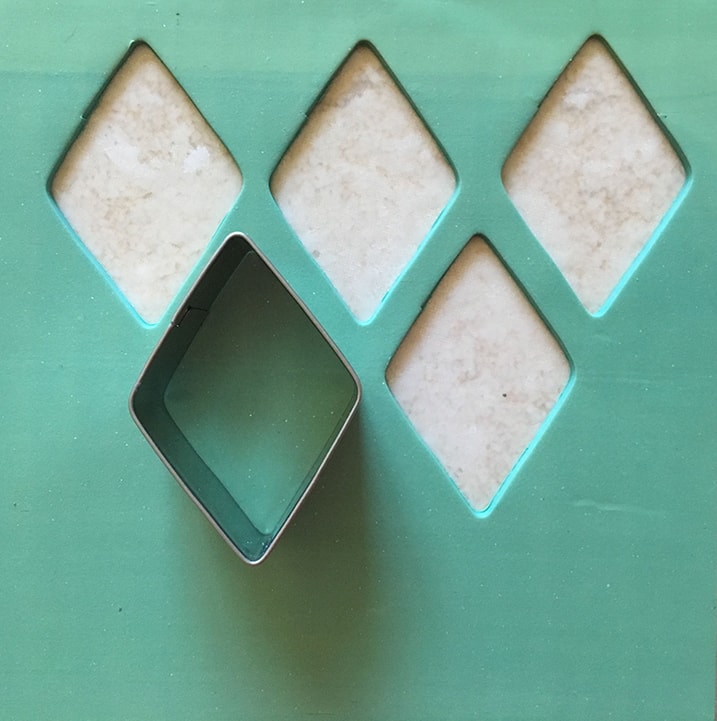
Step 3
Using the diamond cutter, cut out seven diamond shapes along the 11” length. Place them .25” from the top and left side edge of the clay and space them .25” apart.
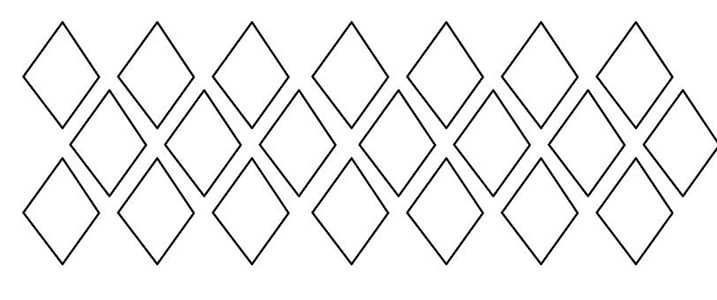
Step 4
Create a second row. Center the first diamond to the right of the diamond in the top row and spaced .25” away. The last diamond in this row should be almost flush with the right edge of the clay. Cut a third row to match the first row.
Step 5
Place a sheet of deli paper over the clay.

Step 6
Arrange the glass cylinder on your work area. Clump together some of the discarded diamond cut pieces and place them under the glass to keep it from rolling around while you work.
Step 7
Using the deli paper makes it easy to handle the clay and to maintain its shape. Place the clay on the glass with the top and bottom edge resting on the rubber bands.
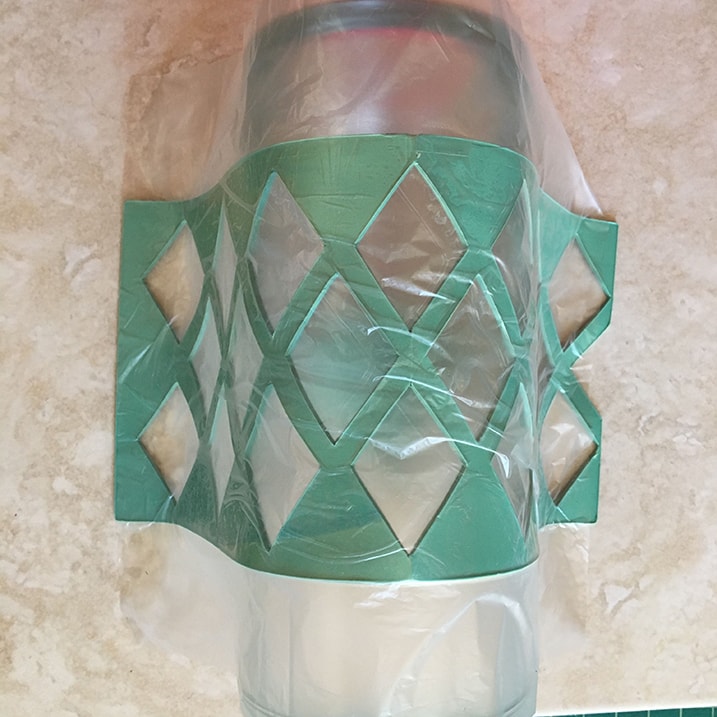
Step 8
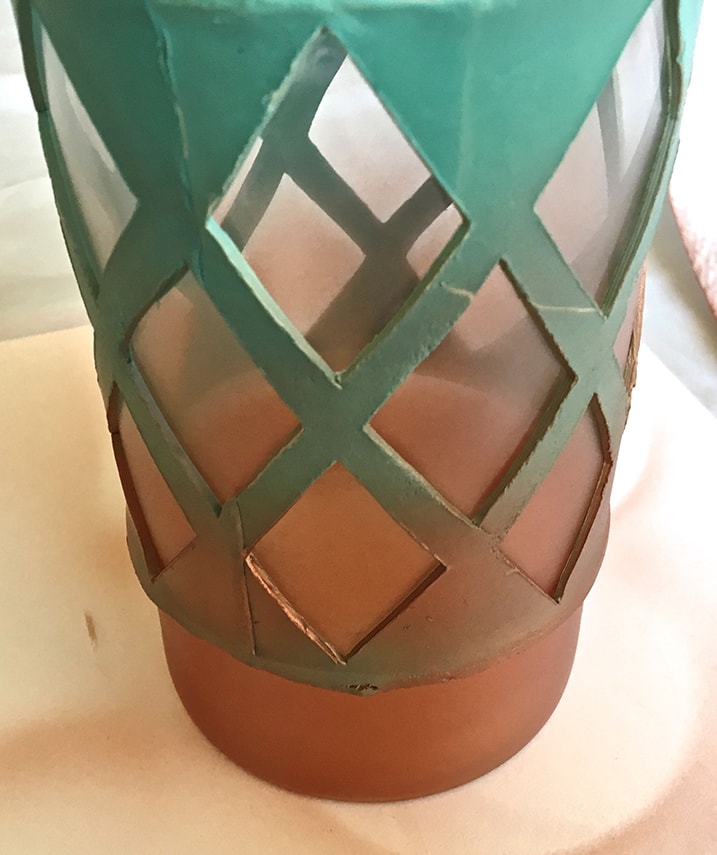
When you have the clay positioned, remove the clump. Roll the glass to wrap the clay around the cylinder. Blend the edges with your finger to join the edges. If some clay edges extend past the rubber bands, trim them with a craft knife so they don’t interfere with the paint line in the next step. Press all clay to the glass eliminating any gaps paint might seep under.
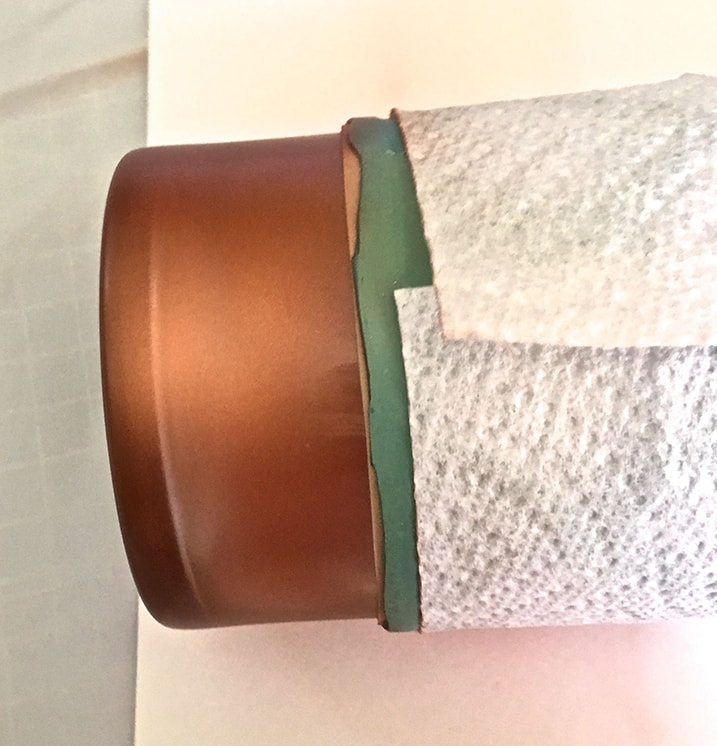
Step 9
Wrap a paper towel around the cylinder covering the diamond shapes. Airbrush the 1.50” bottom edge of the glass with copper paint.
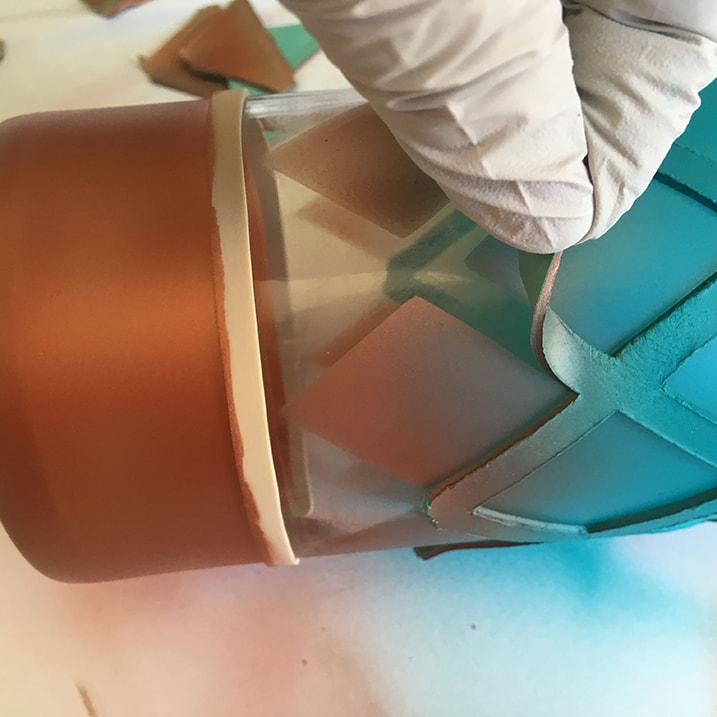
Step 10
Remove the paper towel. Airbrush copper paint all the way to the middle of the diamonds in the center row. Switch to the turquoise paint. Airbrush the remainder of the diamonds and the top 1.50” glass edge.
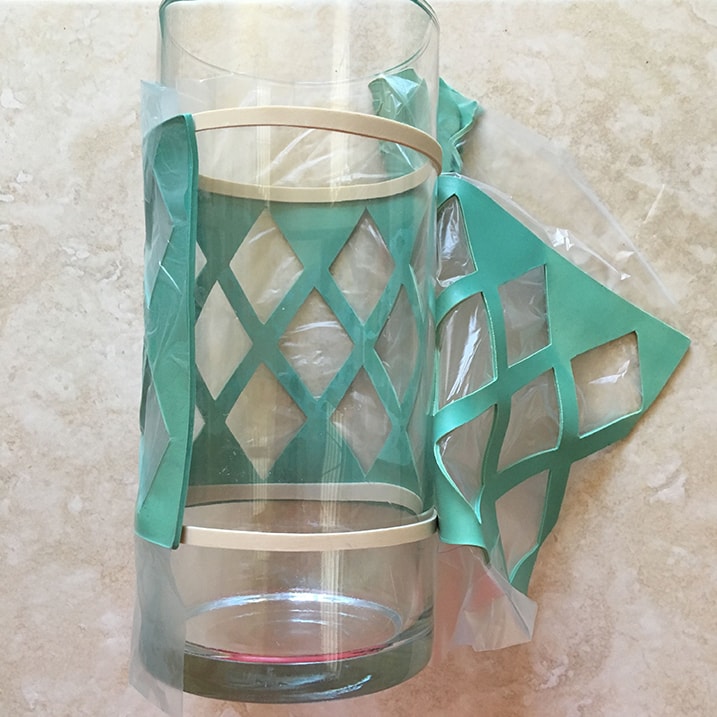
Step 11
Carefully remove the clay from the glass.
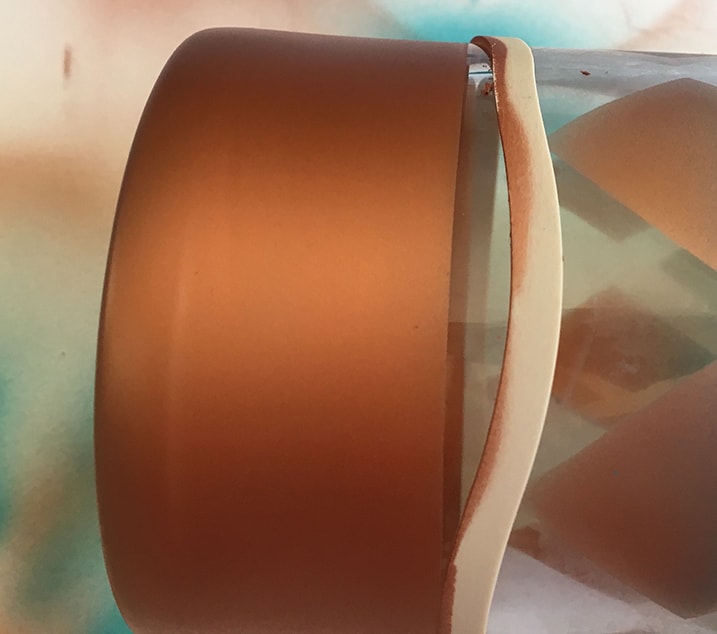
Step 12
Slide the rubber bands away from the top and bottom color bands into the blank space under the painted diamonds. With two fingers, hold both sides of each band firmly against the glass. To remove the band, press a craft knife into it to slice it. Control the band with our fingers. Do not allow it to snap or stretch across any of the paint.
Step 13
Allow the paint to set for 24 hours. Use a Q-tip to remove clay smudges from the glass. Do not allow glass cleaners or other products to come in contact with the paint. Protect the paint by spraying the project with Glosscote. Follow the directions on the can.
Step 14
Use a toothpick to apply E6000 to the backside of the metal oval shapes. Press them to the glass in between the diamonds in the second row. Allow about 5 hours for the glue to set.
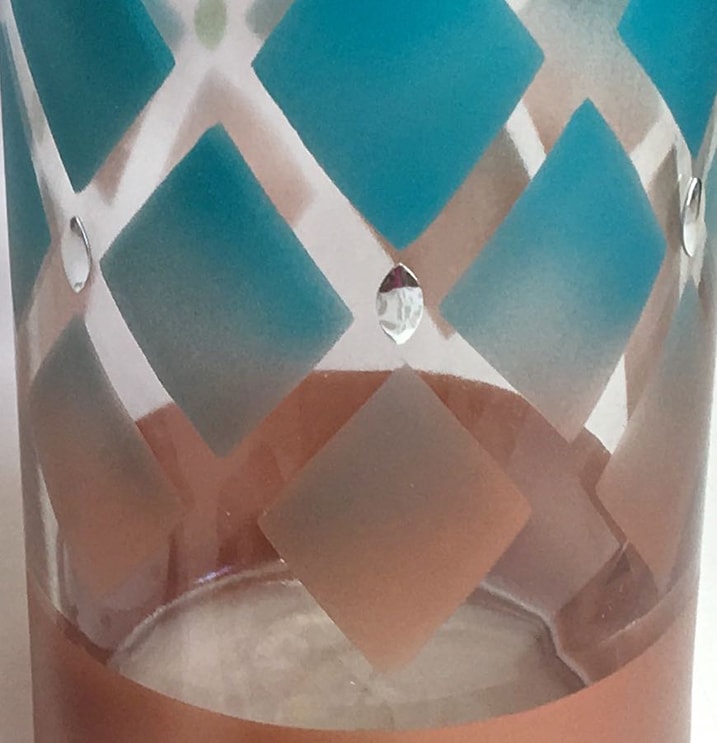
Step 15
Place the light unit in the bottom of the cylinder. Use the remote to turn lights on, off, or change colors.
Project designed and created by Gloria Uhler at Domestic-Divaonline.com for Testor’s Corp.