Rust-Oleum Projects
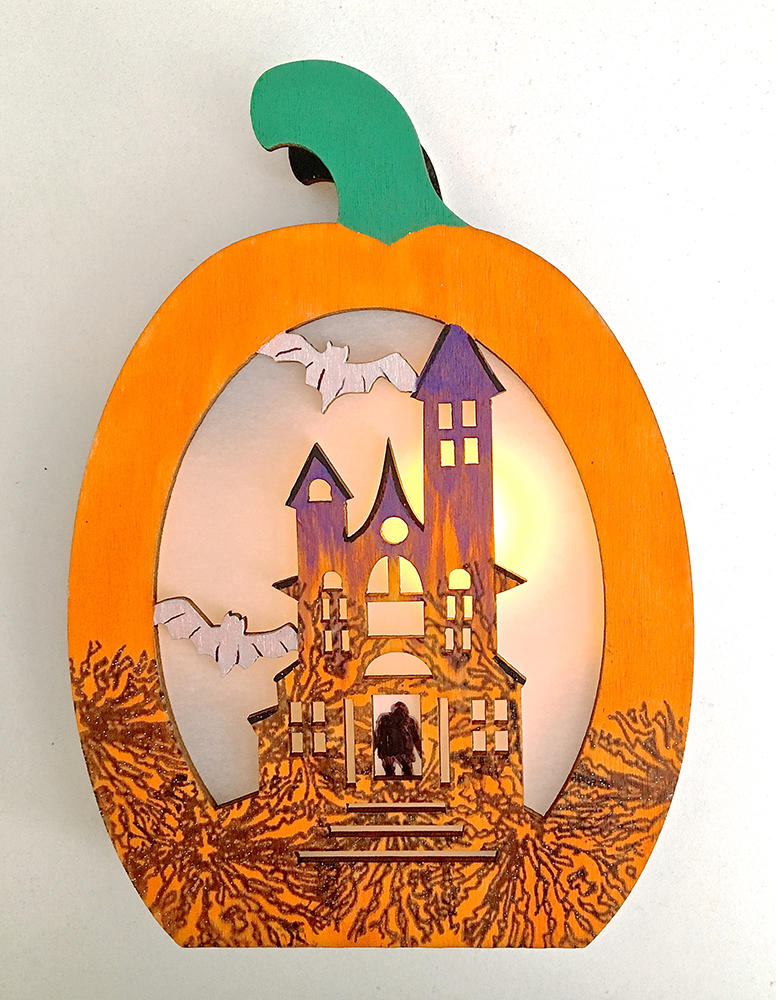
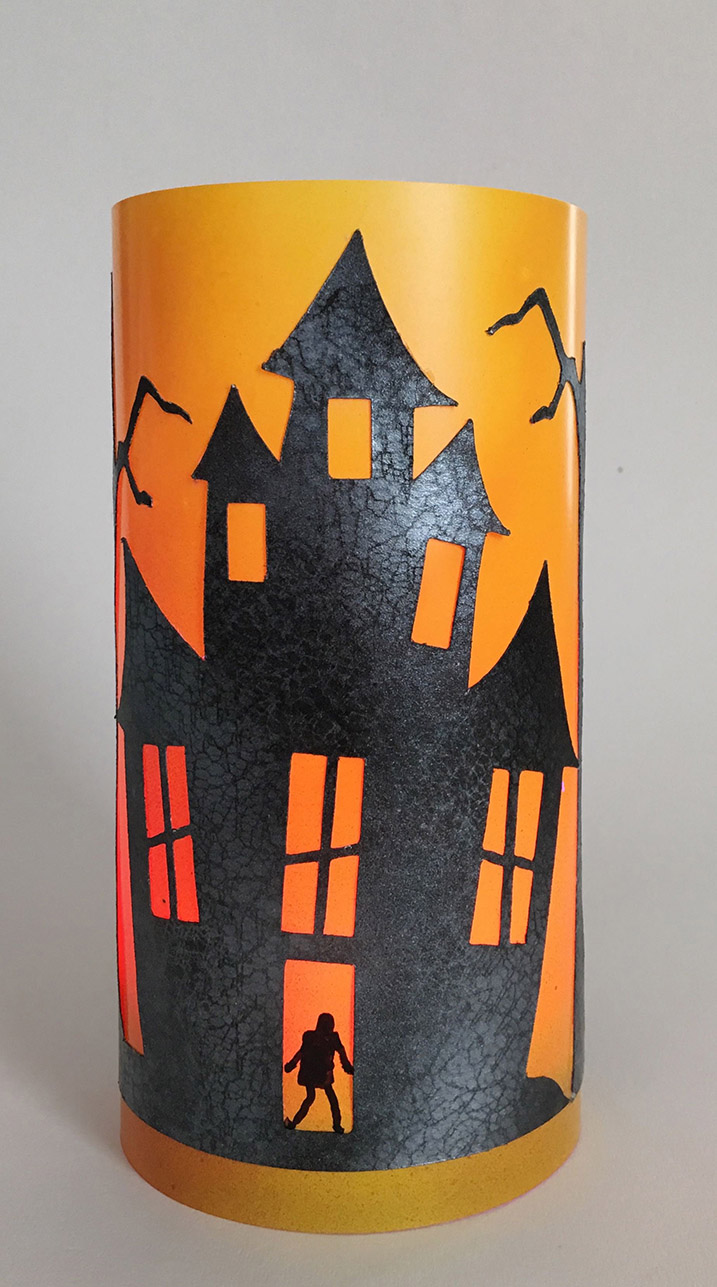
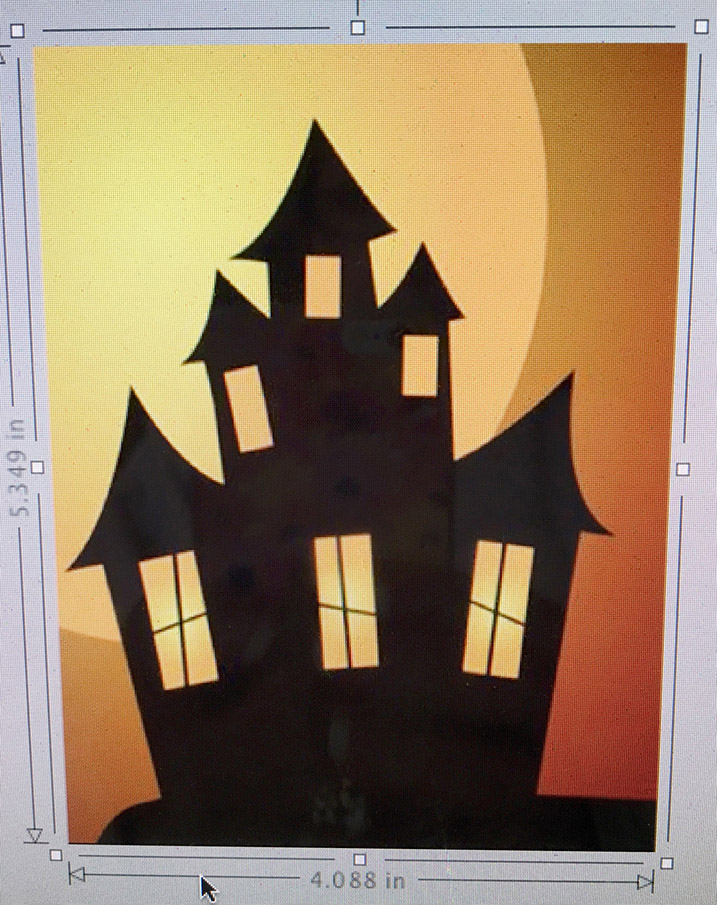
Aztek Airbrushed Lighted Haunted House
Browse Projects
-
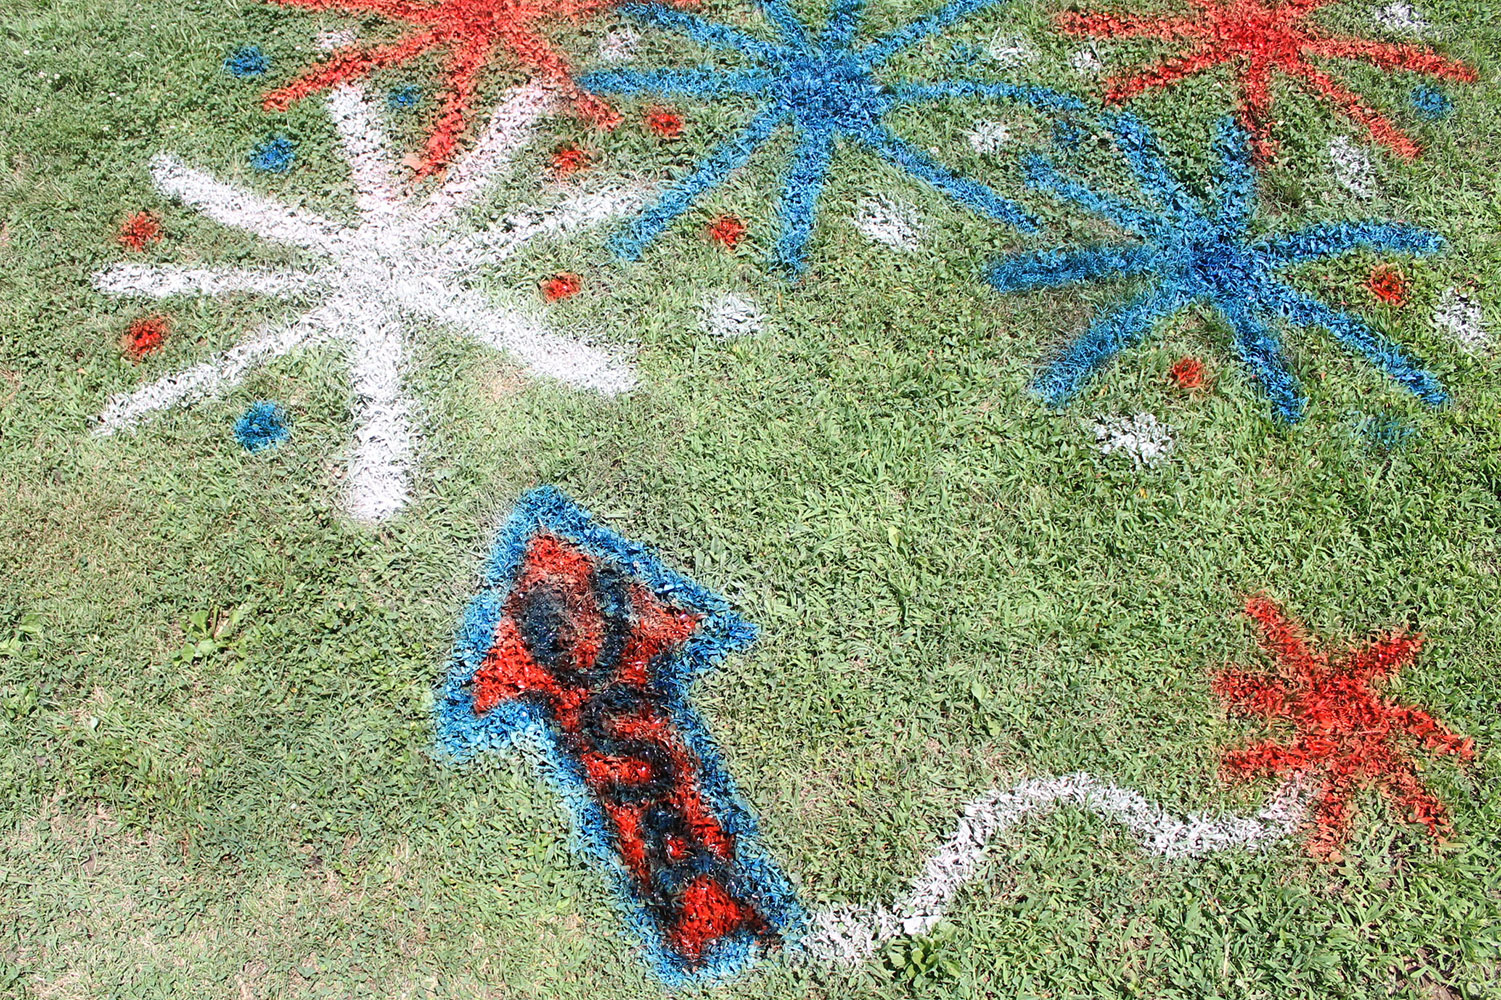
4th of July Spray Chalk Lawn Fireworks
-
Halloween Lighted Haunted House
-
Tools & Supplies:
-
Stencil
-
Card Stock
-
Hot Glue Gun
-
Scissors
-
Upspirit 10 LED submersible light unit

Project designed and created by Gloria Uhler at Domestic-Divaonline.com for Testors Corp.
Testors' Materials Required
Testors’ Aztek Airbrush
Testors’ Aztek Paint cups
Testors’ Aztek Paint – 9471 Silver Pearl, 9441 Black, 9442 Yellow, 9480 Daisy, 9482 Mocha
Craft knife – 8830A
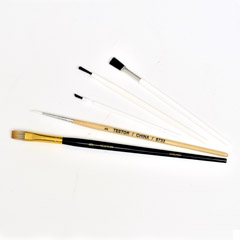
Small brush - 8705
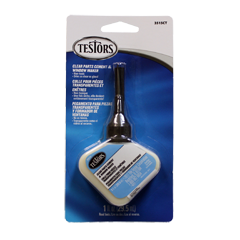
All purpose glue – 3522A
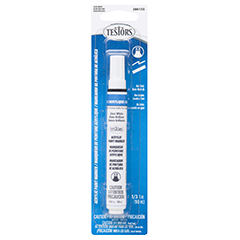
Acrylic Gloss Black Marker - 286132
Hint
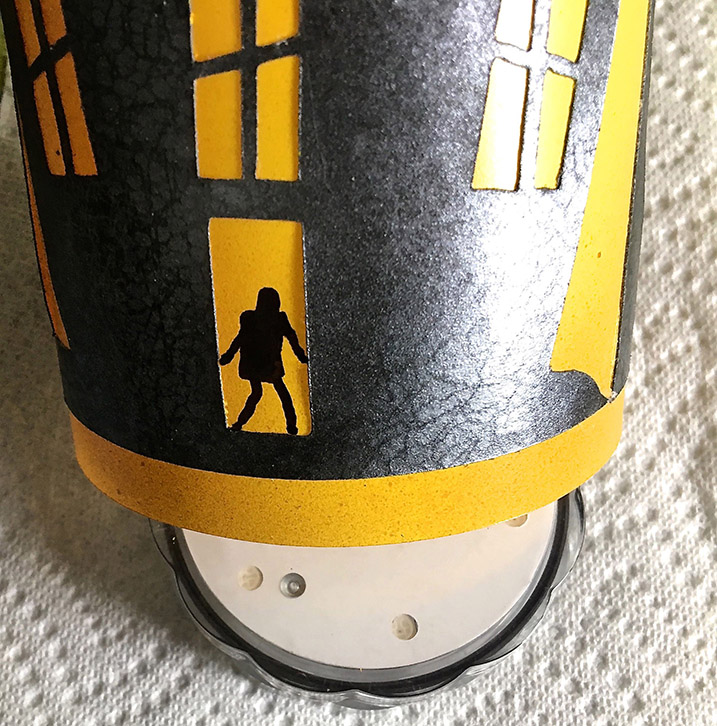
Lamp measures 3.25 round x 6.50”
Protect areas not being painted from accidental overspray.
Project Steps
Step 1
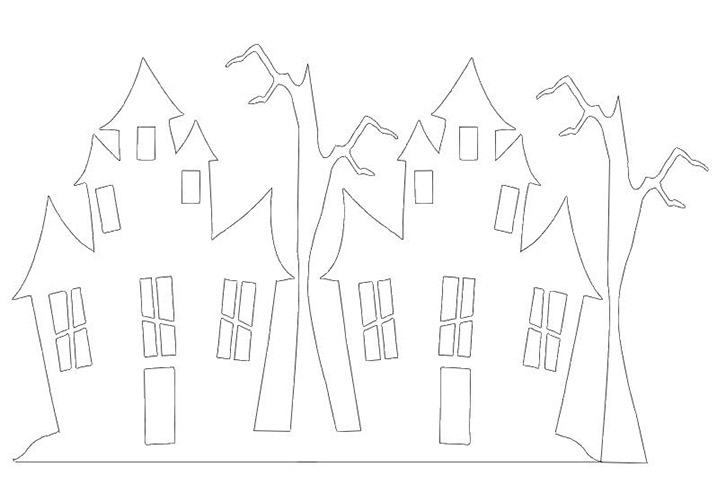
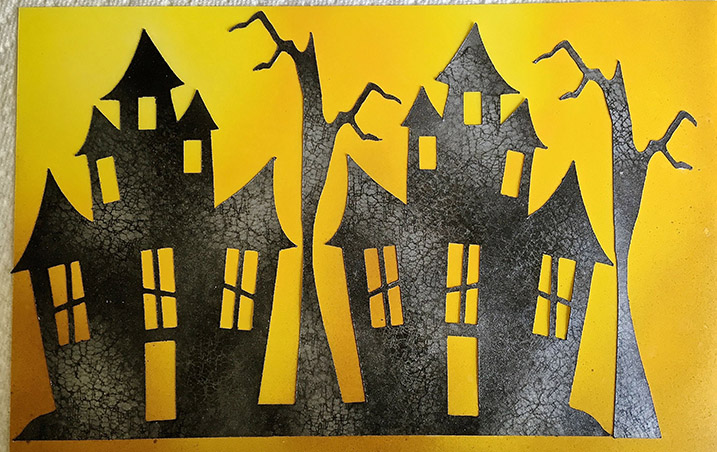
Search Google with the keywords “haunted house images or stencils”. Download a house you like. Size the image so that the house measures a minimum of 4” wide. Trace the image twice on cardstock to create side-by-side houses. Add a craggily tree between the houses if desired. The finished width of your image should measure about 10” wide. The lamp can be any size you wish as long as it is no less then 9.5” wide. If it is less than 9.5” it will not fit around the light unit.
Step 2
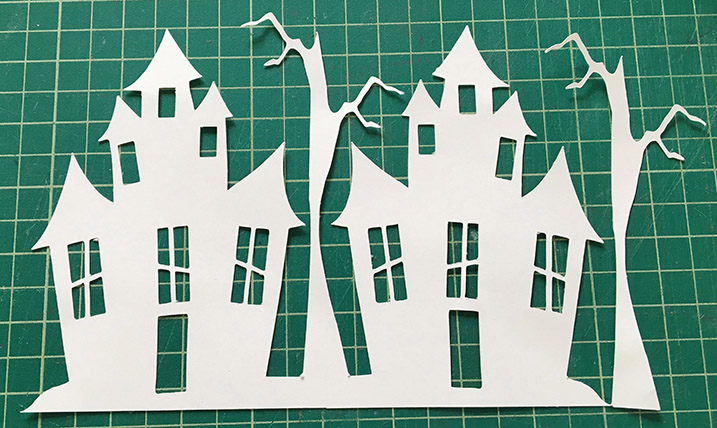
Cut the completed image with a craft knife or a stencil-cutting machine.
Step 3
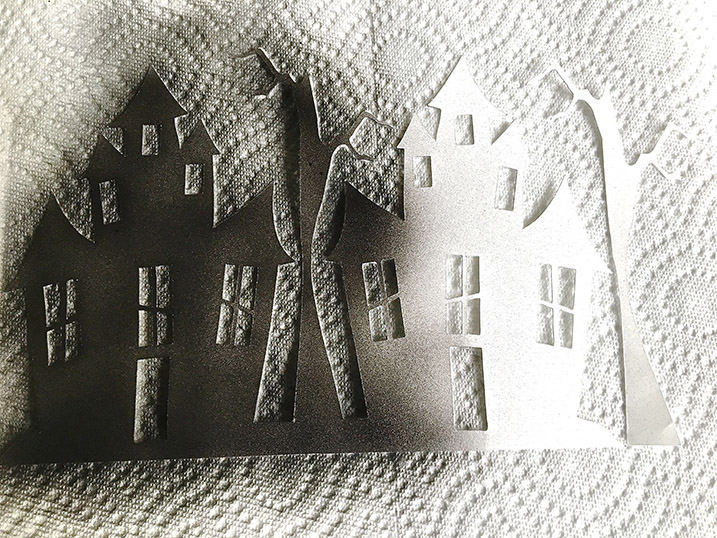
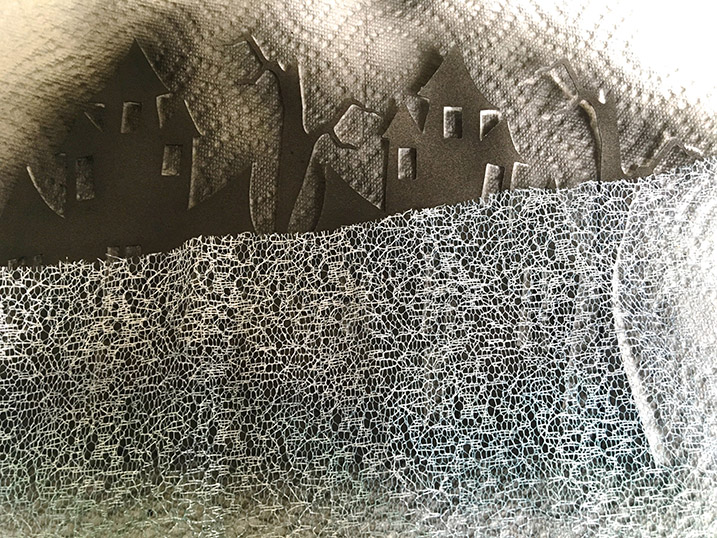
Airbrush the card stock with Black paint.
Step 4
Lay a scrap of loosely woven material like lace on the painted image and airbrush it in a few areas with Silver paint to create a cob-webby look.
Step 5
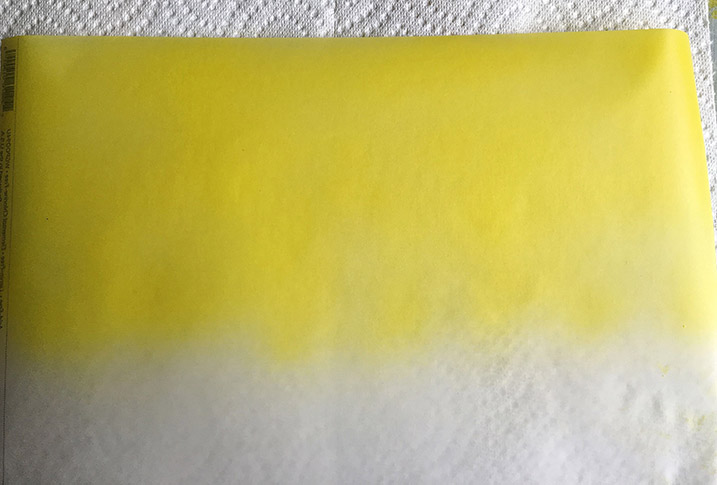
Create the lamp background. Cut a stencil blank to measure 10.25” by 6.50”. Again, the lamp can be any size you want. Keep in mind you don’t need extra for overlap. Also, know that a very tall lamp will have little light coming through in the upper section. Airbrush the upper half of the dull side of the blank with yellow paint.
Step 6
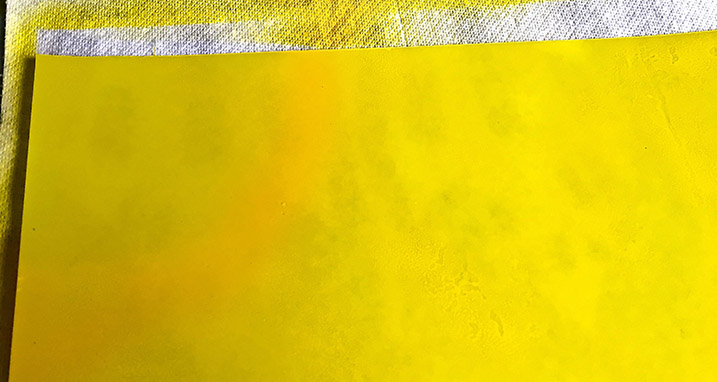
Add the Daisy color to the paint cup with one part yellow and three parts Daisy. Airbrush a half circle in the upper left portion of the blank. Do the same above the space where the second house will be positioned. Fill in to the right of the half circles.
Step 7
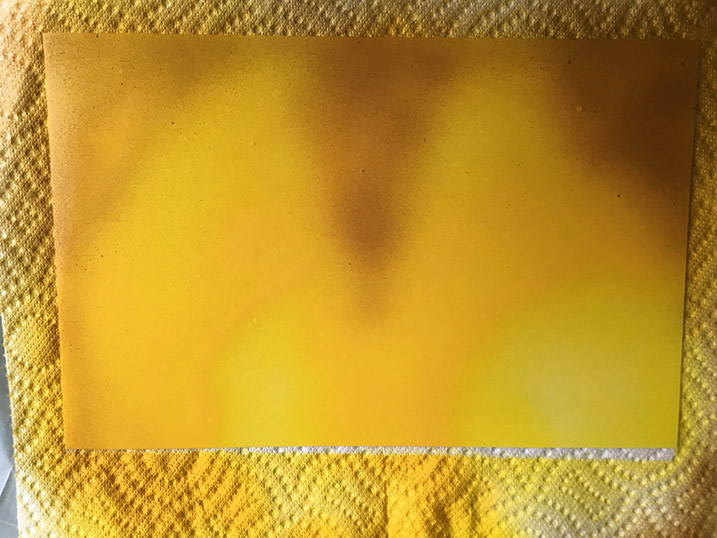
Mocha to the paint cup with a ratio of about ½ Mocha and ½ Daisy. Airbrush the center of the sheet tapering to a point ¼ from the top edge. Airbrush the bottom and outer edges.
Step 8
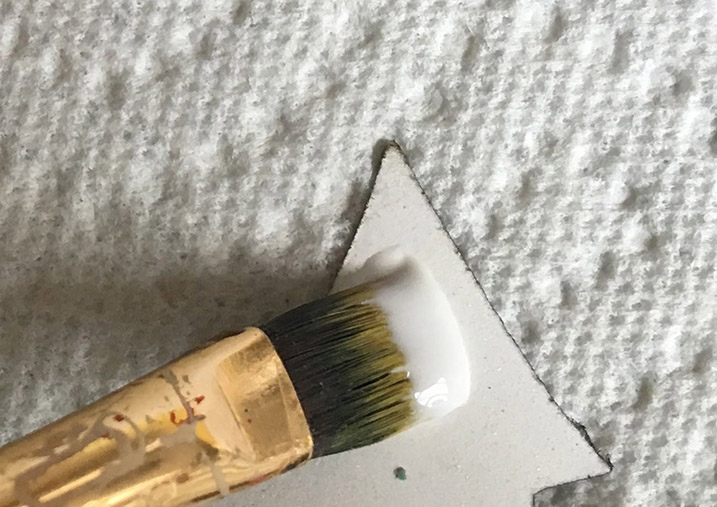
Use a brush to apply Testors’ all purpose glue to the wrong side of the haunted house.
Step 9
Press the image to the airbrushed background. Let the glue dry. Do not set anything on top of the image to hold it in place as glue may spread out from under the image.
Step 10
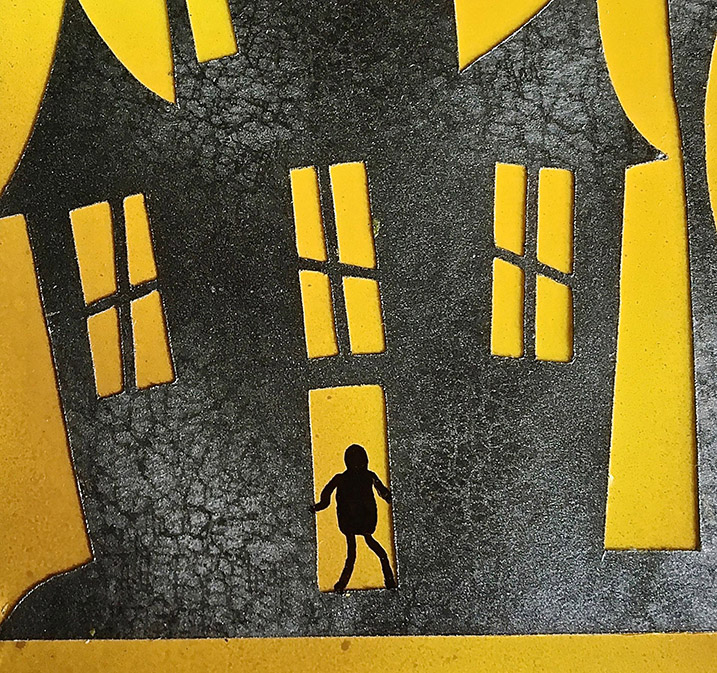
Use Testors’ acrylic gloss black marker to draw a spooky character in the doorway if desired.
Step 11
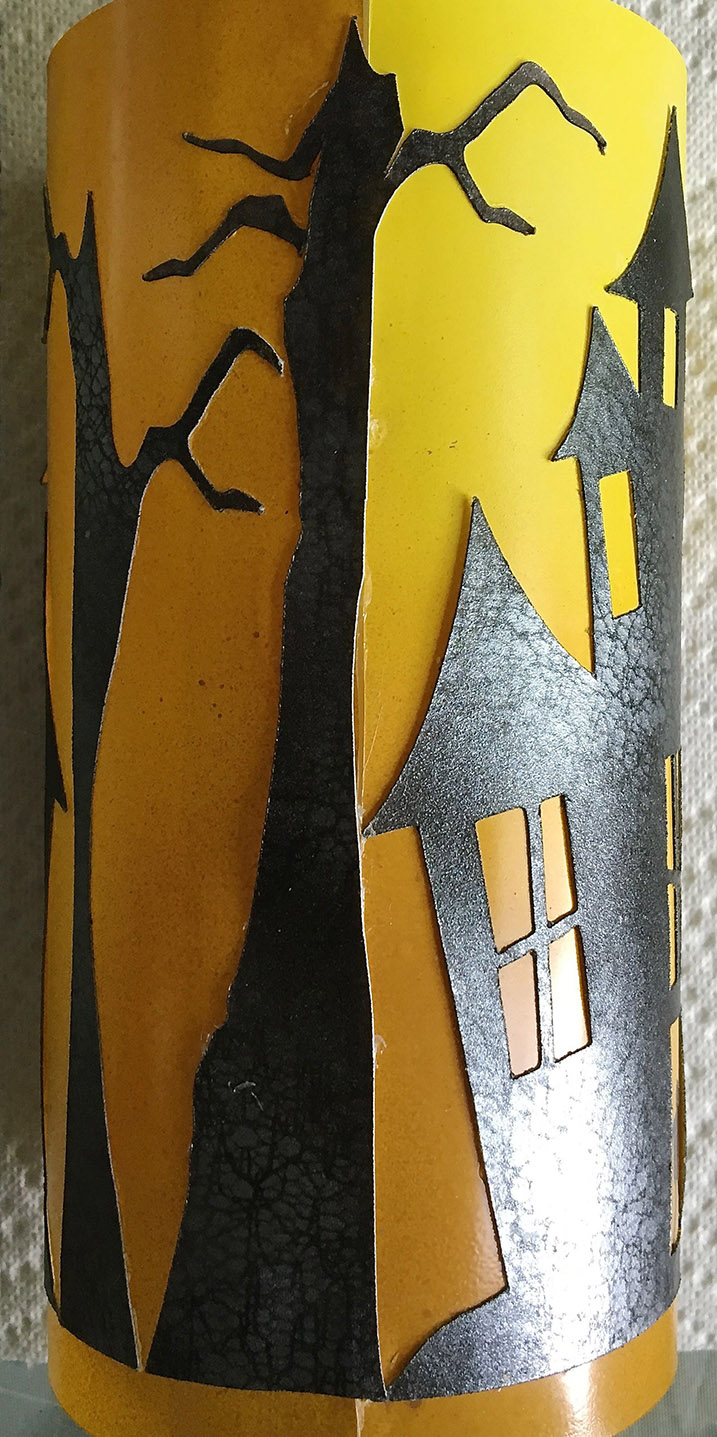
Cut a strip of stencil blank 1” wide by the height of your background blank. This will act as a connector inside the cylinder, holding the two edges together. Apply hot glue to one long edge and press it of the unpainted side of the blank. Apply hot glue to the other long edge and attach it to the opposite side of the blank creating the cylinder. Use hot glue to secure any tree or house edges that may have popped up when shaping the cylinder.
Step 12
Optional: Create one more tree. Paint it as the others then hot glue it over the seam of the cylinder.
Step 13
Set the cylinder over the light unit. Use the remote to turn on the lights and change colors.