Rust-Oleum Projects
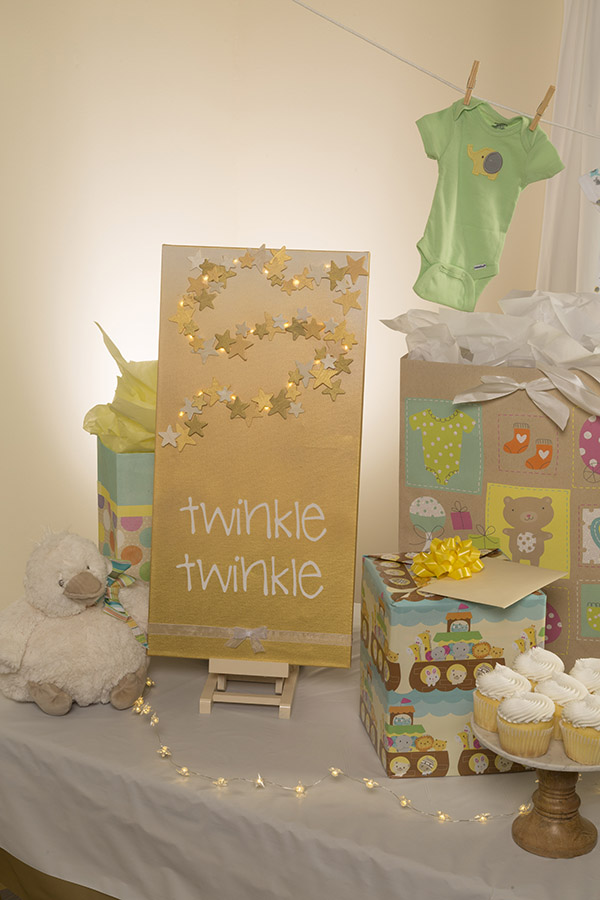
Twinkle Twinkle Baby Shower Canvas
Browse Projects
-
DIY Tub Tree Collar
-
Key To My Heart Valentine's Day Project
-
Tools & Supplies:
-
12” x 24” canvas
-
Wooden star variety pack
-
5/8” sheer white ribbon
-
Ashland 18 LED light string - 36”
-
Repositionable stencil adhesive
-
Hot glue gun
-
Card stock
-
Craft knife or Stencil cutting machine
-
Printer
-
Optional stencil transfer paper - Silhouette America
-
Pointy tool
-
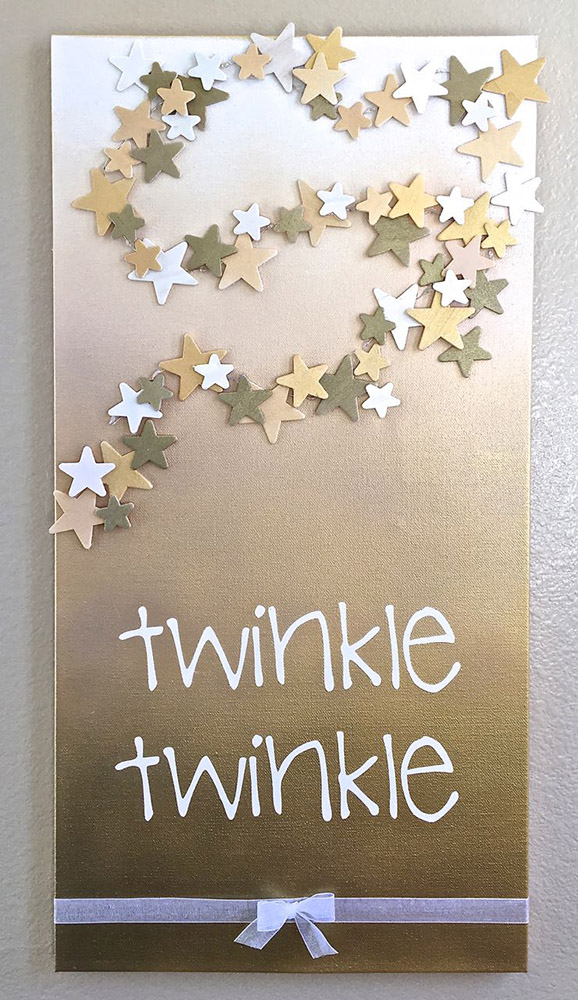
Up above the world so high! Bring a little twinkle to a baby’s room with this DIY lighted canvas project.
Supplies
At Testors
Aztek Airbrush
Aztek Paints - 9472 Gold, 9440 White, 9441 Black
Aztek paint cups
At Michaels
12” x 24” canvas
Wooden star variety pack
5/8” sheer white ribbon
Ashland 18 LED light string - 36”
Repositionable Stencil Adhesive
Hot glue gun
Miscellaneous
Card stock
Craft knife or Stencil cutting machine
Printer
Optional stencil transfer paper – Silhouette America
Pointy tool
Project Steps
Protect your work surface and all areas not being painted. Always allow paint to dry completely before moving to the next step.
Step 1
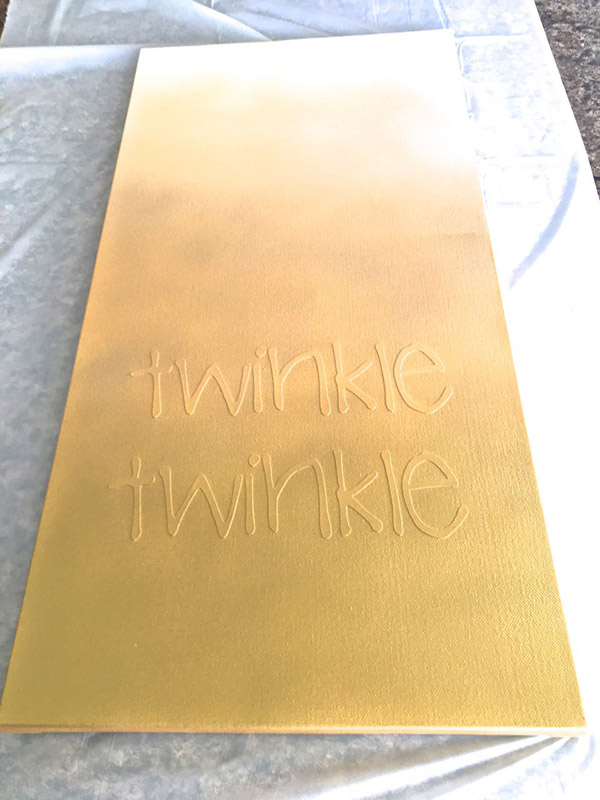
Print the word “Twinkle” twice on card stock, one above the other. Enlarge the type to measure nine inches wide.
Craft Knife Users - With a craft knife, cut out the letters. Place them right side down on a protected surface and apply spray adhesive. Center the letters horizontally, sticky side down on the canvas 3.75” from the bottom. Stencil Machine Users – Cut the word twice with your machine on the same piece of card stock. Press sticky transfer paper onto the right side of the letters. Peel the cutting mat off the back. Spray the wrong side with adhesive. Center the transfer paper horizontally and 3.75” from the bottom of the canvas. Press down with the letters facing up then peel off the transfer paper and cardstock.

Step 2
Mix a tiny bit of black with the gold paint. Airbrush the bottom 5” of the canvas.
Step 3
Change to the pure gold paint and airbrush, overlapping the darker shade of gold. Work upward on the canvas. Now add a little white to the gold in the paint cup to lighten the color and once again work upward. One quarter of the way from the top, fill the cup with only white paint. Airbrush across the top and downward to blend the colors.
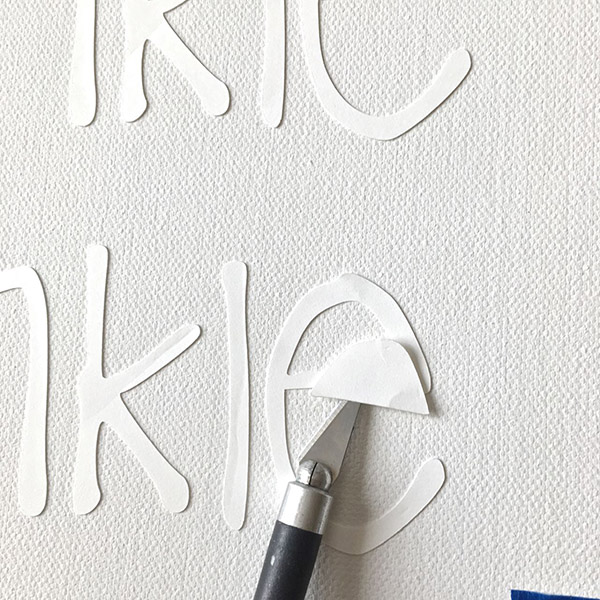
Step 4
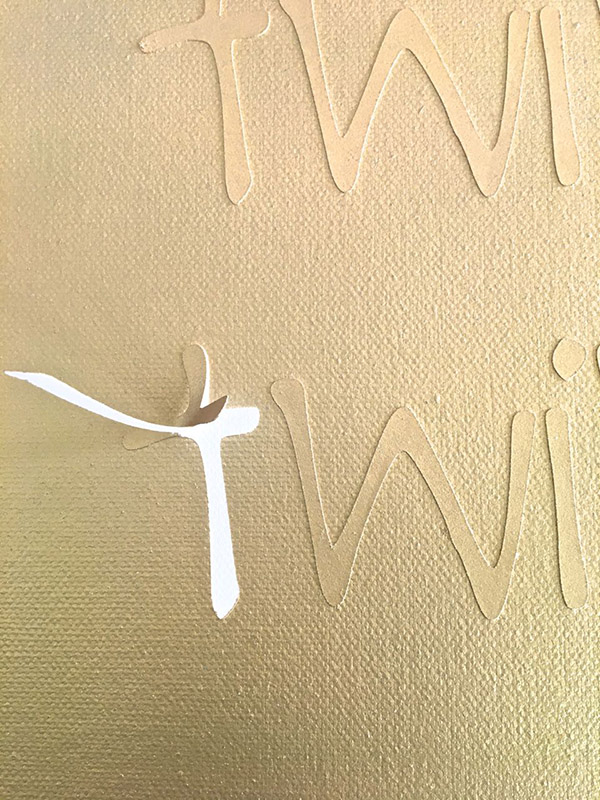
Pry a pointy tool under the edge of the card stock letters and peel them off with a rolling motion.
Step 5
Put aside one fourth of the stars to be used unpainted. Divide the remaining stars into three groups and airbrush them with three shades of gold to match the canvas.

Step 6
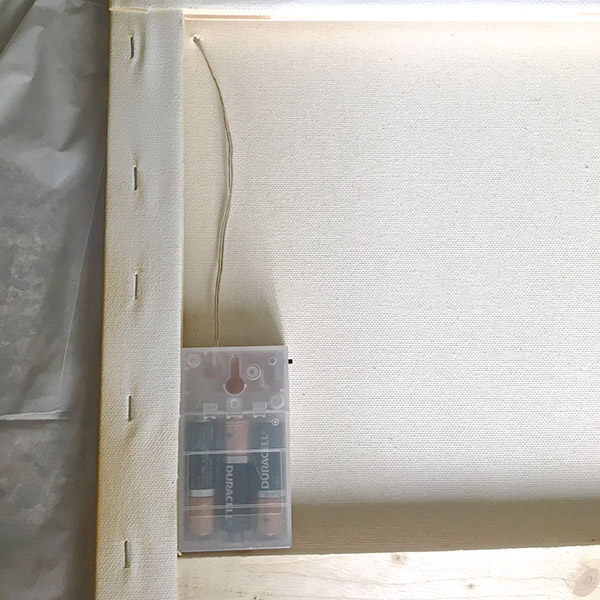
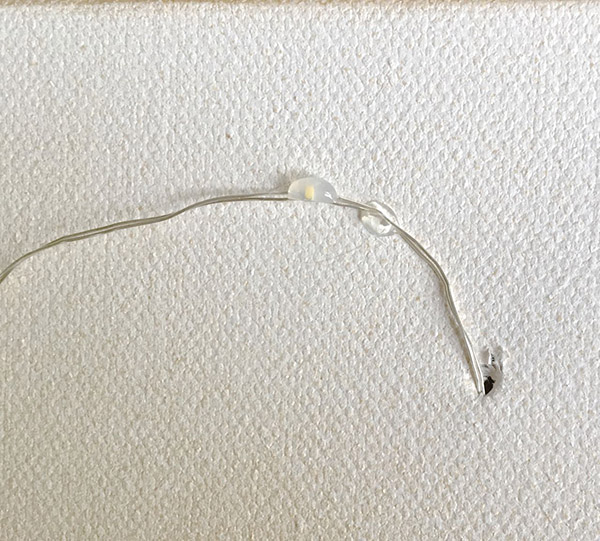
On the backside of the canvas poke a small hole with a craft knife. Insert batteries into the light string battery pack. Thread the light string into the hole and hot glue the battery pack against the frame. Be sure the switch and the case lid face outward for accessibility.
Step 7
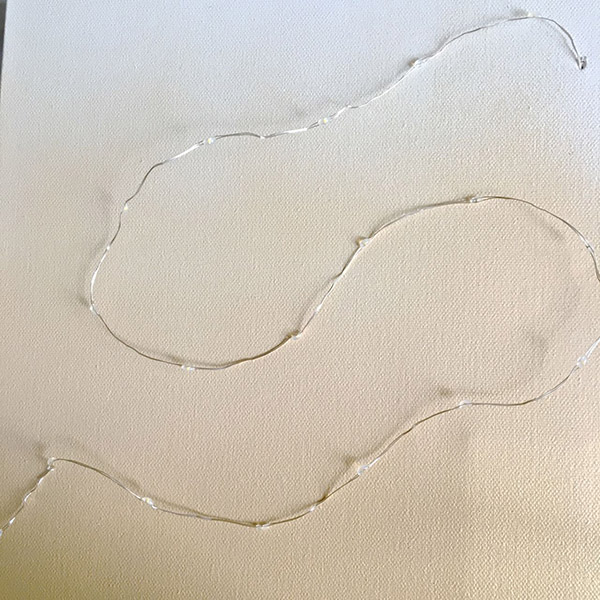
On the front of the canvas serpentine the light string in the upper half of the space. When you like the arrangement, apply hot glue to the canvas and press the wires in place.
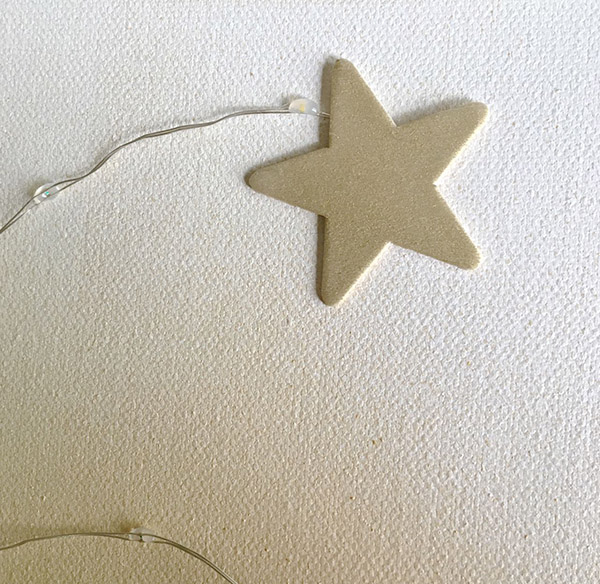
Step 8
Glue stars to the canvas covering the wires but not the lights. Combine a variety of star colors and sizes. Overlap some for interest.
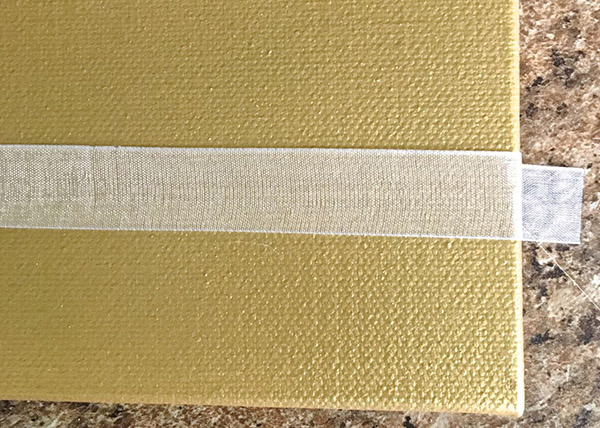
Position a piece of ribbon 1.25” from the bottom of the canvas. Hot glue the ends of the ribbon on the canvas sides and then on the pack. Cut off excess.
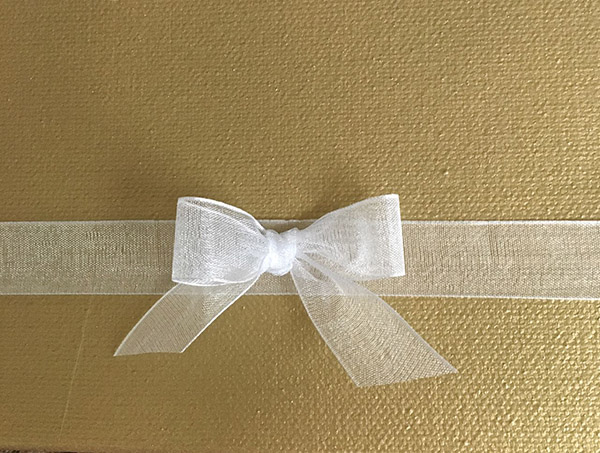
Step 10
Make a small bow with the ribbon and hot glue it to the center of the ribbon.
Project designed and created by Gloria Uhler at www.Domestic-Divaonline.com for Testor’s Corp.