Rust-Oleum Projects
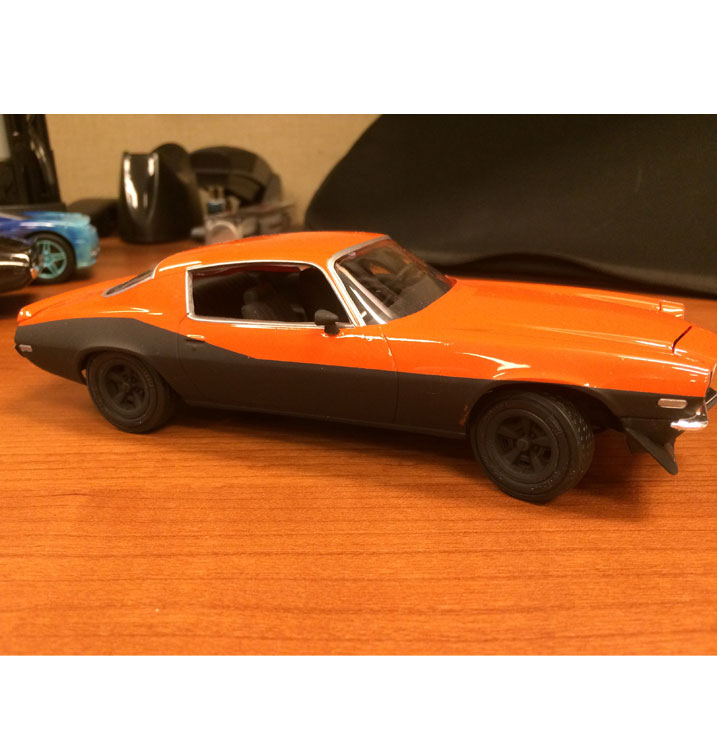
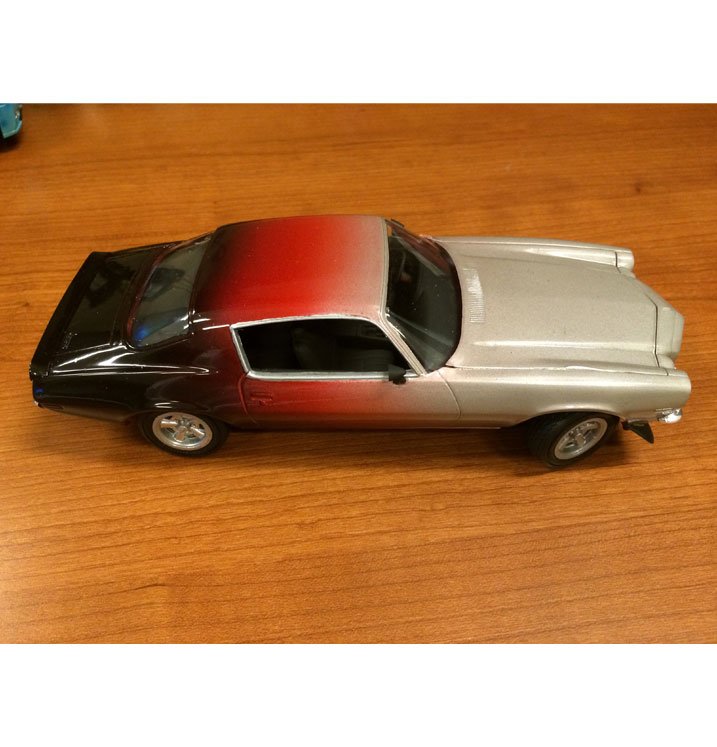
Fast and Furious Ferrari
Browse Projects
-
Want to Race?
-
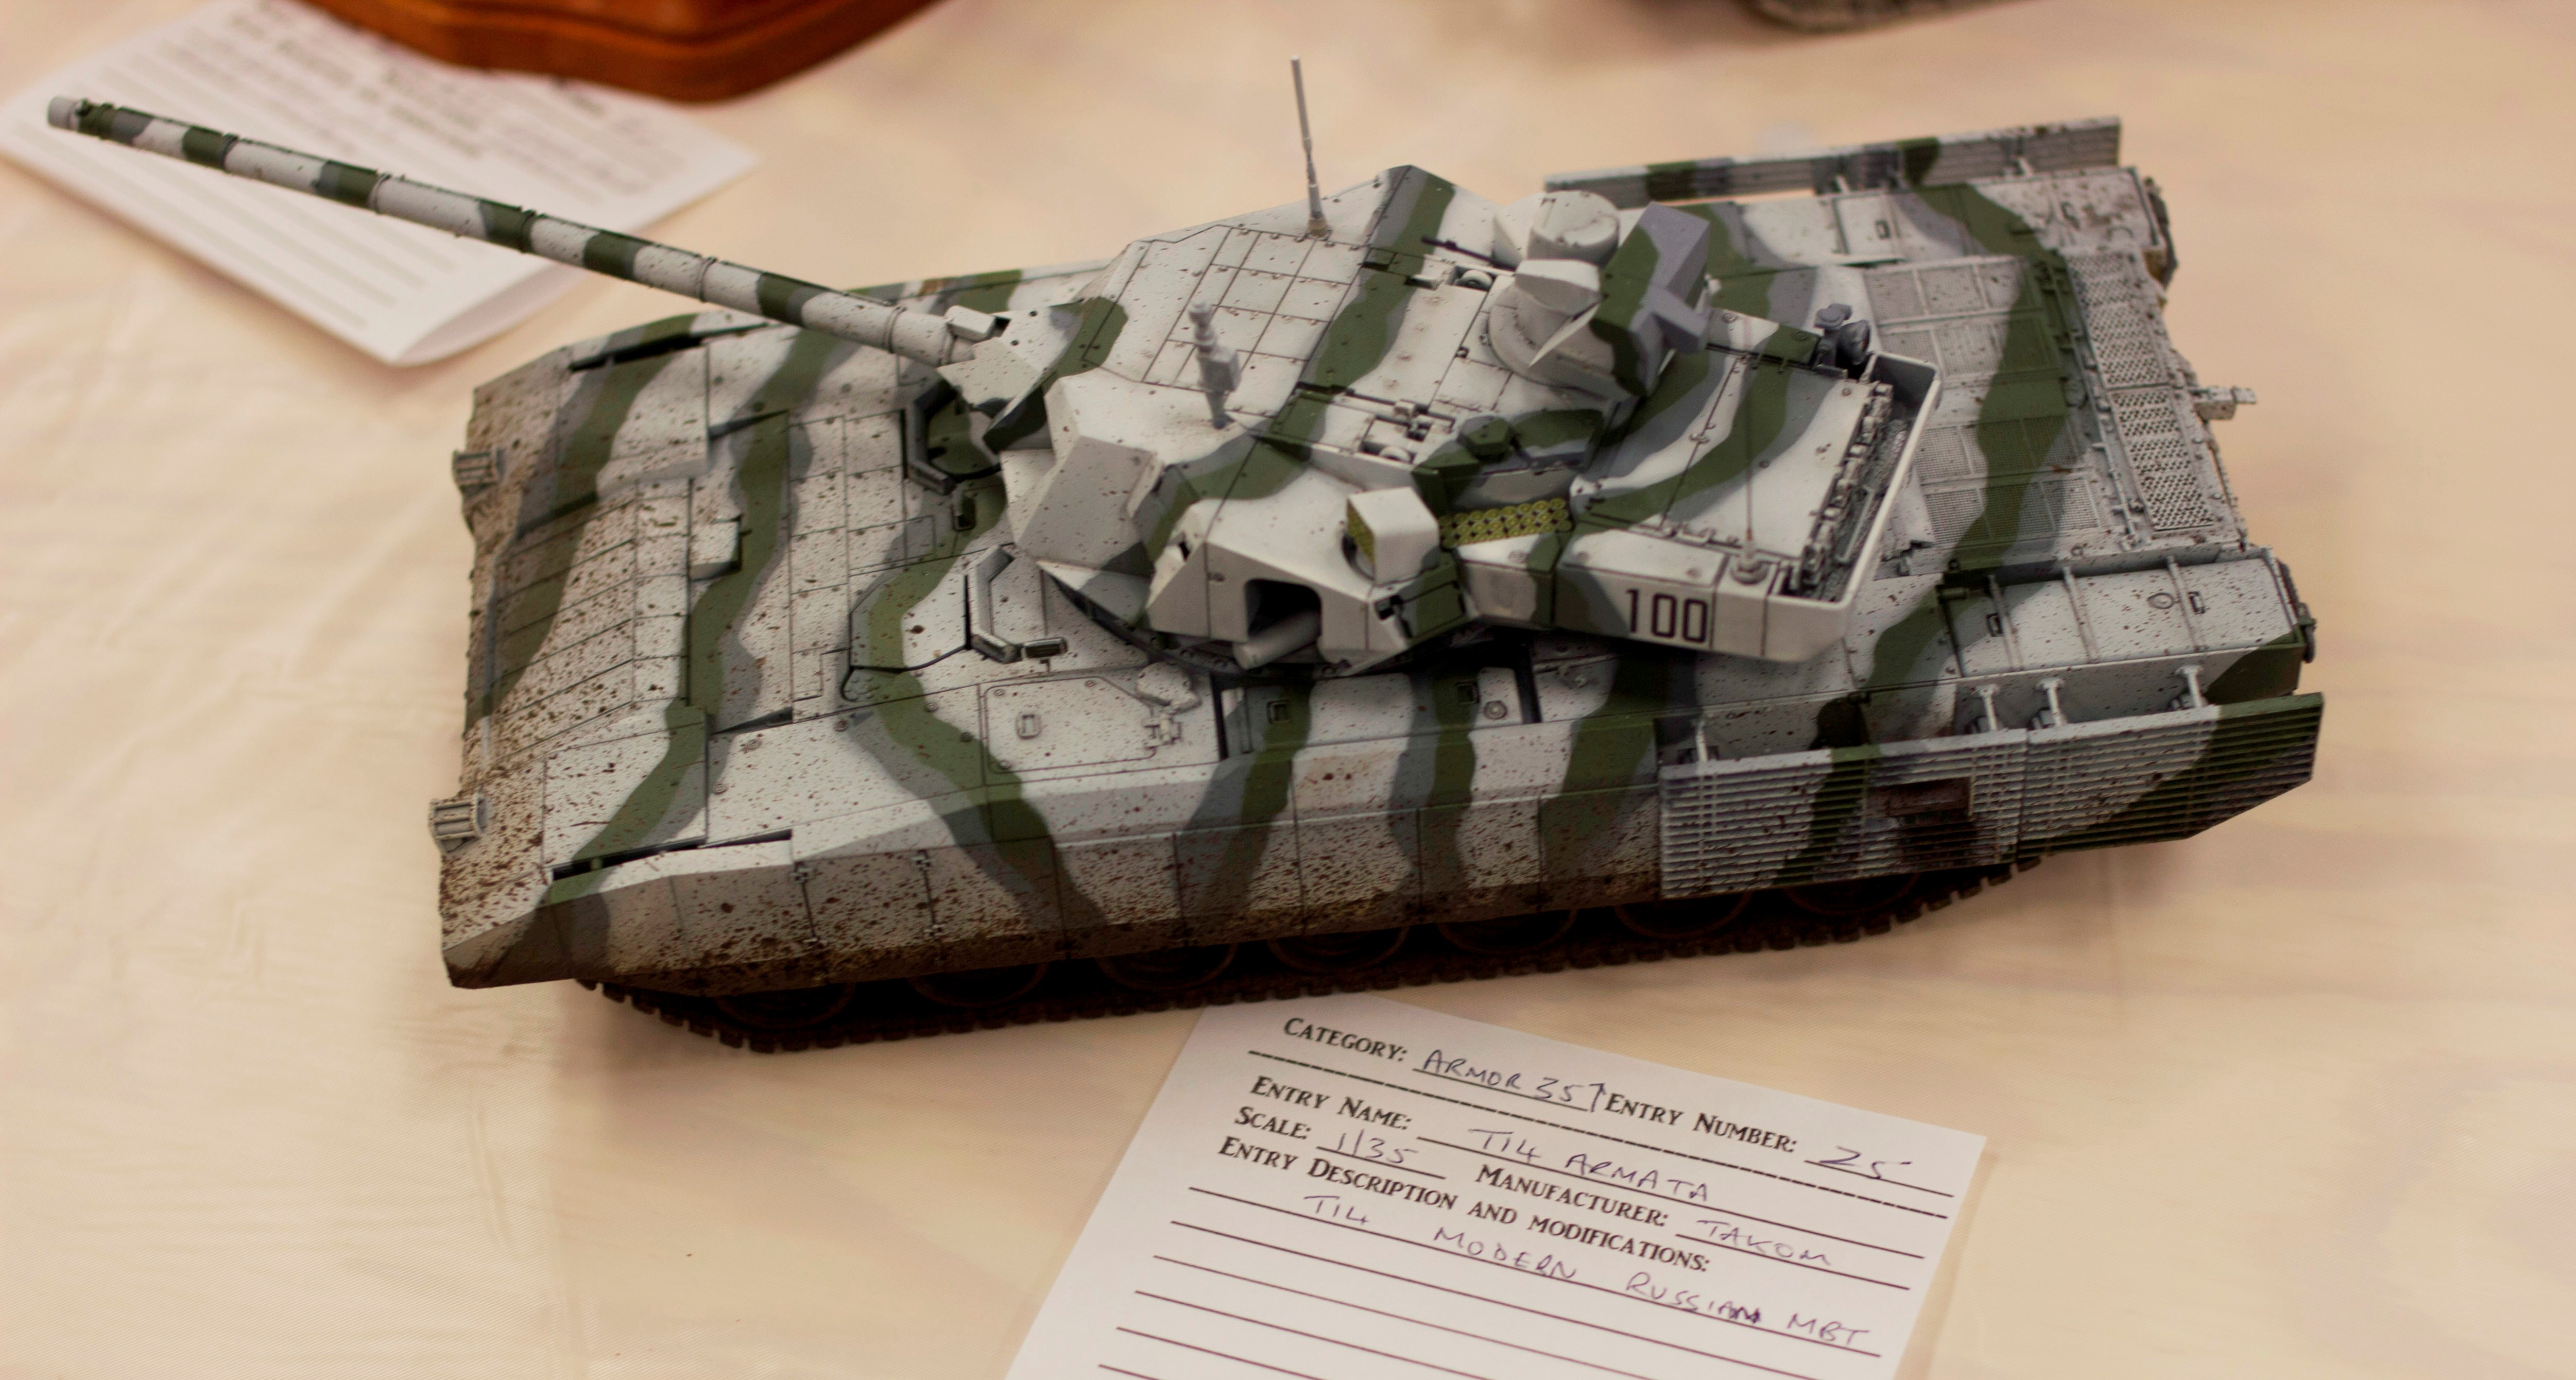
T14-armata-russian-tank
-
Tools & Supplies:
-
Model Car Kit
Instructions:
- Assemble Model by following the instructions in your model kit.- be sure to prep the model by washing the parts.
notE: Oils from your fingers can wreak havoc with the paint. After basic assembly or any sanding, we wash the model again before painting. Wearing disposable gloves during the paint process prevents fingerprints which can ruin your work.
- Spray the body with several coats of primer by using an airbrush, spray can or paint brush. For an even coverage use a broad spray Aztek airbrush!
TIP: Primer prepares the surface for the additional paint coats you will apply. Primers typically bond aggressively with the plastic. Additionally, primer is designed to bond well to the paint, reducing any tendency to peel or lift off (especially) when removing masking tape.
- Allow base coat to dry and apply masking tape for detail work and as many color coats as you wish.
TIP: Color coats are built up in layers, starting with light mist coats and eventually ending with wet coats. Be sure to abide by cure times on color coats!
- Continue to create your piece of history with accents, decals and weathering.
notE: A glossy clear coat provides the best surface for the application of decals. If the color coats are flat (matt), and clear gloss coat is applied before the decals.
- Apply a top coat.
TIP: Clear gloss provides depth and brilliance to a paint job.
- Enjoy your masterpiece!