Rust-Oleum Projects
Dorm Door Hanger
Browse Projects
-
Creative Stemless Wine Glass
-
Easy Sunburst Finish- Guitar body

-
Tools & Supplies:
-
½” Masking tape
-
Foam Board 11” x 17”
-
Sheer white ribbon .50” wide
-
Repositionable stencil adhesive
-
Craft knife
-
Card stock
-
Painters tape
-
16 gauge jewelry wire - 4.50” long
-
Chalk
-
Sharpie marker cap
-
1mm Stretchy bracelet cord
-
Elmer’s Glue
-
Hot glue gun
-
Jewelry wire cutters and pliers
-
Lace fabric swatch 6” square
-
Black ruffle 12” strip
-
String pearls 6” strip
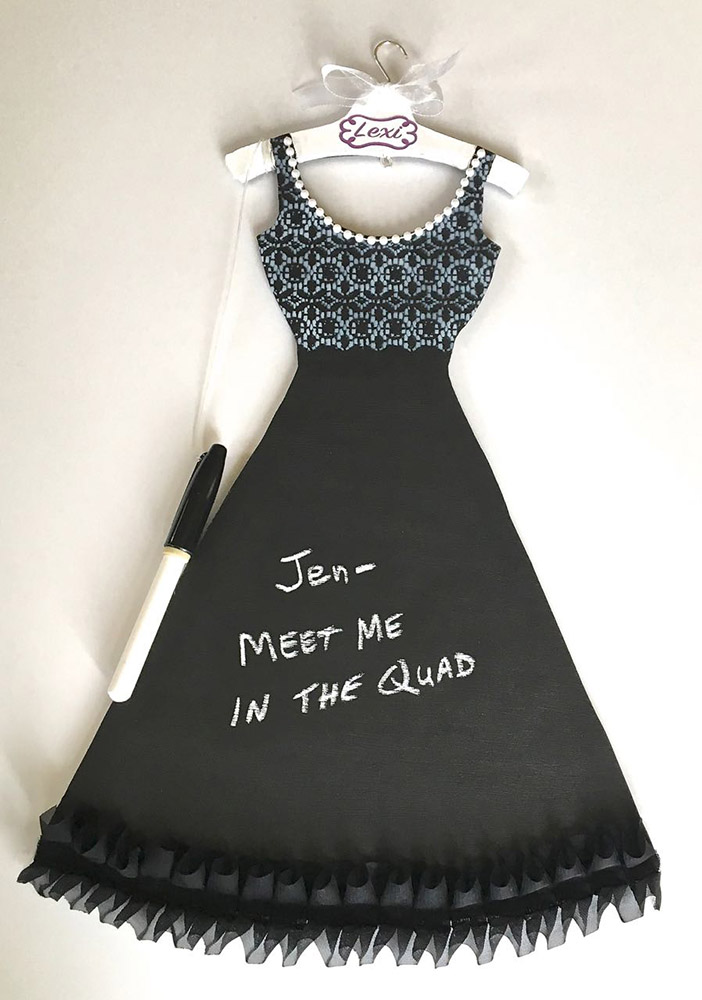
College move-in day is right around the corner! Personalize a door with this cute dorm door hanger.
Supplies
At Testors
Aztek Airbrush and paint cups
Aztek Paint - 9440 White
Aztek Craft Paint – 297508 Chalkboard
Aztek Airbrush
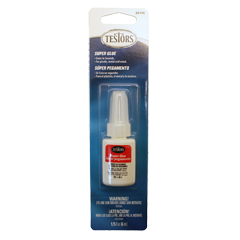
Super Glue 3517C
½” Masking tape
At Michaels
Foam Board 11” x 17”
Sheer white ribbon .50” wide
Repositionable Stencil Adhesive
Craft knife
Card stock
Painters tape
16 gauge jewelry wire - 4.50” long
Chalk
Sharpie marker cap
1mm Stretchy Bracelet Cord
Elmer’s Glue
Hot Glue gun
Jewelry wire cutters and pliers
At Joann’s
Lace fabric swatch 6” square
Black ruffle 12” strip
String pearls 6” strip
Project Steps
Step 1
Protect your work surface and all areas not being painted. Always allow paint to dry completely before moving to the next step.
Step 2
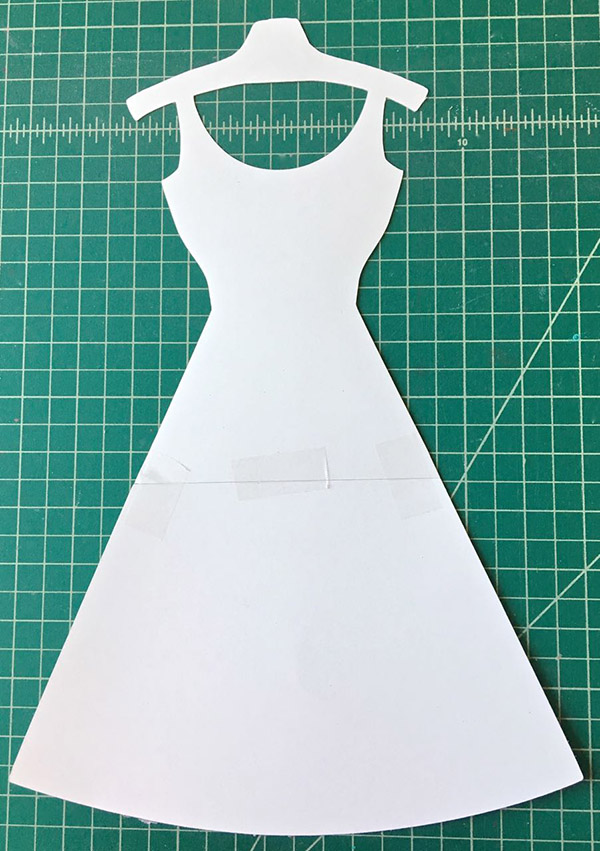
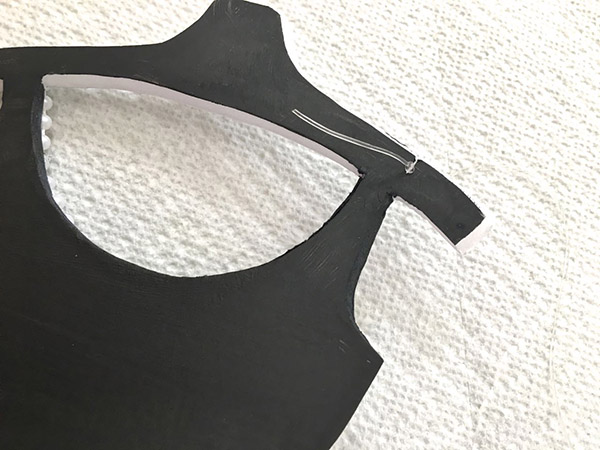
Copy and enlarge the one-piece dress and hanger image. Print the image on cardstock to create a template for tracing. Cut out the shape. Following the outline with a pen, transfer the shape onto the foam board and cut it out.
Step 3
To get lean cut lines, use a brand new blade in your craft knife and hold it at an angle as you trace the design. Holding the blade straight up will make cutting more difficult and may result in ragged edges.
Step 4
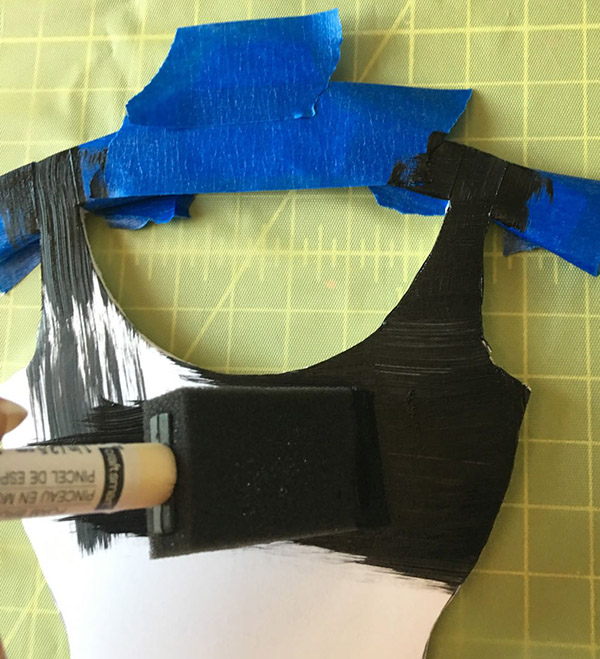
Cover the hanger with painters tape, leaving the dress strap area uncovered.
Step 5
Use a foam brush to apply chalkboard paint to the dress and straps. Two coats are recommended. Paint the back of the board if desired.
Step 6
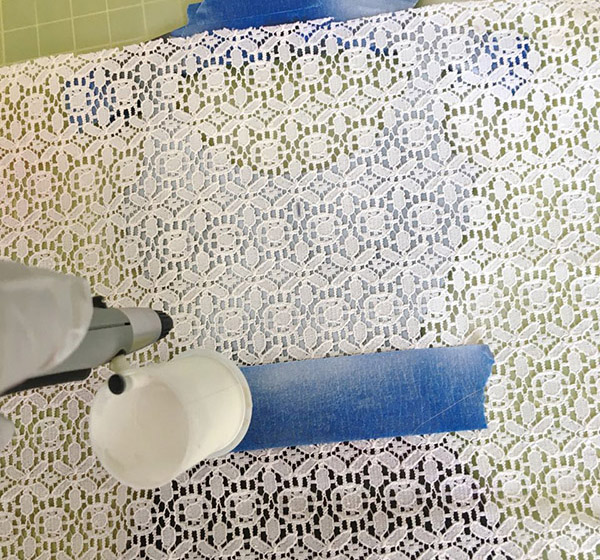
Spray the back of the lace swatch with stencil adhesive and position it on the upper portion of the dress. Protect the lower potion to avoid overspray.
Step 7
Airbrush the lace with white paint.
Step 8
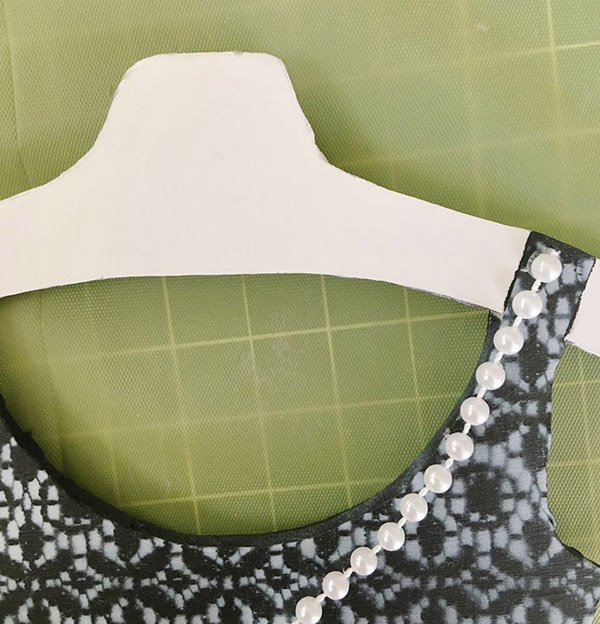
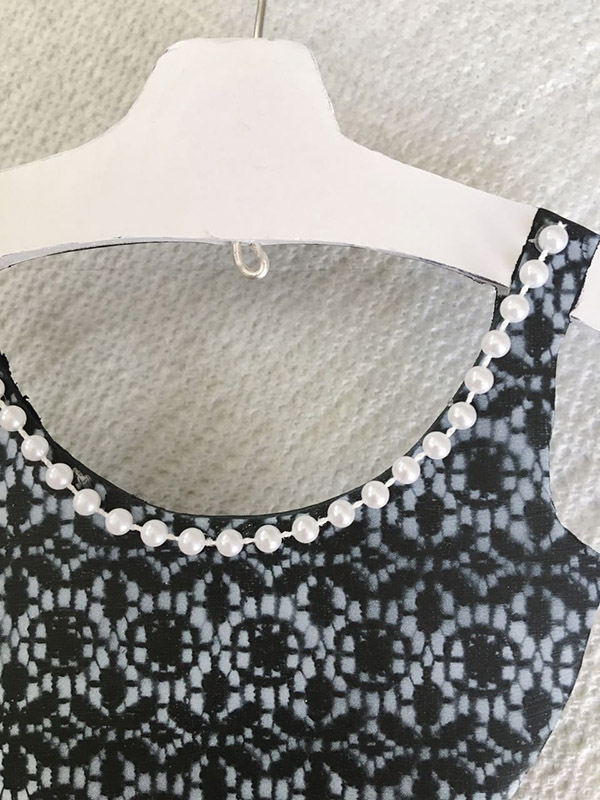
Apply small dots of hot glue to the dress neckline and press the string of pearls to the glue.
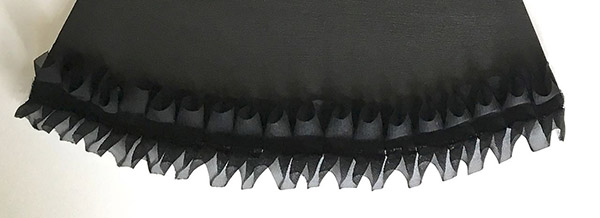
Use hot glue to attach the ruffle strip, following the bottom curve of the dress.
Step 10
Cut a piece of stretchy cord to measure 14”. Use the craft knife to make a small vertical slash in the hanger. Slip the cord into the slash. Knot the cord and attach it to the board with the Super Glue. Cut off the cord’s tail.
Step 11
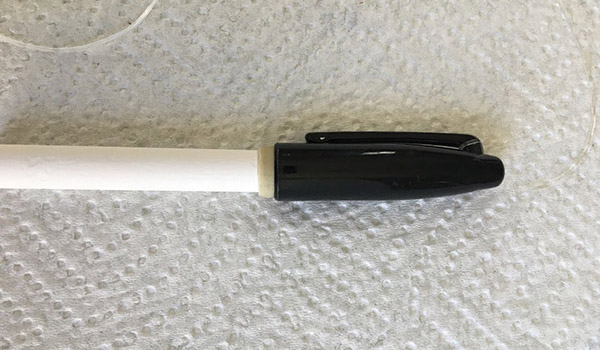
Attach the stretchy cord to the cap clip tying it in a knot. Dot the knot with Super glue and cut of the excess cord.

Step 12
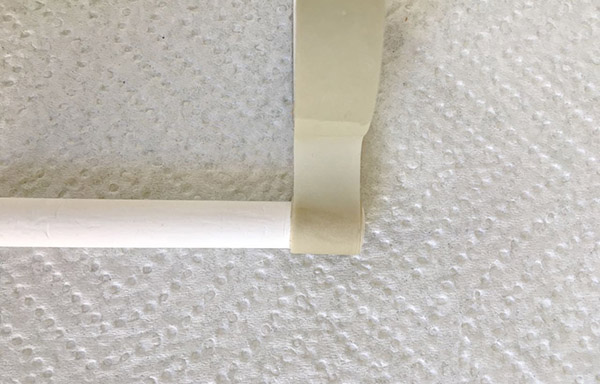
Wrap .50” masking tape around one end of the chalk.
Step 13
Wrap until it fits snugly into the marker cap.
Step 14
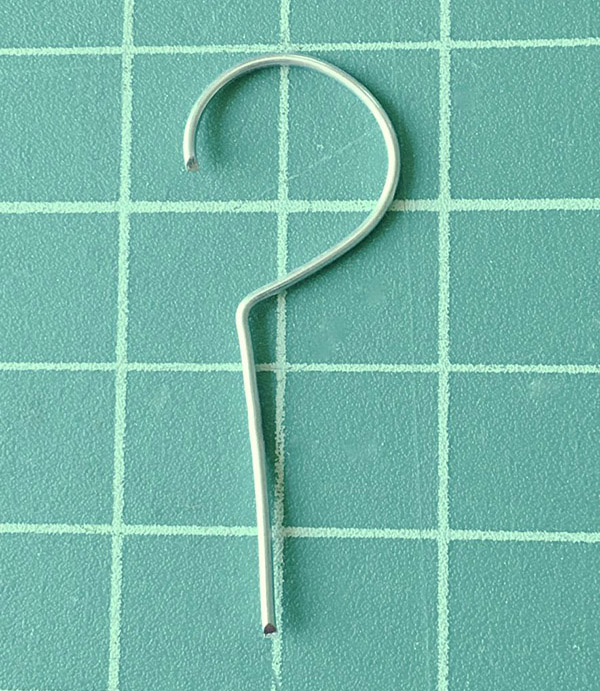
Cut the wire to approximately 5.50” long with jewelry wire cutters. Bend one end of the wire around the Sharpie marker to create a loop for hanging. Use flat nose pliers to create a slight angle in the wire.
Step 15
Insert the end of the wire straight through the center of the hanger. Use the round nose pliers to form a small loop.
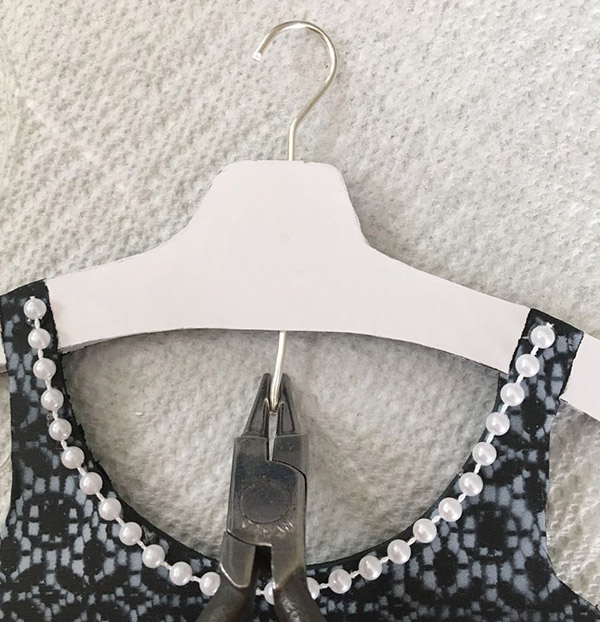
Step 16
Coat the wire with hot glue and push it up into the hanger while the glue is still hot.
Step 17
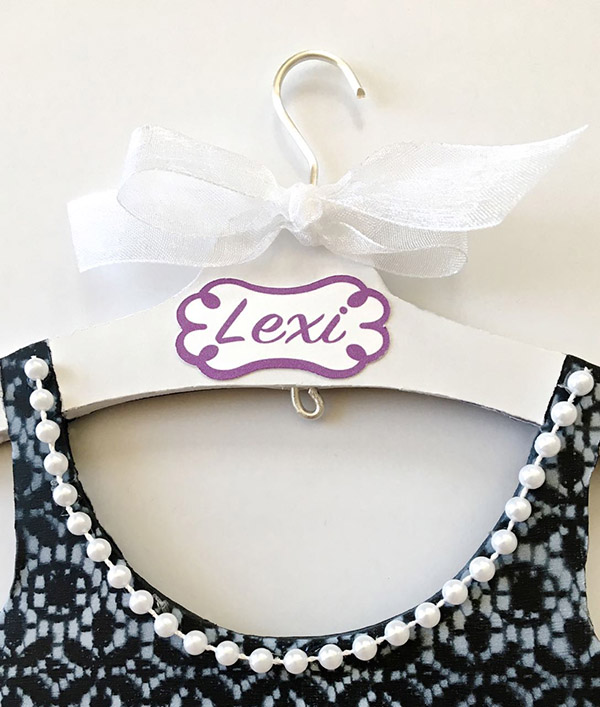
Print and cut a name label on cardstock. Attach the label to the hanger with Elmer’s glue. Tie the ribbon into a bow at the base of the metal hook.
Tip: Sharp or ragged board edges can be corrected with a fine grit emery board before painting.
Project designed and created by Gloria Uhler at www.Domestic-Divaonline.com for Testor’s Corp.