Rust-Oleum Projects
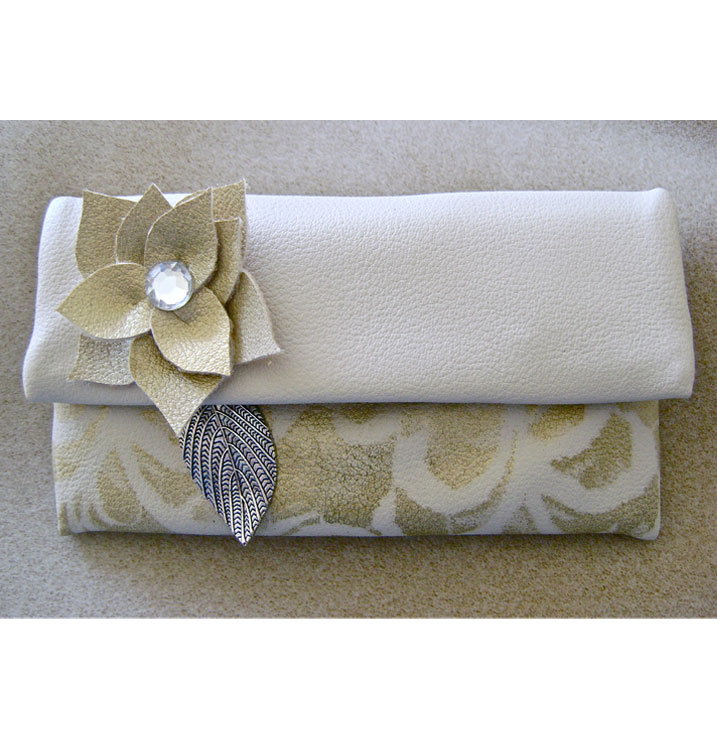
Going Out on a Limb Purse
Browse Projects
-
DIY Personalized Apron
-
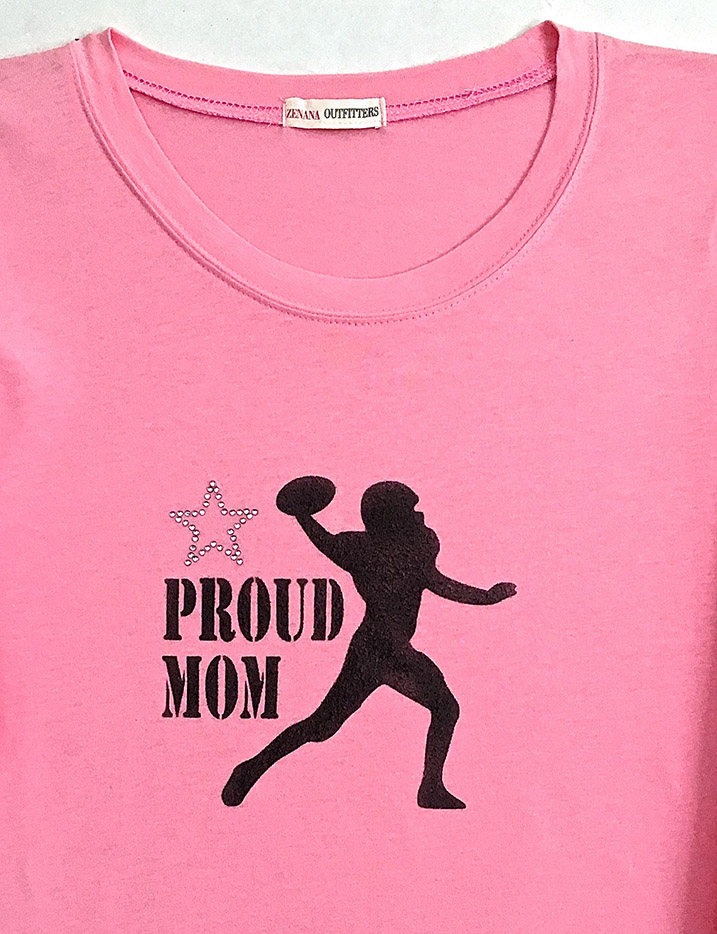
Proud Football Mom Shirt
-
Tools & Supplies:
-
Decorative Leaf Jewelry
-
Decorative Zipper Pull
-
Fleece
-
Fusible Interfacing
-
Hot Glue Gun
-
Lace 10 inches x 8 inches
-
Lining
-
Magnetic Clasp
-
Masking Tape
-
Rhinestone - Half Inch
-
Scotch Spray Mount Repositionable Adhesive
-
Sewing notions
-
Square of Cardboard 2 inches
-
Tan Vinyl
-
Tan Zipper 5 Inches
-
Zipper 5 Inches
-
Instructions:
- Create pattern pieces for the fabric using the following measurements:
7” x 11” vinyl – outside purse
7” x 2.75” vinyl – flap facing
7” x 2.25” vinyl pocket bottom
7” x 11” lining – inside purse
7” x 5” lining and fusible interfacing for credit card inside pocket
7” x 3” zippered pocket lining
7” x 6.5 fleece
- Be sure to mark the fold lines and notches on your pattern piece. Allowances are .50” for all seams. No pattern is required for cutting the flap facing. Simply cut to size. Create pattern pieces for the lining fabric using the following measurements. Be sure to mark the fold lines and notches. No pattern piece is required for cutting the pocket pieces. Simply cut to size.
PAINT THE FABRIC - Protect the purse flap from paint by aligning tape at the fold line for the vinyl outer piece.
- Spray the back of a piece of lace with adhesive.
- Mix mocha paint with a tiny bit of green paint to create the dark olive color. Fill one paint cup with the green and another with gold paint.
- Press the lace to the vinyl. Spray the vinyl with the gold paint followed by the green. Use the green sparingly and only in small areas. Allow to dry and remove the lace. You will see three colors: the original vinyl color, the gold and the green.
- Using the same method, paint the entire flap facing and the pocket bottom.
- Apply both colors of paint to a 7” x 3” piece of vinyl which will be used for the petals. As you paint the darker color, dab at it before it dries with a crumpled tissue to create an uneven look.
- When the paint is dry, turn the piece over and spray the back with solid gold. Because of the fuzzy absorbent surface, it will require a lot of time to dry.
THE OUTER PURSE - Vinyl moves more evenly through a sewing machine if you apply scotch tape to the bottom side of the presser foot or cover the vinyl surface with paper. Sew the pocket bottom to the pocket lining with right sides together. Right side down, center the zipper over the crease and sew it to the vinyl close to the zipper teeth.
- Sew the other pocket lining to the outer purse bottom edge with right sides together.
- Match up the two joined pocket/lining seams and sew them together 1” in from the side edges.
- Topstitch across the vinyl to sew the other half of the zipper in place. Be sure the lining pieces do not get caught in the stitching. After topstitching the zipper, turn both pocket linings away from pocket bottom and sew across their 7” edges. Tape down the pocket side edges to be included when side seams are sewn later.
THE LINING - Sew a .50” seam across the width of the fabric 4.25” from one edge. Only sew 1” in from the sides. Baste the opening between the stitching. Press the seam. Cut along the crease and press open the seam.
- Place the wrong side of the vinyl facing onto the right side of the lining and topstitch the bottom edge. Use a decorative stitch like the feather stitch if desired.
- Fuse the interfacing to the wrong side of the credit card pocket fabric. Fold the fabric in half with right sides together. Sew the long edges with a .50” seam. Turn right side out and press with the seam in the middle of the fabric.
- Center and pin the pocket over the lining slightly above the lining opening.
- Sew vertical lines on the pockets to create a space for a credit card, lipstick, key, or whatever you carry with you.
JOINING THE OUTER PURSE TO THE LINING - Baste the fleece to the lining with the flap edges matching. The fleece will give the purse more body.
- Lay the outer purse and lining together with right sides touching. Smooth out all layers and pin together the short ends. Sew the two end seams.
- Turn the project right side out. Top stitch the seam allowance of the flap end to the vinyl. Top stitch the seam allowance on the zippered pocket edge of the purse stitching on the lining.
- Turn the zippered pocket end of the purse up and tape it in place to be sure everything aligns. Match the seam edge with the side notches and make any necessary adjustments.
- Attach a clasp to the flap facing and fleece layers. Attach the matching piece just above the zippered pocket. Push a small piece of cardboard over the prongs before flattening them for stability.
- Turn the purse wrong side out. Starting at the flap edge, pin the sides together working down to the other edge. Turn the short seam edge up to meet the side notches as you did in step 22. Pin in place. Sew the sides from the top to the bottom through all layers. Reinforce stitching at the notches. Trim corners.
- Go into the lining opening and pull the project right side out.
- Hand stitch the lining closed.
- Using a jump ring or chain link, attach a decorative metal pull to the zipper.
THE PETALS - From the odd painted vinyl piece, cut out five petals measuring 1.25” long and five measuring 1” long. Cut out a half inch round circle for the flower base. Use this petal shape as a guide.
- Cut short slits in the center of each petal. Dot one edge with hot glue and overlap the two edges slightly to give the leaf shape.
- Round the sharp center edges into a smooth curve.
- Layer and hot glue the five larger petals to the vinyl circle. Overlap the smaller ones. Hot glue a rhinestone in the center.
Finished Purse measures approximately 6” x 3.5”
“Designed and Created for Testors by Domestic-Divaonline.com