Customer Project
3 Metals Mirror Project
Browse Projects
-
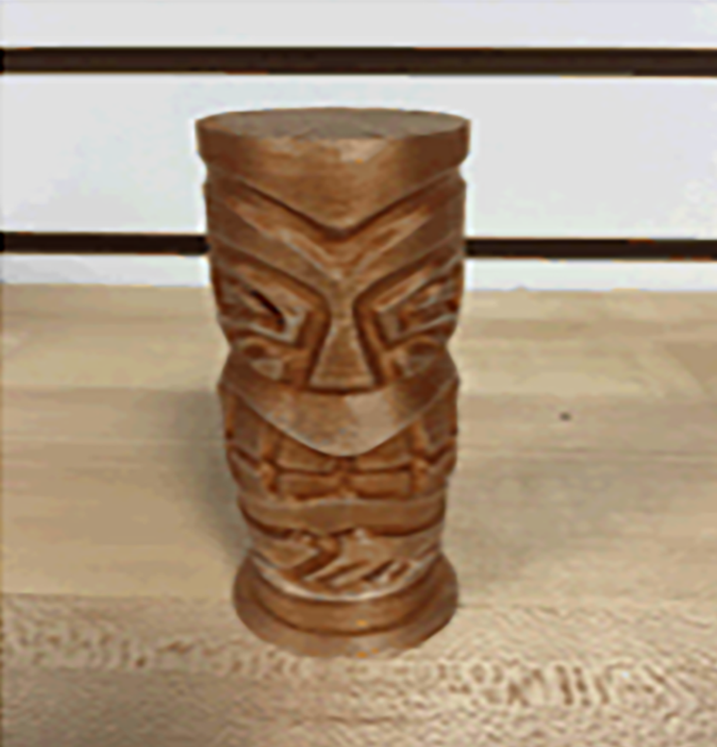
3D Printed Tiki Statue
-
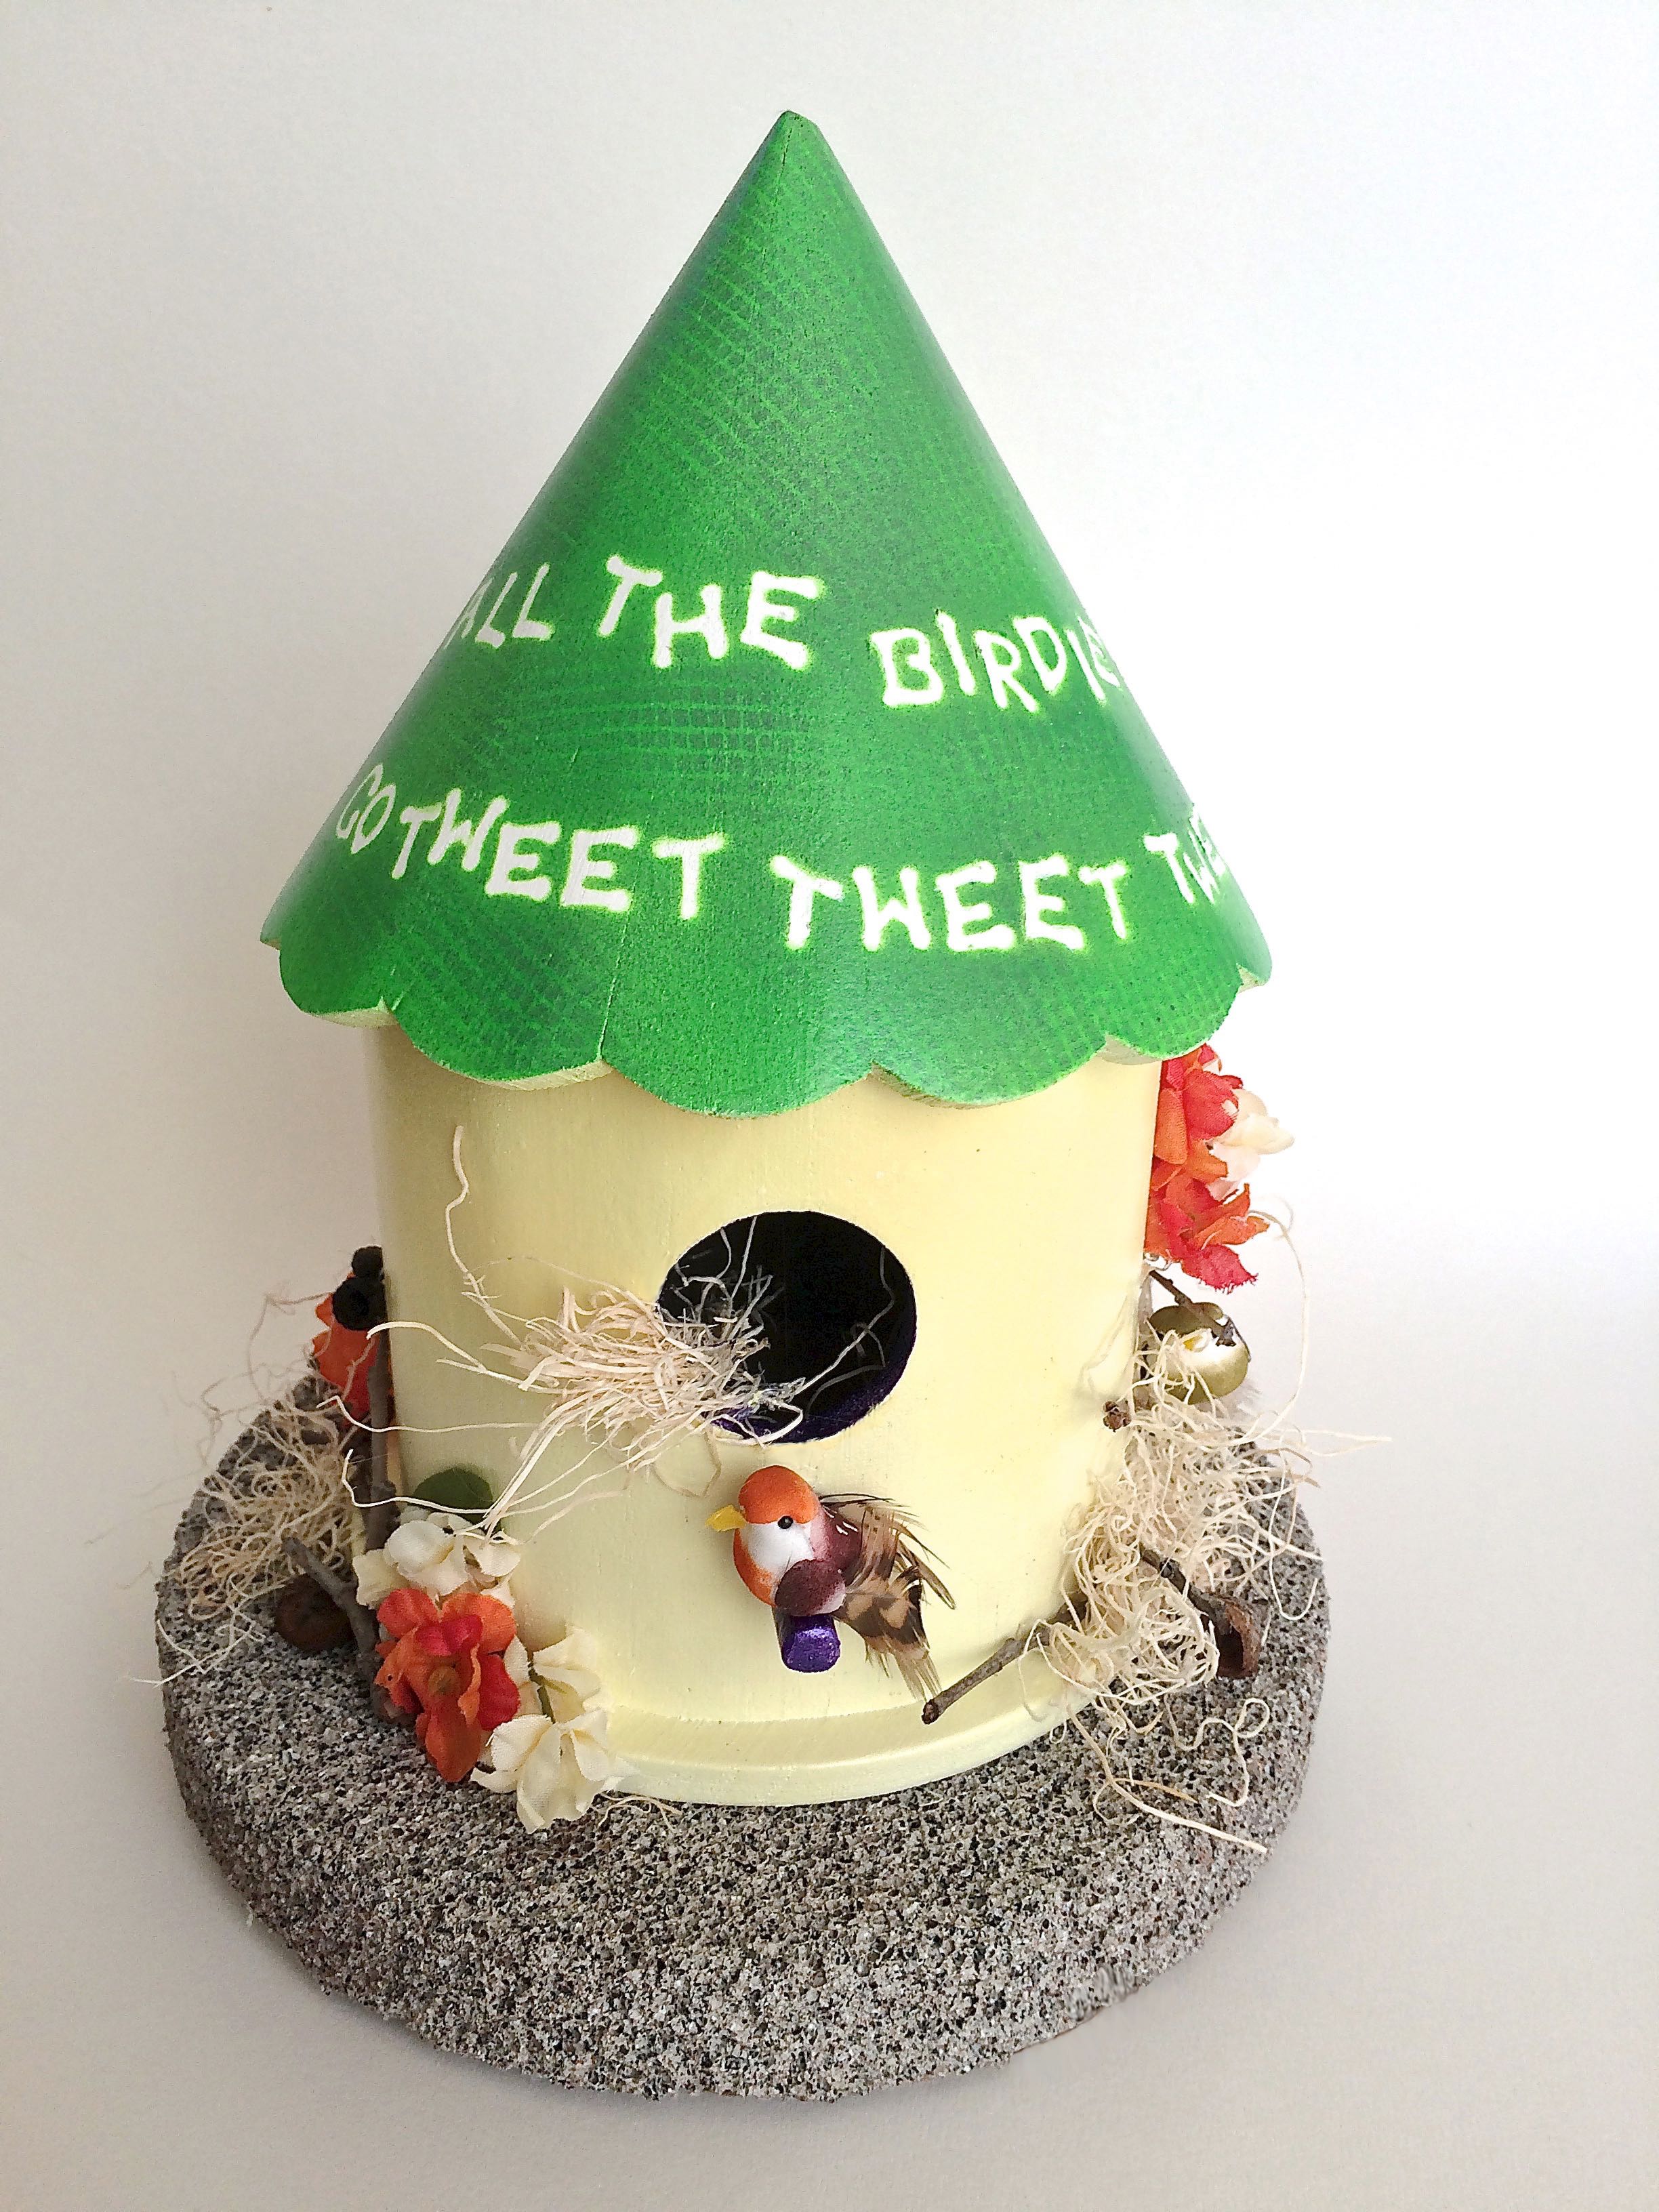
All The Birdies - Home Decor
-
Tools & Supplies:
-
10 inch round mirror
-
E6000 Adhesive
-
Painter's tape
-
14 inch brown plastic charger plate
-
Scissors
-
Plastic Spoons
-
liquid floor polish
-
36 inch long strand of beads
-
Glue Gun

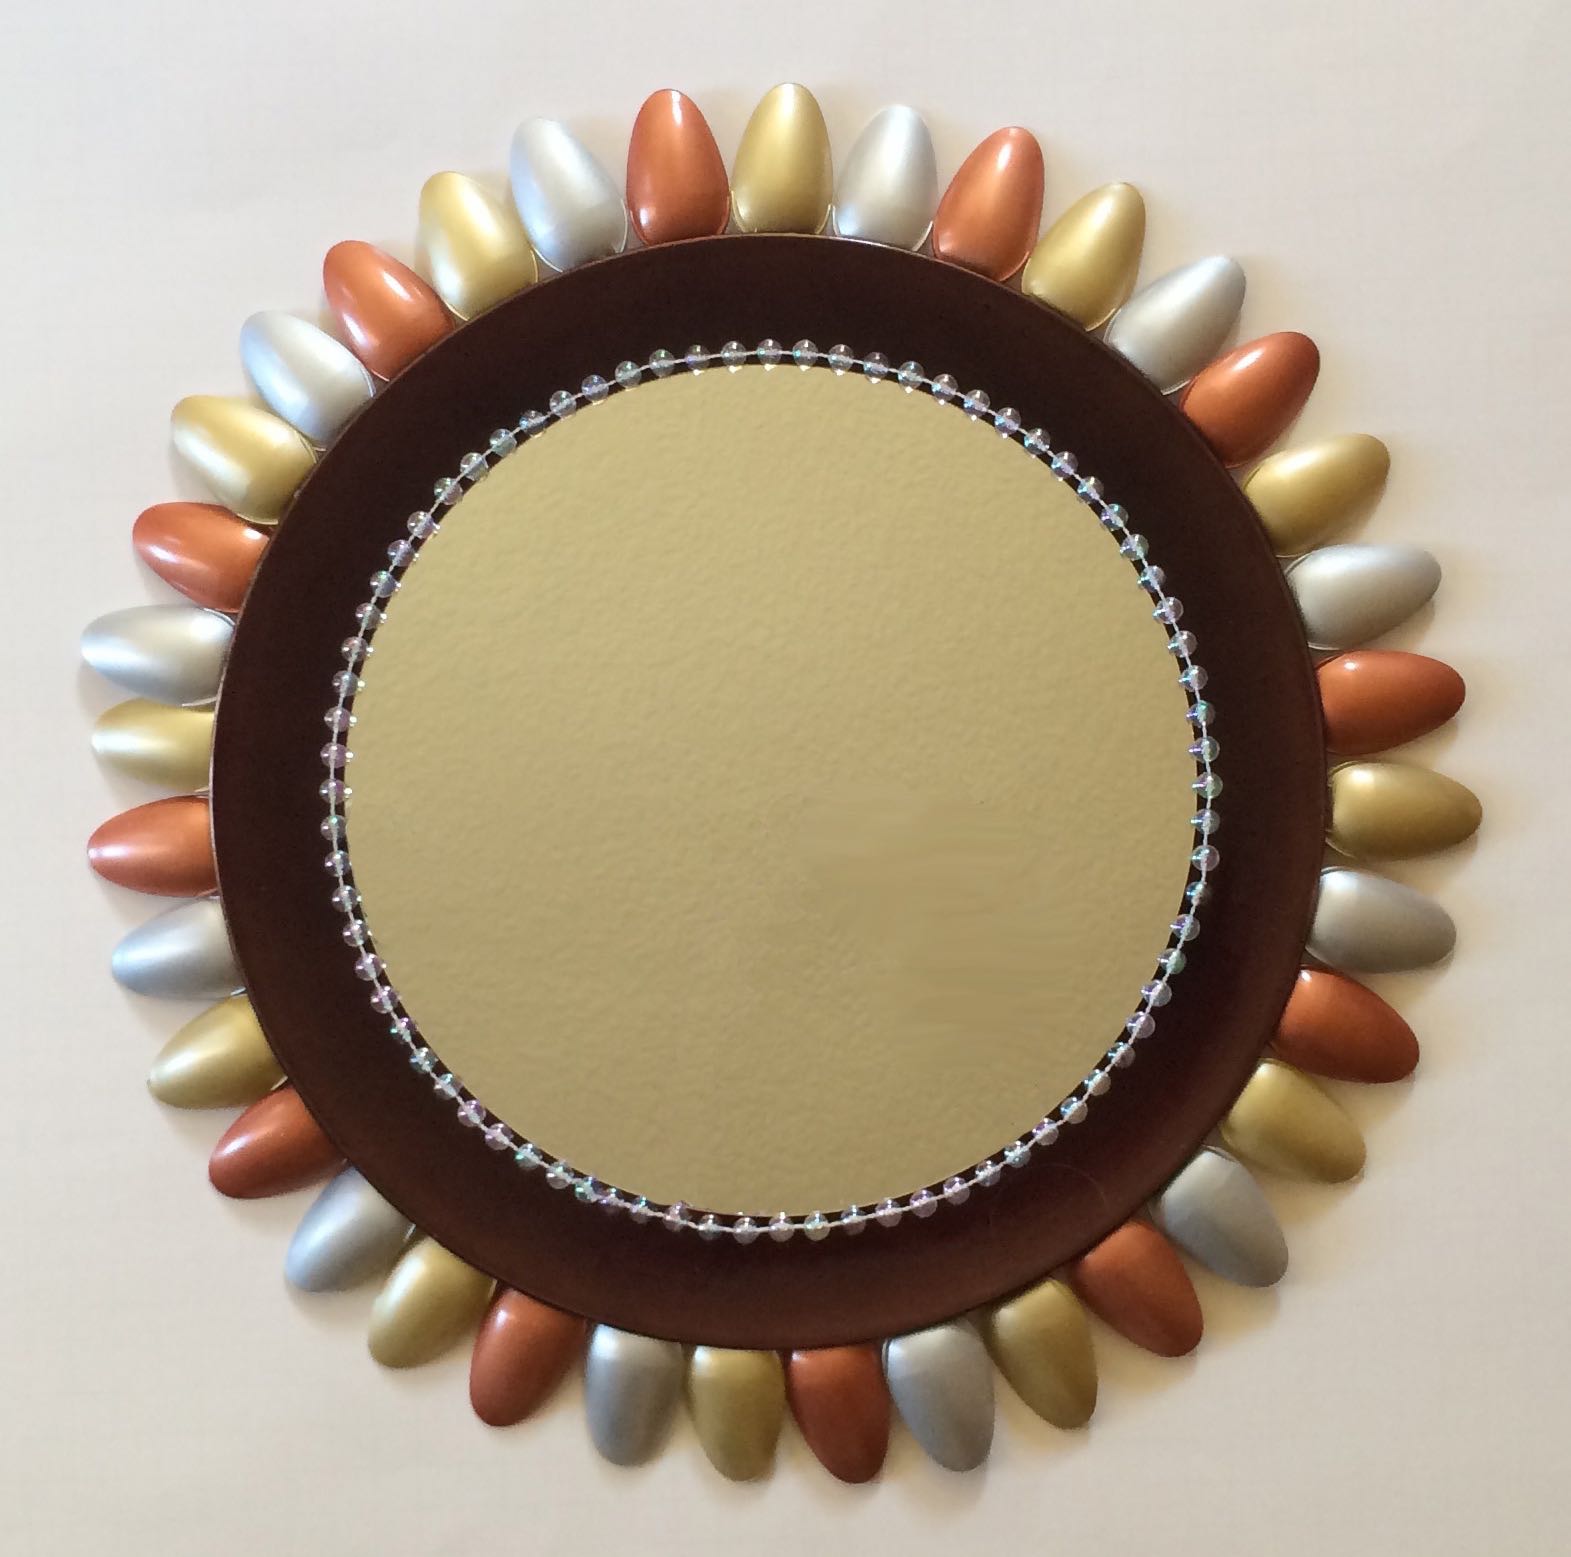
Protect areas not being painted from accidental overspray.
Allow paint to dry between coats.
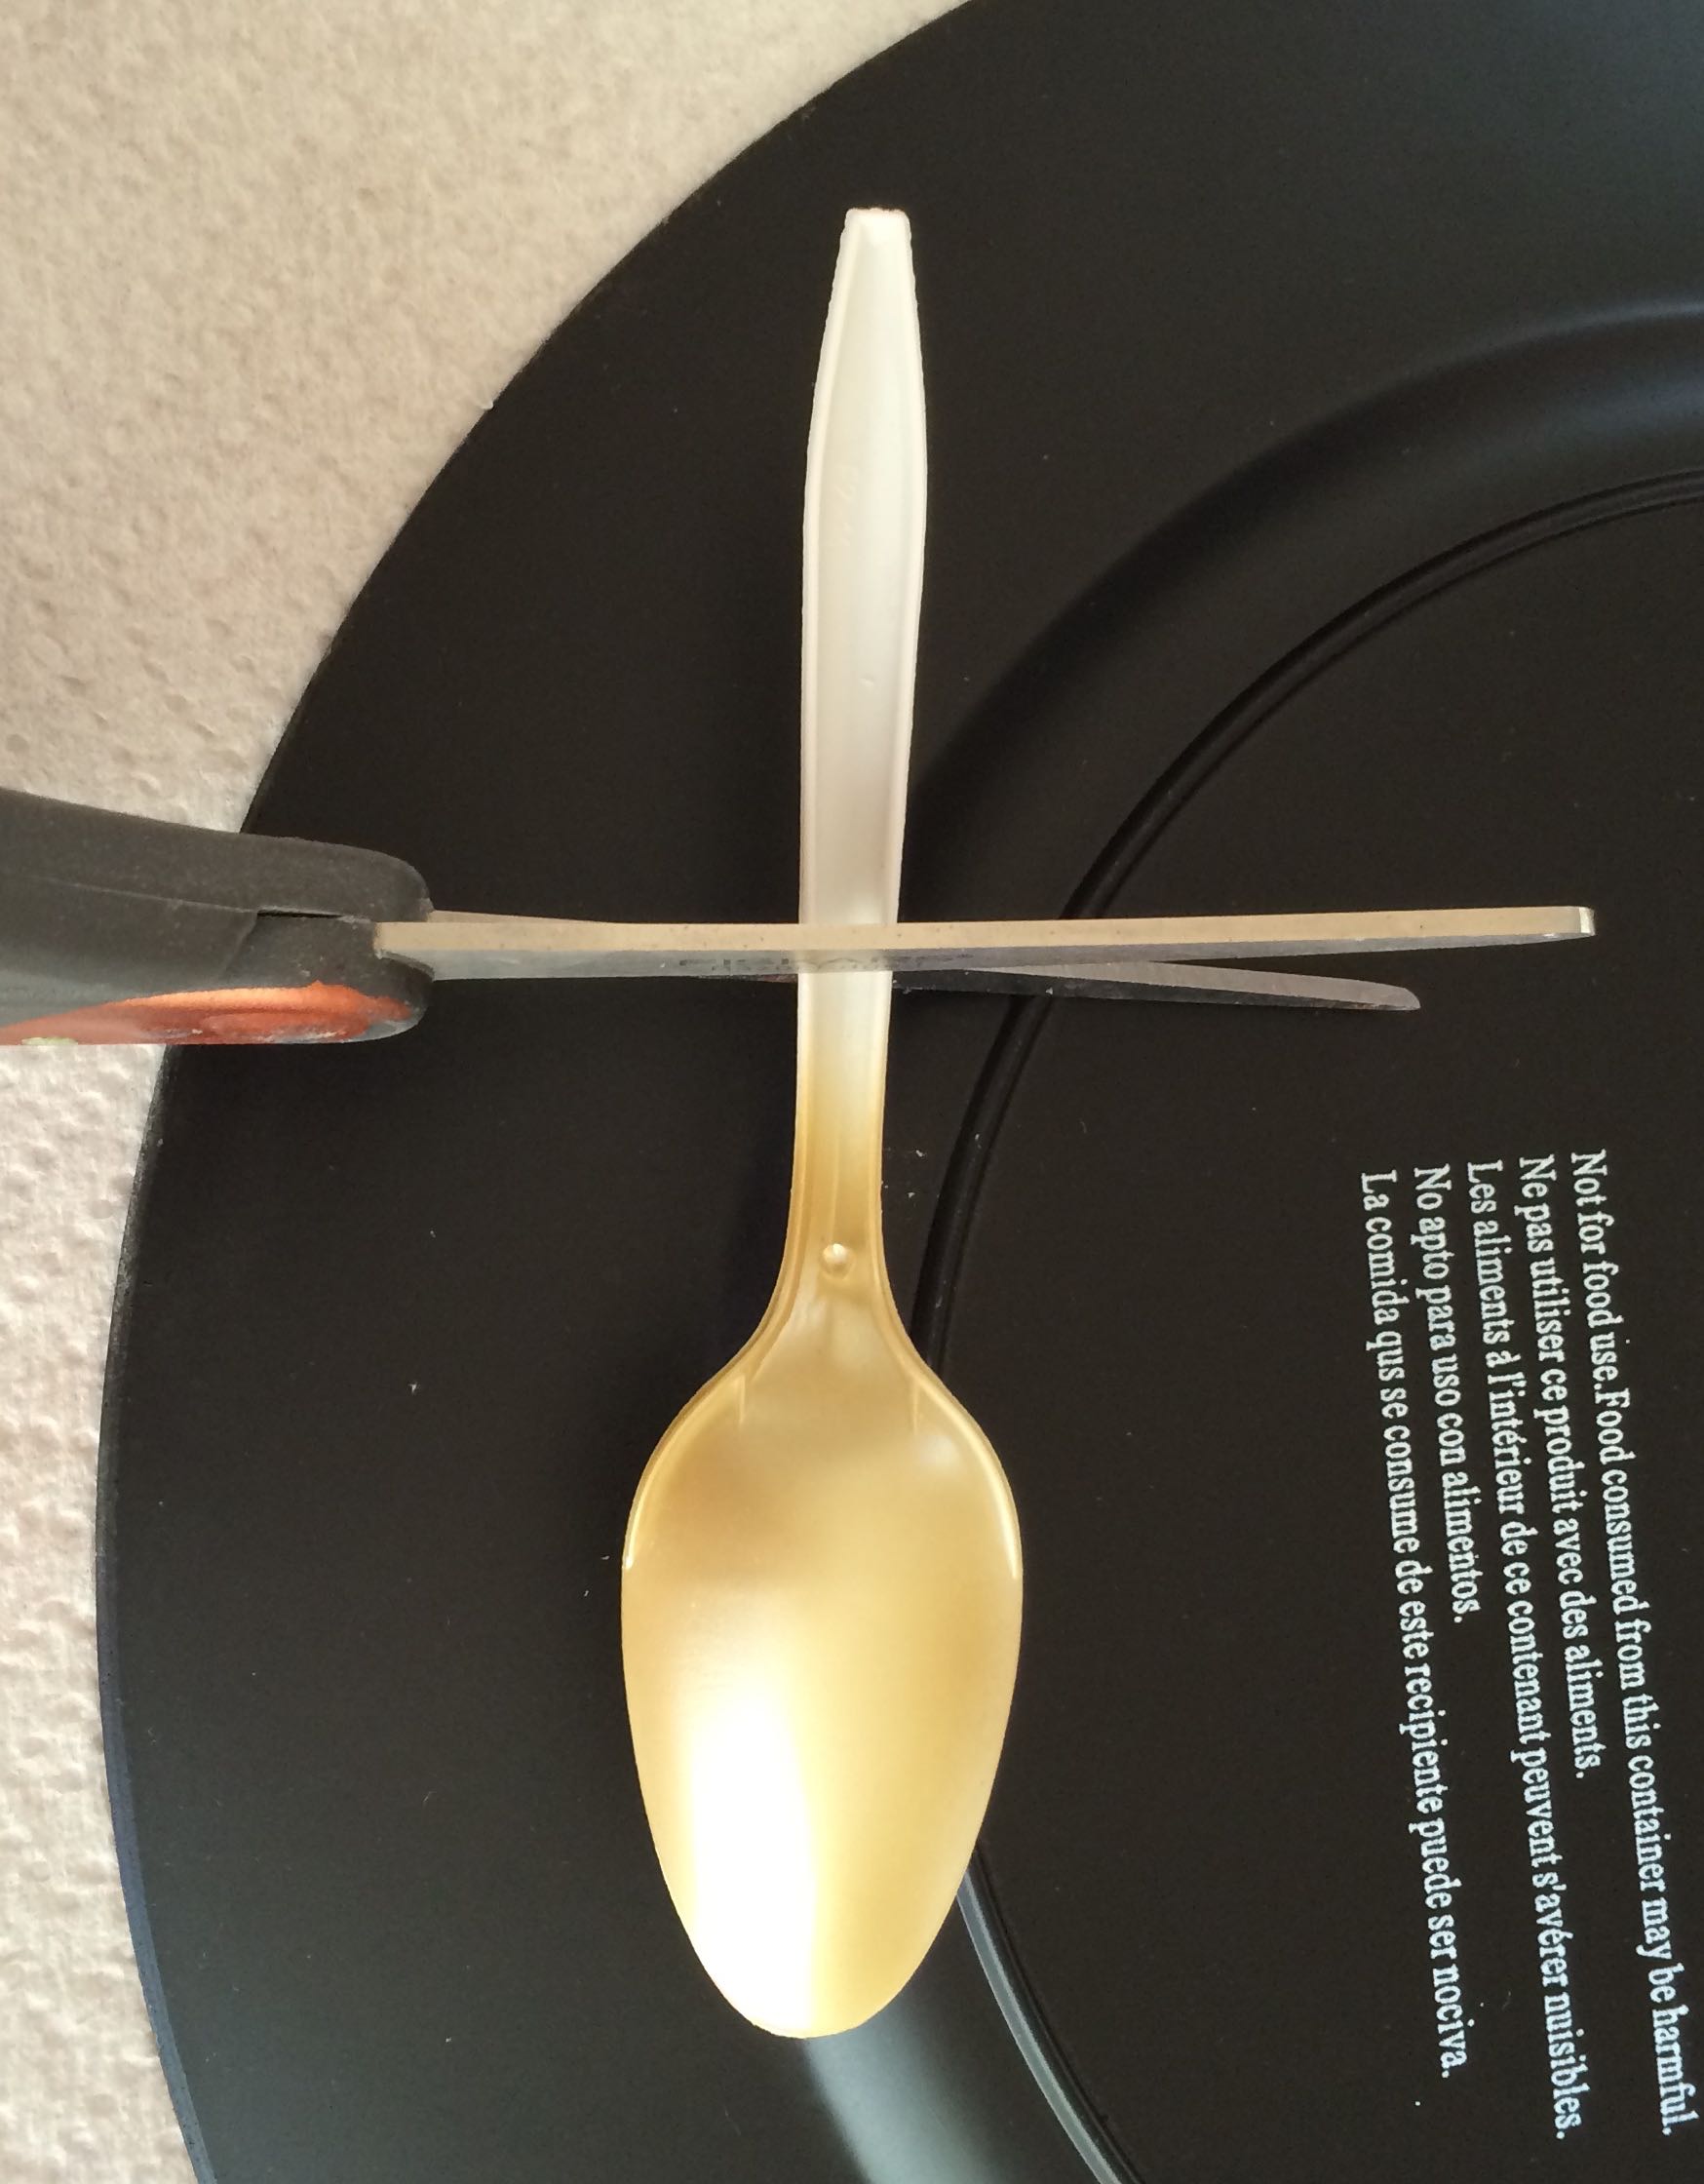
- Airbrush 12 spoons with gold, 12 with silver, and 12 with copper paint. Apply paint to the back and sides stopping about 3.50” from the tip of the bowl.
- Cut the spoons with scissors where the paint stops. Arrange them around the outer edge of the charger to check the spacing and color placement before gluing them on. Different brands of spoons may vary slightly in dimensions. Ideally, 36 spoons will be touching each other on a 14" charger plate.
- Attach the spoons with a glue gun on the backside of the charger plate alternating colors. The bottom of the bowl should be touching the edge of the charger.
- Flip the charger over by handling it in the center portion of the plate, not by the spoons. With a brush, apply a coat of liquid Floor polish to prevent the paint on the spoons from scuffing.
- Apply E6000 to the backside perimeter of the mirror 1/4" from the edge.
- Stick painters tape 1 1/2" from the top, bottom and sides of the charger's edges as a guide for centering the mirror. Place the mirror inside the tape lines and press in place. Allow the adhesive and polish to set completely.Tape the string of beads to the charger at the edge of the mirror. Leave spaces between tape strips. Slip an E6000 tipped toothpick under every second or third bead. Allow the adhesive to set before removing the tape.
Project designed and created by Gloria Uhler at Domestic-Divaonline.com for Testor’s Corp.