Rust-Oleum Projects
Rainbow of Color Kaleidoscope
Browse Projects
-
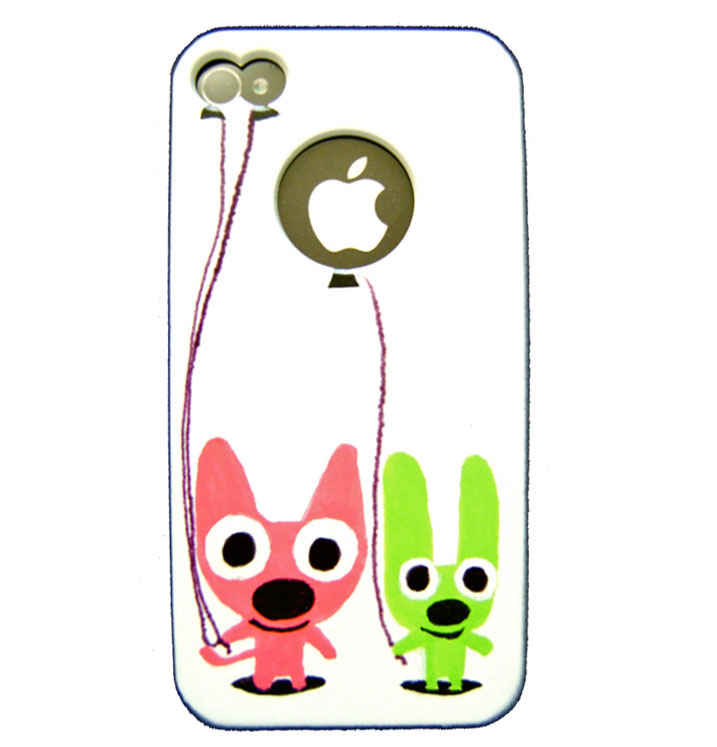
Create a Phone with Personality
-
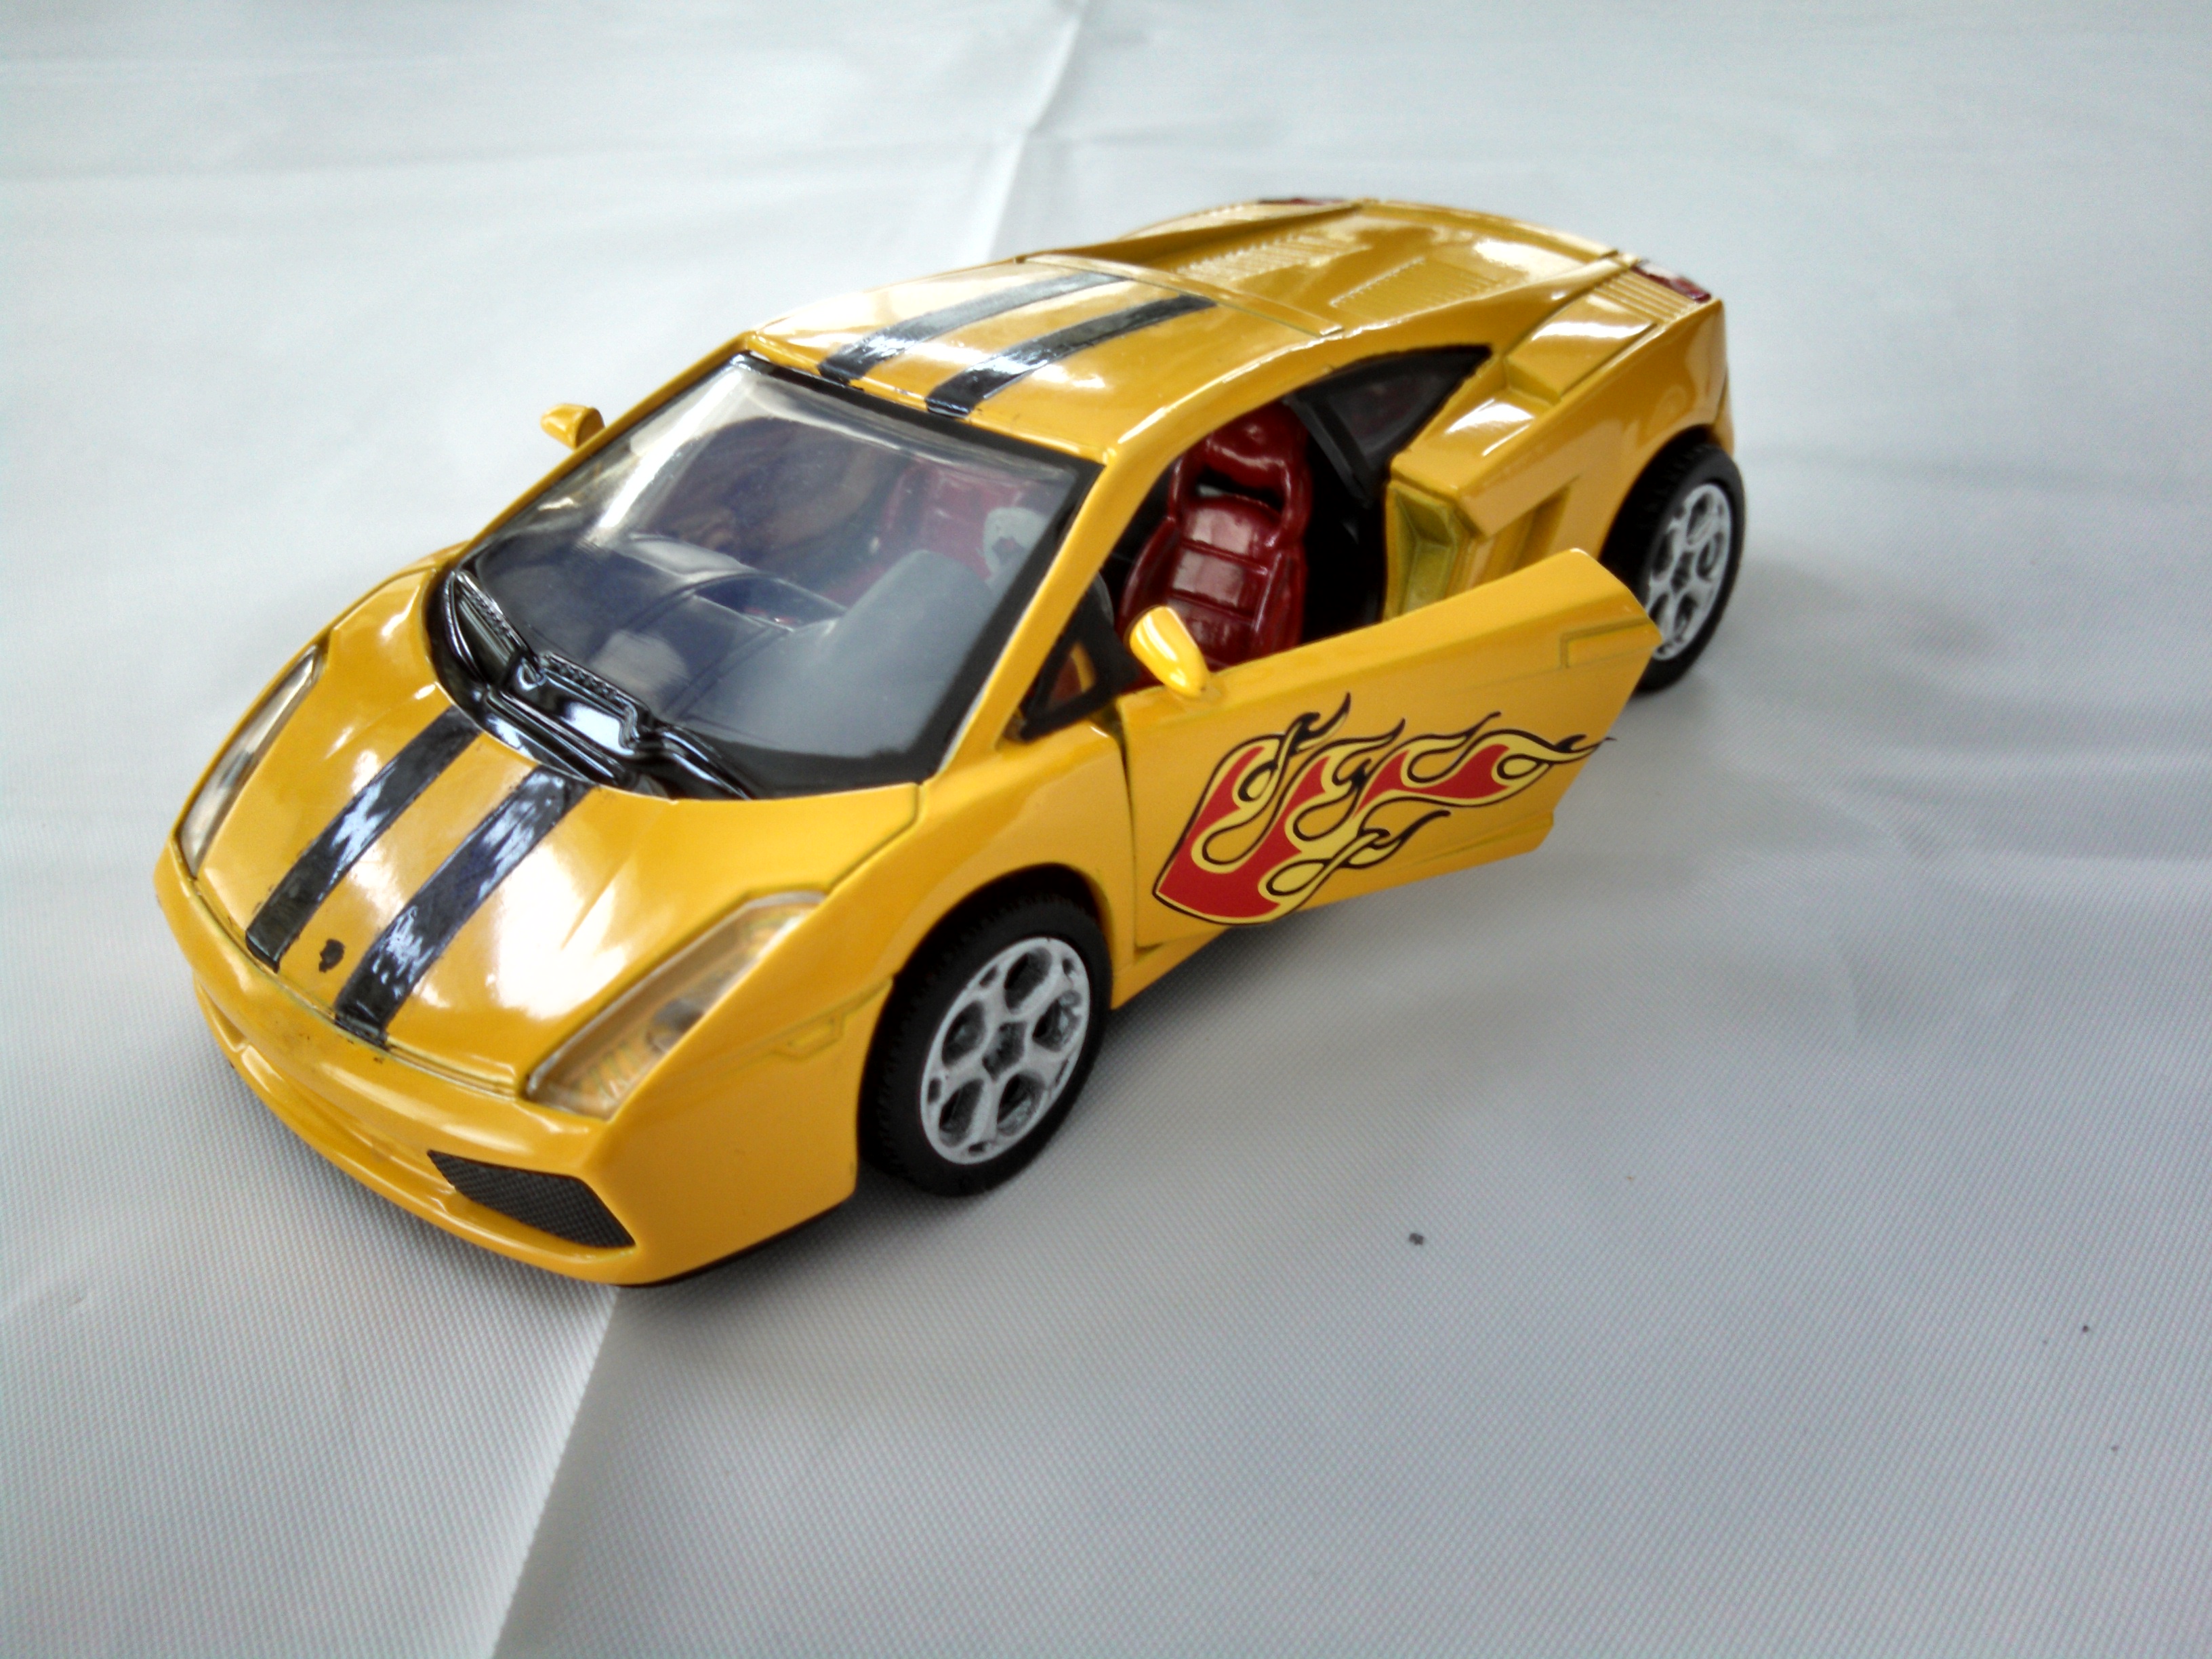
Lamborghini Model Kit with added Paint & Decals
-
Tools & Supplies:
-
4mm Red Beads
-
Dance Plastic Mirror Sheet 9 inches x 6 inches
-
Elmers Glue
-
Exacto Knife
-
Foam Pieces
-
Freezer Paper
-
Hole Punch
-
Jewelry Essentials 6-0 Glass Beads
-
Mailing Tube 1 and Half Inches
-
Printer Paper
-
Rhinestones
-
Sanding Films
-
Scotch Spray Mount Repositionable Adhesive
-
Silver Metallic Card Stock
-
Small Clear Plastic Craft Container with Screw On Lid 1 and 3-8th Inches
-
Squirt Bottle
-
Tape
-

Instructions:
- Using a craft knife cut the mailing tube to 10” discarding the portion with the label on it. Even after the label is removed, the remaining glue residue may interfere with your final painted finish.
- Spray adhesive on one side of an 8.5” X 11” blank page
- Cut a sheet of freezer paper to match and press it to the printer page with the dull side against the adhesive.
- Set up the bonded page in your ink jet printer tray so that the print will appear on the shiny side.
- Print the page of type located here onto the bonded paper. The type on the page is intentionally backwards. It’s a detailed description of a kaleidoscope and how it works. Don’t touch any of the type on the page. Because of the waxy finish, the letters will smudge very easily.
- Cut the printed page to 5.50” wide by 10” long. Peel the freezer paper away from the blank page but be prepared - the freezer paper will want to curl up. Prevent that by holding the blank margins and weighing it down while you follow the next step.
- With a squirt bottle, dampen a paper towel with water. Wrap the towel around the mailing tube to only dampen it slightly. Too much water on the tube will blur the lettering when it is transferred. It might be a good idea to judge how much water you need by doing a test on the excess piece of tube.
- Remove the paper towel from the tube. To transfer the type, press the printed page onto the tube and wrap it around. Press the entire page to the tube with your hands or the back of a large spoon. Do not slide or move the page.
- The type will become darker when it has contacted the dampness. That’s how you know when it has transferred. But it’s not necessary for it to transfer perfectly. Some faded spots will add to the interest of the finished project. Remove the printed page and allow the tube to dry. Use a blow dryer if you are impatient.
- If the cut end of the tube is slightly irregular or looks frayed, smooth and straighten it with sanding film.
- Spray the tube with gold metallic paint in irregular patterns, putting down heavy amounts of paint in some areas and lighter amounts in others. Leave some areas with only a faint coat. The objective is to be able to read the type on most of the tube.
- Print the stencil found here on card stock and cut out the black areas. Spray the back of the stencil with adhesive and press the sticky side onto a towel then peel it off. Do this a few times to minimize the stickiness of the adhesive. Too much adhesive may pull the paint and type off the tube when the stencil is removed.
- Place the stencil on the tube with the long straight edge 5” away from the bottom end of the tube. Use tape to keep the stencil wrapped around if necessary. Protect the rest of the tube and stencil openings from overspray.
- Spray the bottom, large open area with purple paint. Spray purple, red, green, and gold paint on stars and other shapes. Plan where you will apply each color by marking the stencil. When the painting is complete, remove the stencil.
- Scuff the bottom side of the clear plastic container with a sanding film. Sand enough to prevent a clear view through the plastic.
- Add small beads to the container and screw on the cap. Make the kaleidoscope interesting by matching the bead colors to the tube’s paint colors.
- Place the bead container halfway into the cut end of the tube with the scuffed side facing out. Glue rhinestones to the stars and other painted shapes.
- Make a mirror tent by cutting the mirror sheet into three 1 3/8” X 10” strips. Place the strips mirror side down on the work surface and tape them together. Remove the clear protective film from the mirrors.
- Tape the last two edges together to form the tent.
- Insert the mirror unit into the tube. Add foam pieces between the mirrors and tube wall to keep the tent from shifting inside when rotated.
- Make the eyepiece by using a craft knife to cut out most of the center of the plastic tube cap.
- Cut out a piece of metallic card stock to fit the cap and punch a small clean hole in its center. Glue the card stock to the cap.
note: For optimum viewing, hold the bead end of the kaleidoscope up to a window or other source of light. Turn the tube in your hands while looking into the eyepiece. Occasionally, jiggle the tube to redistribute the beads and provide additional and unlimited image combinations.
“Designed and Created for Testors by Domestic-Divaonline.com