Rust-Oleum Projects
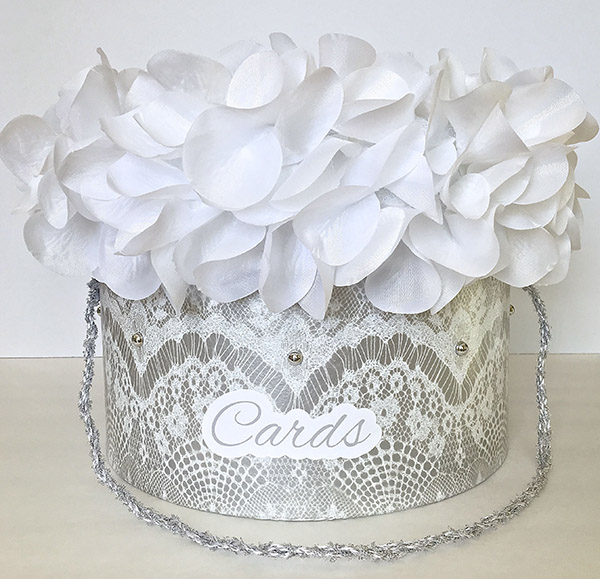
Rose Petal Wedding Card Box
Browse Projects
-
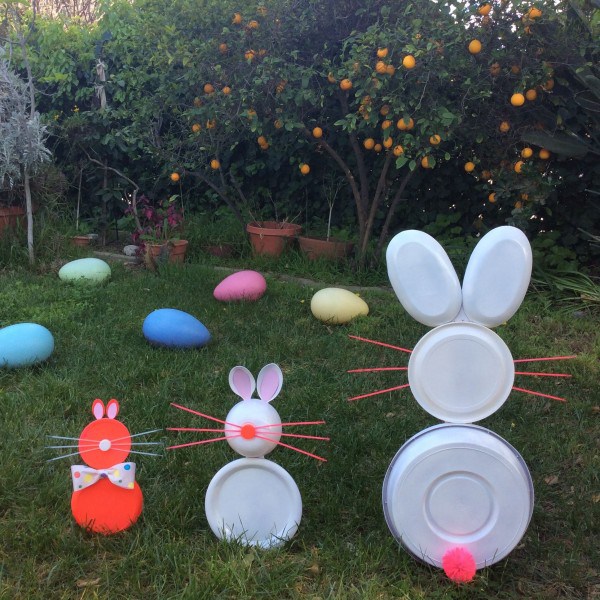
Recycled Easter Bunny Family
-
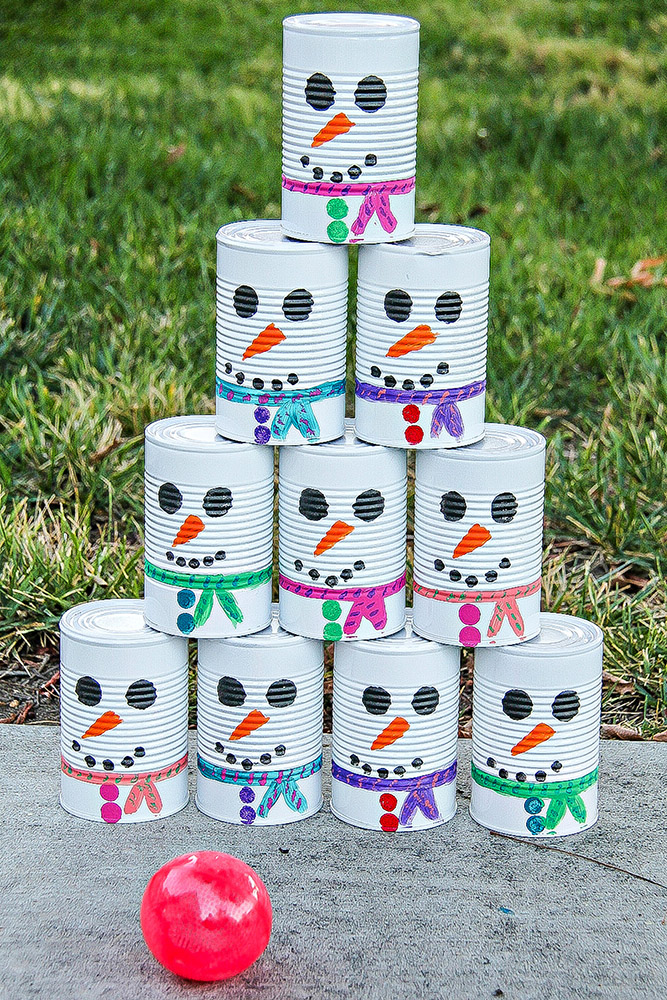
DIY Snowmen Tin Can Toss
-
Tools & Supplies:
-
Repositionable stencil adhesive
-
Paper Mache Hatbox 11” round x 8” high
-
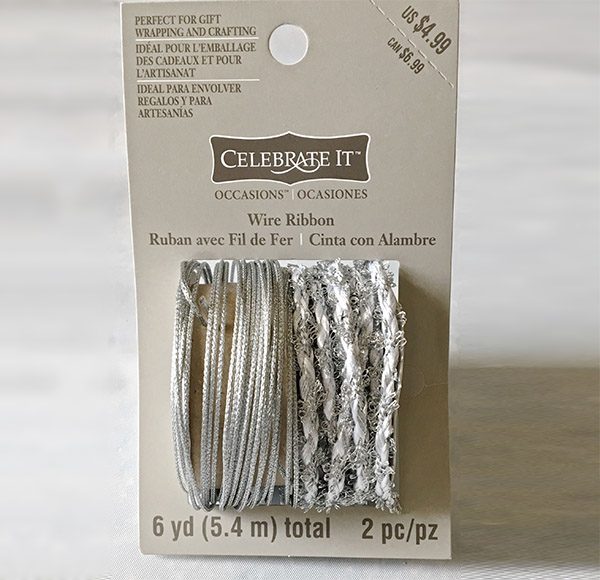
Celebrate It silver and wire ribbon
-
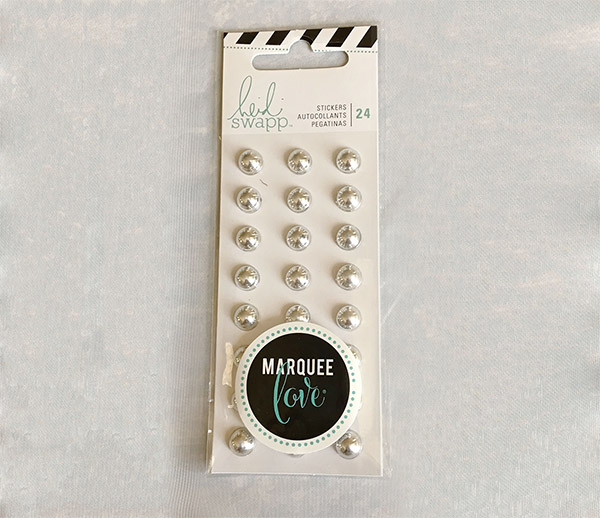
Heidi Swapp silver half ball stickers
-
White metal eyelets
-
Hot glue gun
-
Elmer’s Glue
-
White satin ribbon 1.50” wide
-
Scissors
-
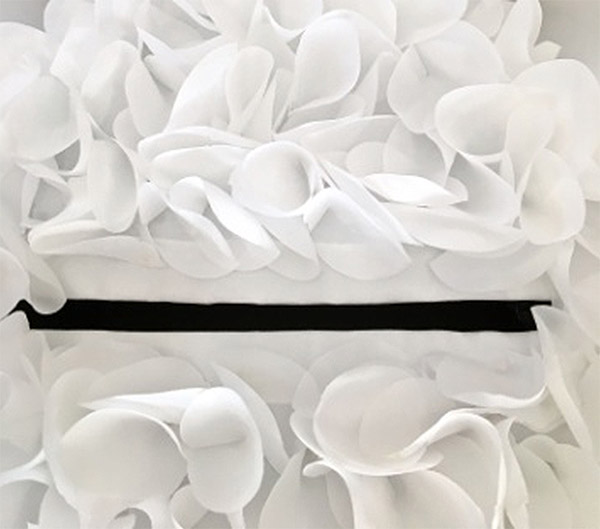
White rose petals
-
Sharp tool for making holes
-
Fancy Lace 10” long 45” wide
-

Create a budget-friendly card box for your wedding reception using Testors airbrushing techniques, paint and some beautiful embellishments.
Supplies
At Testors
Aztek Airbrush
Aztek Paints - 9440 White, 9471 Silver Pearl
Hobby knife 8801AT
At Michaels
Repositionable Stencil Adhesive
Paper Mache Hatbox 11” round x 8” high
Celebrate It Silver and Wire Ribbon
Heidi Swapp silver half ball stickers
White metal eyelets
Hot glue gun
Elmer’s Glue
White satin ribbon 1.50” wide
Scissors
Party City
White Rose Petals
Miscellaneous
Sharp tool for making wholes
Fancy Lace 10” long 45” wide
Project Steps
Tips: Protect your work surface and all areas not being painted. Always allow paint to dry completely before moving to the next step.
Step 1
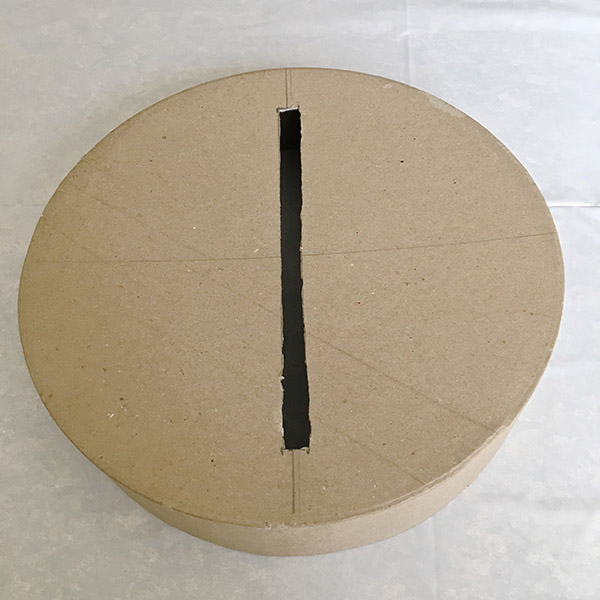
Cut a .50” x 8.25” slot down the center of the hatbox cover. Draw a line to guide you and use a hobby knife with a very sharp blade. Use a gentle sawing motion. Forcing the knife through the surface will tear it.
Step 2
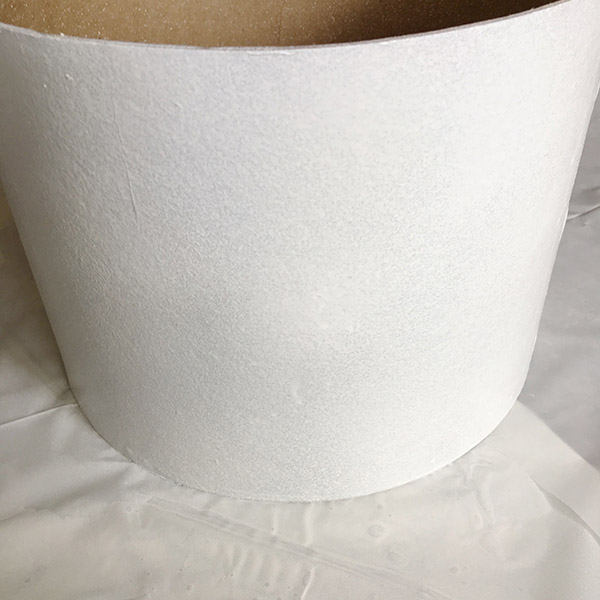
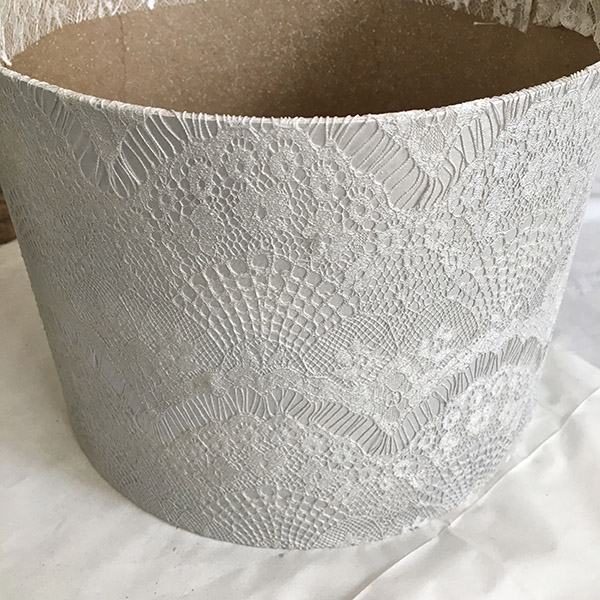
Airbrush the box and cover with white paint. Do not over saturate the surface. Papier-mâché will bubble up if it becomes too wet. Spray fine layers of paint until the box is covered.
Step 3
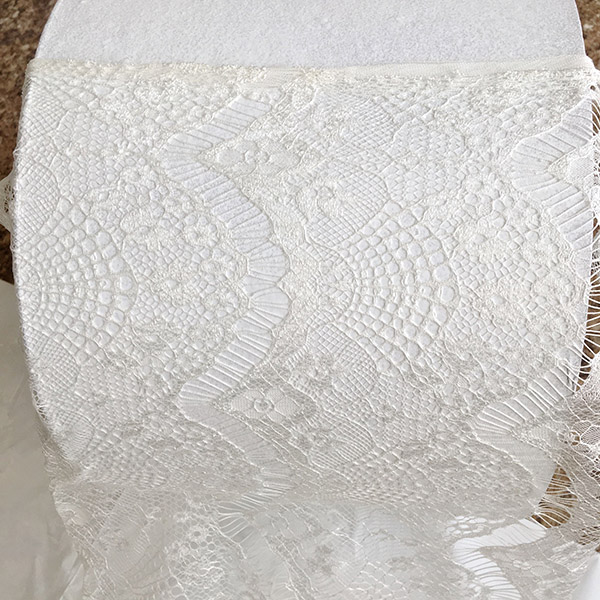
Apply adhesive to the backside of the lace, which should measure approximately 8.50” wide and 34.50” long. Match the selvage edge of the fabric to the side seam of the box. The selvage will give you a straight edge with which to align the fabric to the box. Roll the container pressing the fabric to the surface and keeping the pattern even.
Step 4
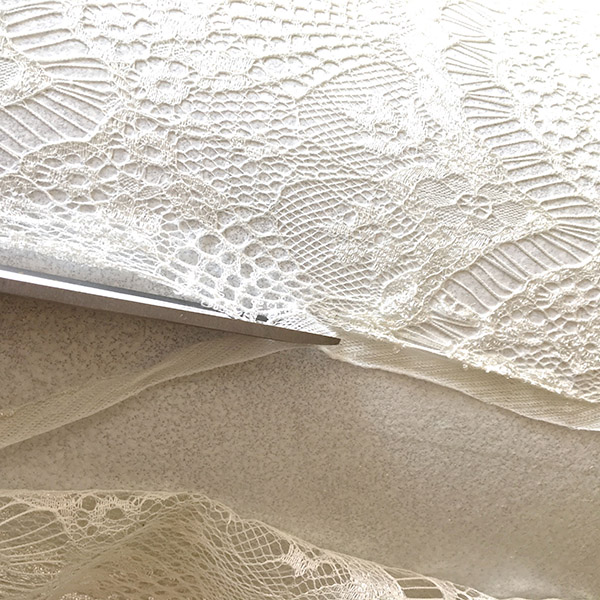
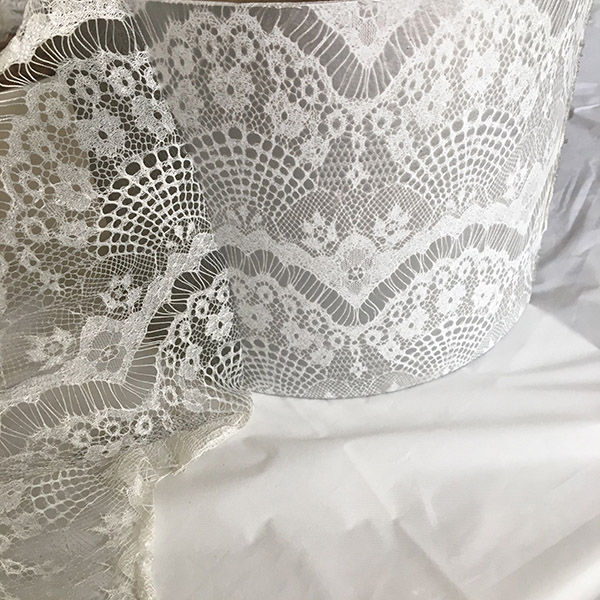
Cut away the selvage edge.
Step 5
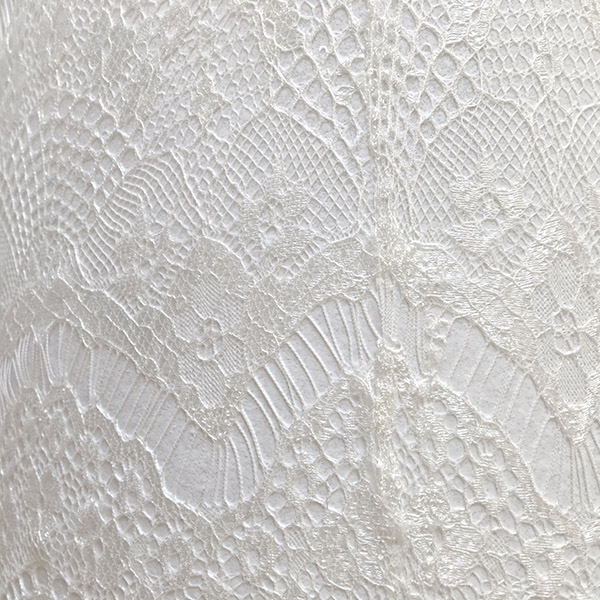
Match the fabric edges and pattern without overlapping them. Press them to the box.
Step 6
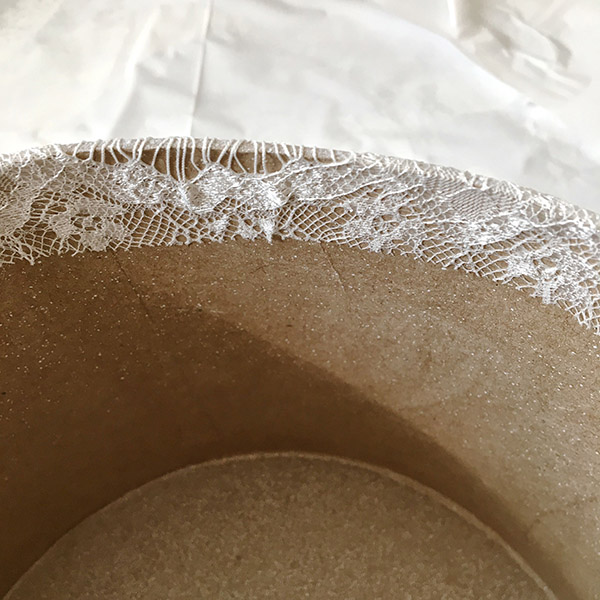
Turn the fabric to the inside of the box and press in place.
Step 7
Check to be sure all the lace is contacting the box. Airbrush the box with silver paint.
Step 8
Gently pull the lace away from the box.
Step 9
Twist two strands of the silver and white ribbon together to measure 36” long.
Step 10
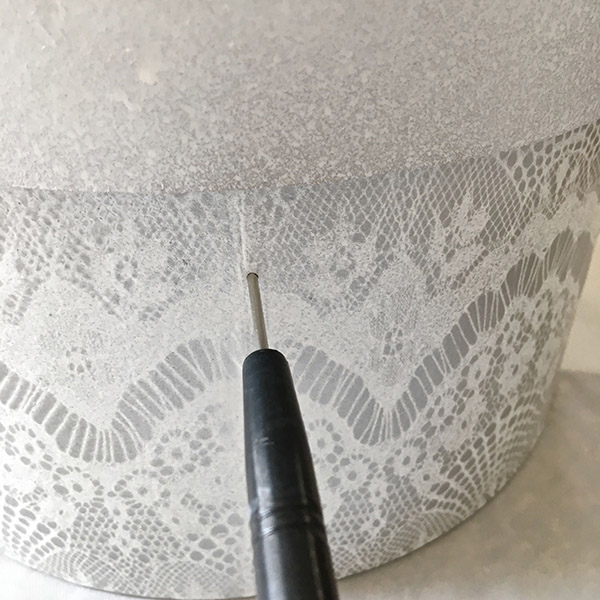
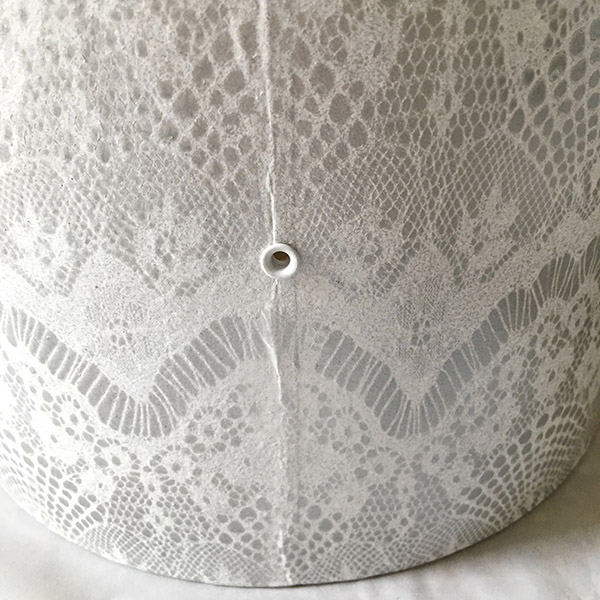
Use a sharp tool like an awl to create a small hole on both sides of the box 4.50” from the bottom. The hole should be large enough to insert the eyelet.
Step 11
Place hot glue in the hole and insert the eyelet. Feed the twisted ribbon in the eyelet from the outside of the box. Tie a double knot in each ribbon on the inside of the box.
Step 12
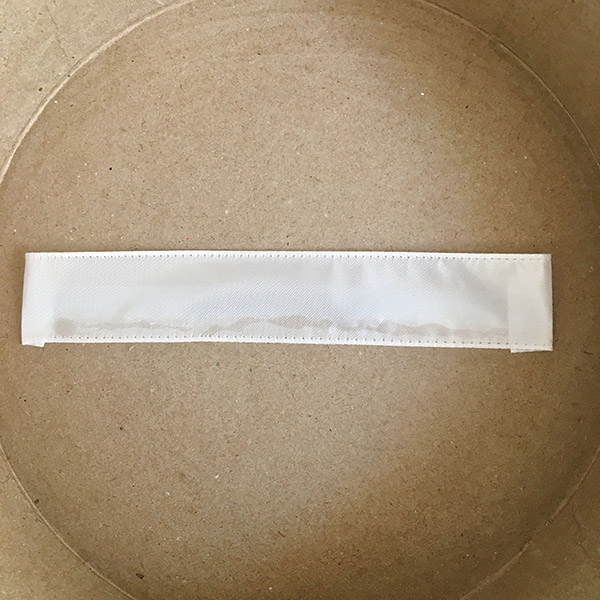
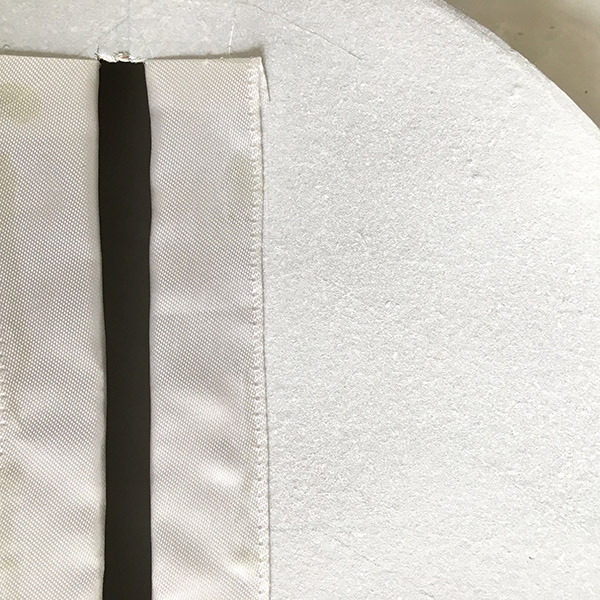
Cut a piece of the satin ribbon 1” longer than the slot in the box. Turn under the raw ends. On the wrong side of the cover hot glue the length of ribbon .50” from one edge of the slot.
Step 13
Bring the ribbon to the right side of the cover and glue in place. Cover the other side of the slot in the same way.
Step 14
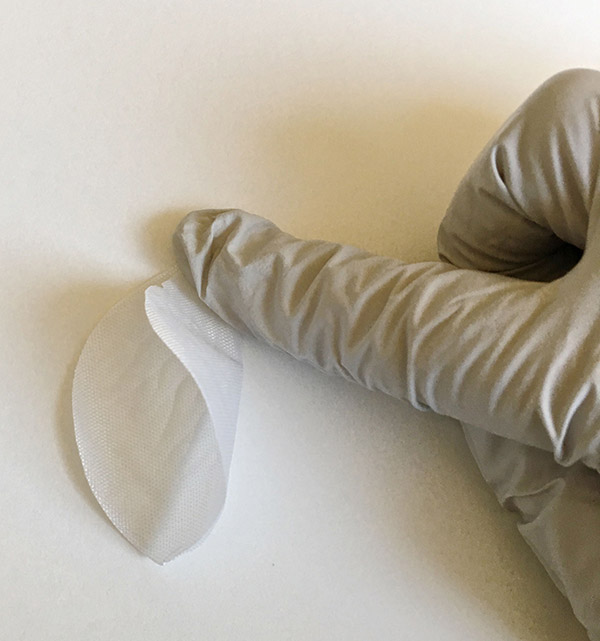
Place a dot of hot glue a little off center at the edge of a rose petal. Fold the other side over the glue.
Step 15
Hot glue petals over the box cover leaving a gap at the slot so the petals don’t interfere with depositing a card.
Step 16
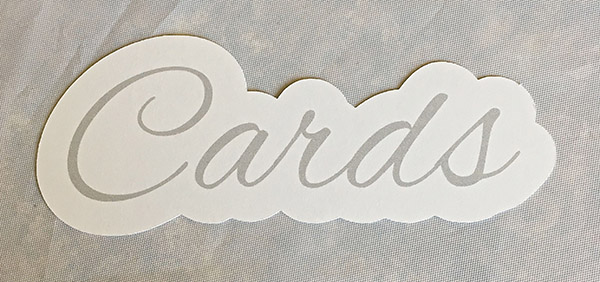
Print the word “Cards” in light gray on card stock using a pretty script font. Cut around the word mimicking the curves of the letters. Attach the card stock to the front of the box with Elmer’s Glue.
Step 17
Place the silver half ball stickers around the box to complement the lace design elements.
Step 18
You could add battery operated twinkle lights to enhance the look of the petals.

Project designed and created by Gloria Uhler at www.Domestic-Divaonline.com for Testor’s Corp.