Rust-Oleum Projects
Spray Chalk Spring Flower Garden
Project creation and images by Tonya Staab for Make and Takes blog.
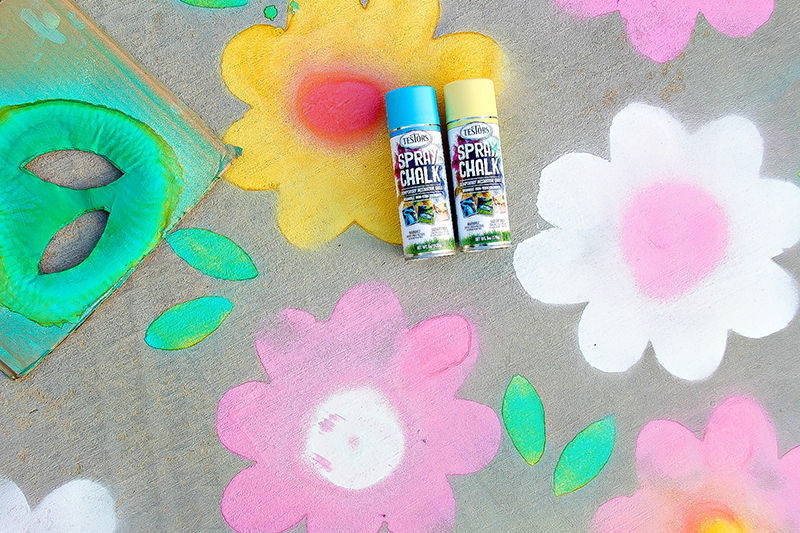
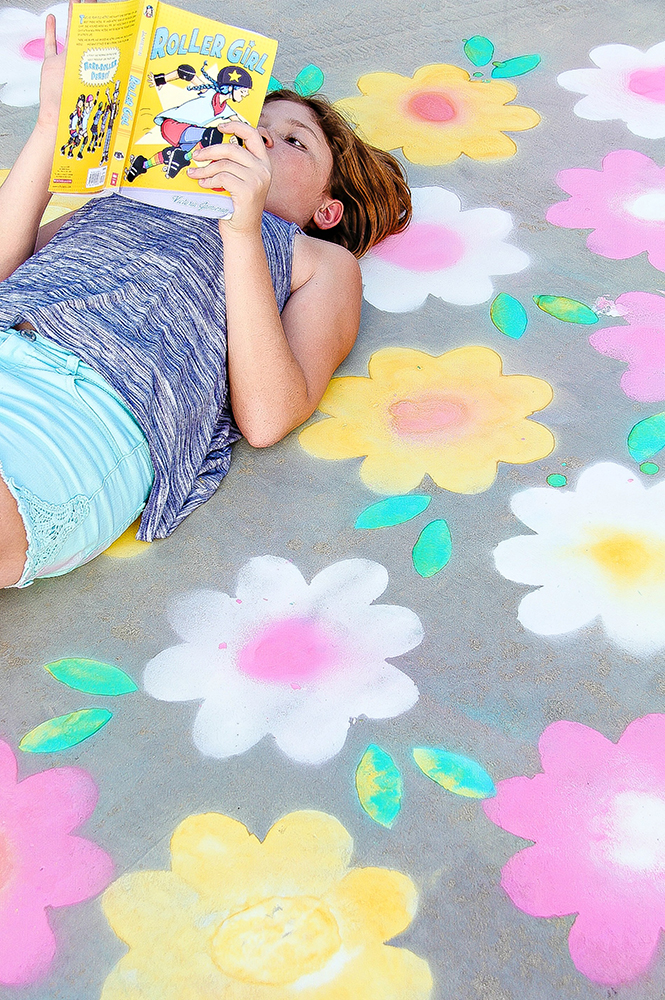
Head outside with the kids this spring and create a 2-dimensional flower garden using Testors’ Spray Chalk.
Materials: Testors Spray Chalk, Cardboard Box, Box Cutter, Marker
Prepare: Sketch flowers and leaves onto the cardboard with a marker. Carefully cut out your sketches with a box cutter.
Make sure working surface is clean and thoroughly dry. Shake the can of Spray Chalk before and during use.
Apply: Hold spray can approximately 4-10 inches from surface and at a 45 degree angle. Place your stencil on a flat surface and spray the chalk around the stencil in a consistent and steady manner. To make new hues, spray colors on top of each other while the chalk is still wet.

Click here to view the full tutorial and additional images on Make and Takes.


