Rust-Oleum Projects
Airbrush a St. Patrick's Day Onesie
Browse Projects
-
"Soup"-er Windowsill Container Gardens
-
Painted Fabric Purse for Mother's Day

-
Tools & Supplies:
-
Broad Stroke Airbrush (AirBrainz, Testors' Amazing Air or Snap and Spray)
-
Air Source (Propellant or Compressor)
-
Frisket Paper
-
Letter Stencils
-
Onesie
-
Scissors
-
Extra White Paper
-
Masking Tape

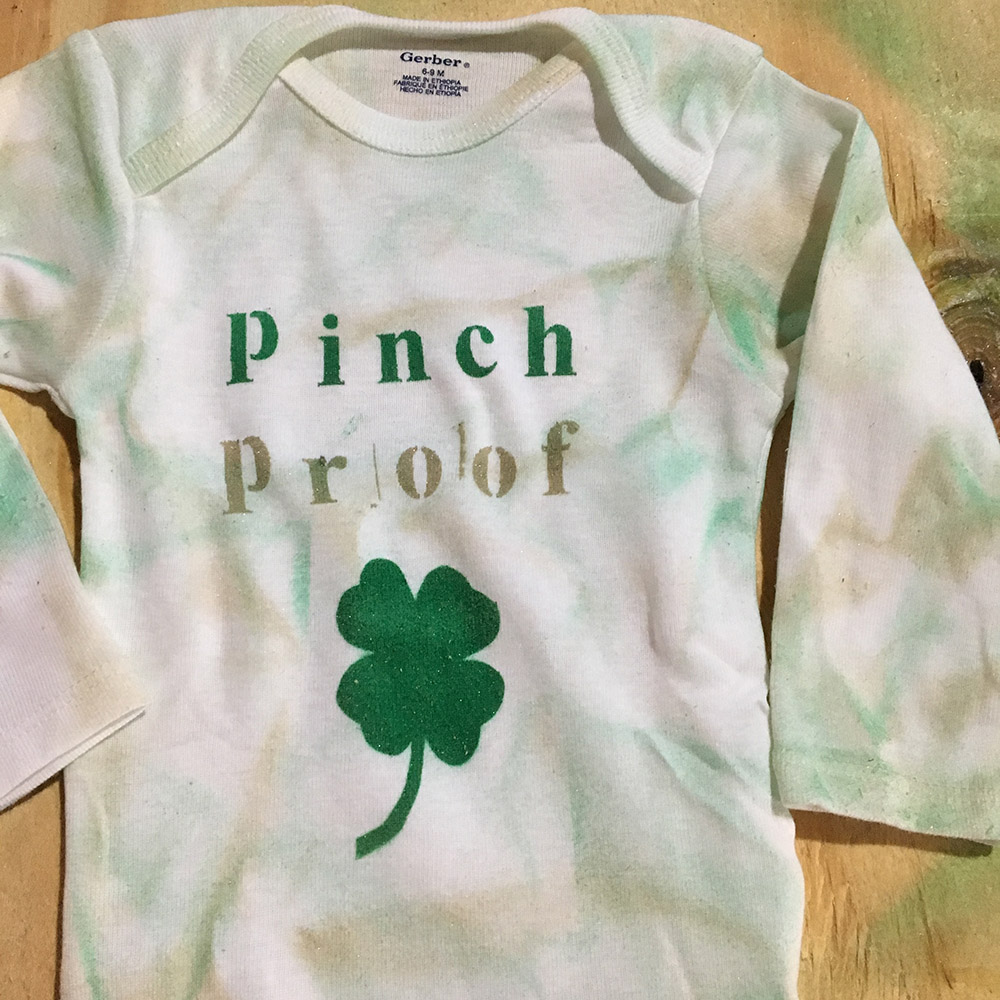
Your little one will look adorable in this hand-painted onesie perfect for St. Patrick's Day. Airbrush stenciled lettering ensures your little one is "pinch proof" from all leprechauns.
Project Steps
Step 1
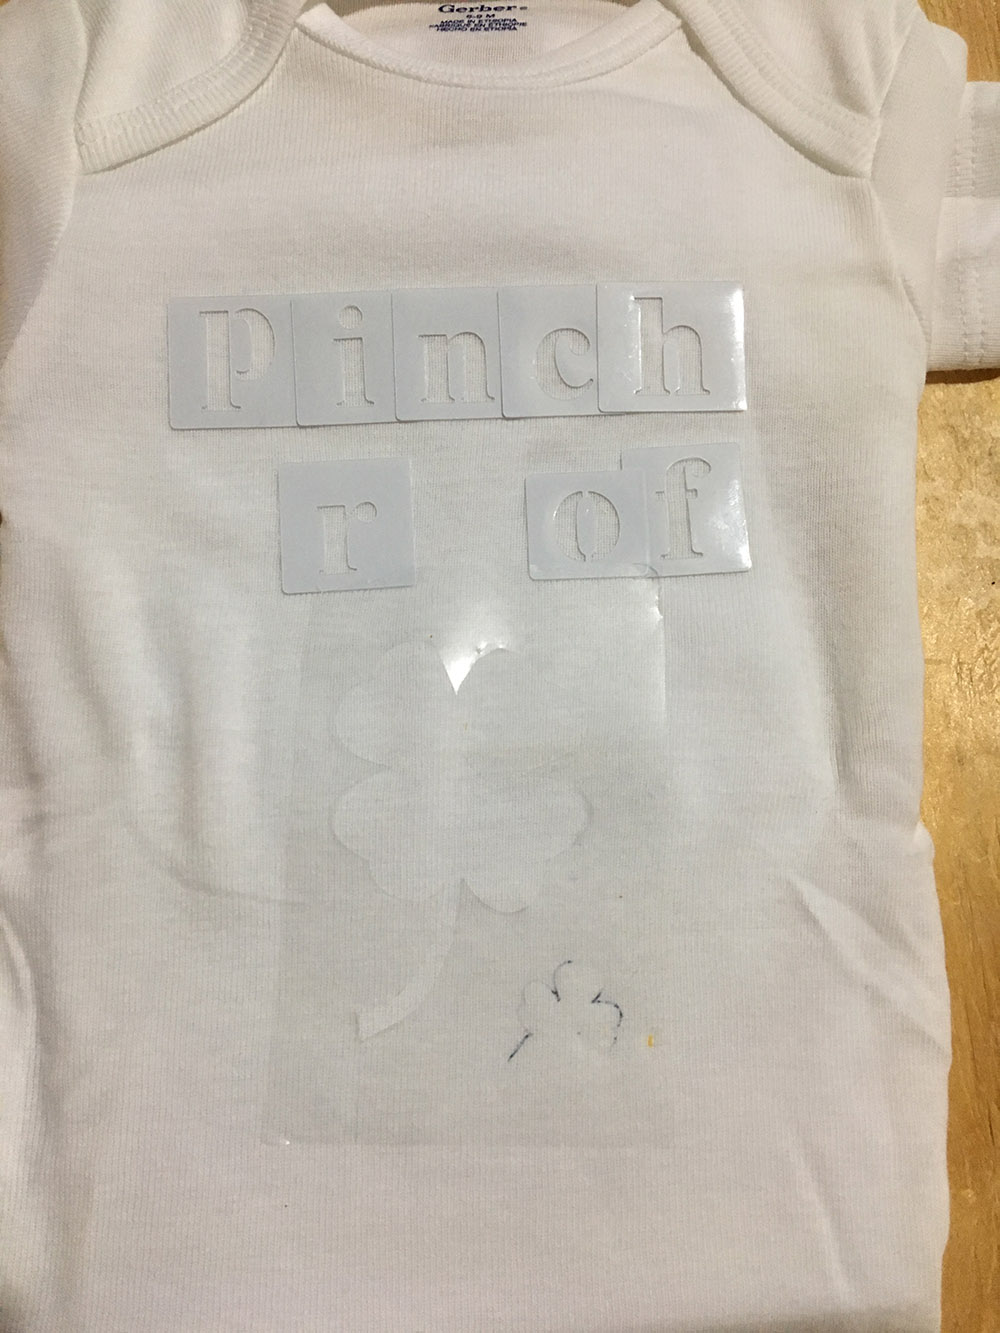
Put a rigid piece of cardboard or sheet of paper inside the onesie so paint doesn’t bleed through to the back. Layout the Letters to spell “pinch proof." Print a shamrock and trace design onto frisket paper. Cut out shamrock image. Lay Shamrock under your Pinch Proof lettering.
Step 2
Set up your airbrush, air source, and paints by connecting your airbrush to your air source. Connect your dip tube to your clip cap, fill one ¼ oz jar half full with the green paint, and screw the clip cap onto the ¼ oz jar. Connect your second clip cap (with dip tube inserted) to your ¼ oz jar with the metallic gold paint.
Step 3
Mask off the rest of your project so you do not get overspray onto your shirt. You can achieve this in many ways including blocking the shirt with white sheets of paper and using tape to hold the paper down. Be sure it is TIGHT or the spray can easily get under your stencil as well as your masking.
Step 4
Connect your clip cap/jar, filled with the green paint, to the airbrush and test spray away from the project to be sure it is spraying properly. Once you are comfortable, spray the “Pinch” with the green paint. Reposition your mask and spray your shamrock using the green paint as well. Change out your clip cap & jar to the one with the metallic gold paint and spray “proof."
Step 5
If you want more color on your shirt – feel free to scrunch the shirt and spray one color. Spread out the onesie and re-scrunch. Change your paint to the second color and spray. Feel free to spray the back with the scrunch technique as well!