Rust-Oleum Projects
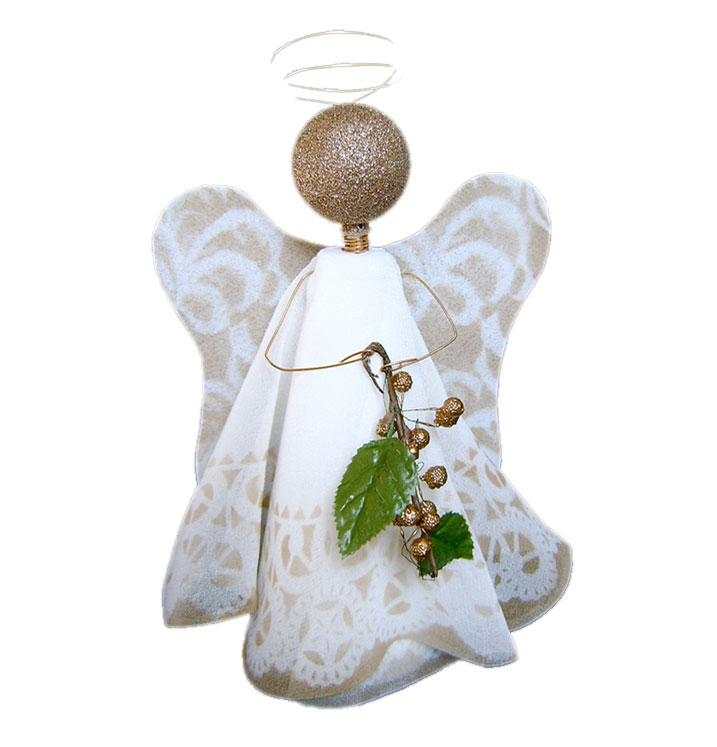
Christmas Angel
Browse Projects
-
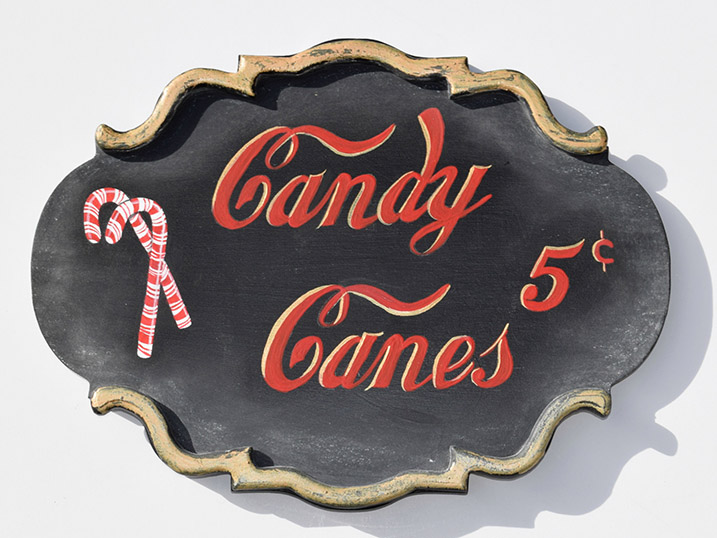
Candy Cane Plaque
-
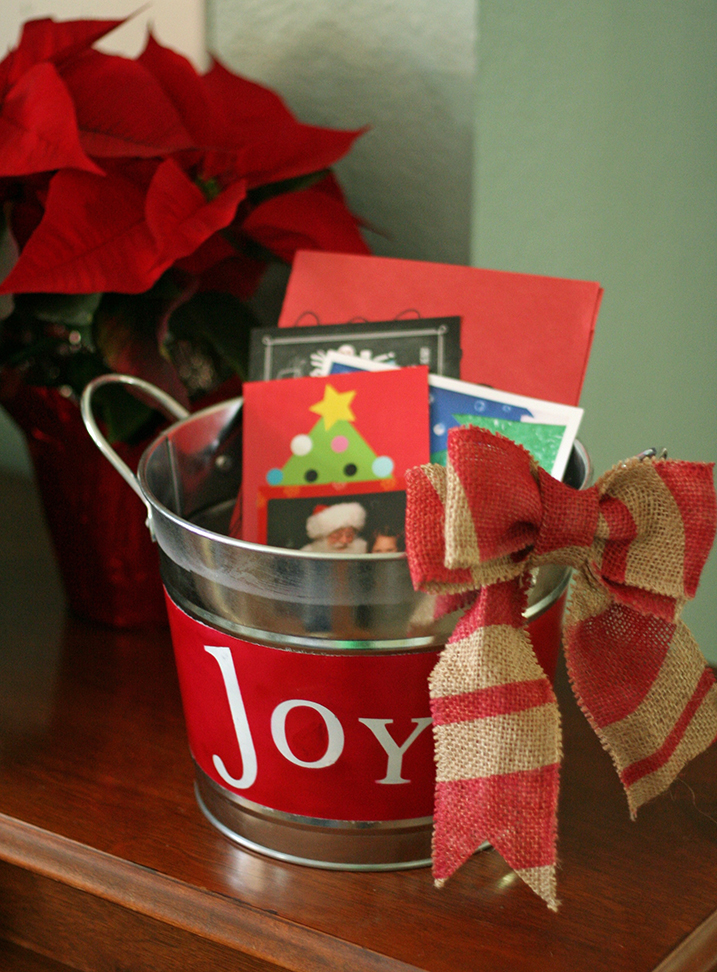
Aztek Airbrushed Christmas Joy Bucket and Burlap Bow
-
Tools & Supplies:
-
Brush 1 inch
-
Decoupage
-
Freezer Paper
-
Glue
-
Gold 22 or 24 Gauge Wire
-
Gold Wire Headpins
-
Ivory Sheer Fabric 18 inches X 45 inches
-
Marker
-
Repositionable Adhesive Spray
-
Round Paper Doily 12 inches
-
Round Pearls
-
Scrap of Lace 8 Inches
-
Small Leafy Christmas Decor
-
Styrofoam Cone 6 Inches
-
Toothpicks
-
Wire Cutters
INSTRUCTIONS:
THE BODY
- Cut 4 squares of freezer paper: one for the angel body measuring 16”, and three for the wings measuring 8” each.
- Iron sheer fabric onto all freezer paper squares. The freezer paper will keep the fabric stable while you work.
- Place the 16” bonded fabric/paper square onto a work surface paper side up. Using the template, trace a 12” circle onto the freezer with a marker. You should be able to see the circle through the sheer fabric. Using the marker, place a dot in the center of the circle.
- With the fabric side up, use a one-inch brush to paint an even coat of decoupage on the circle outline. Straddle the line with the center of your brush to put down the decoupage half inside the line and half outside. This sealer will prevent the fabric edge from fraying when it is cut.
- When the decoupage is dry, spray the backside of a 12-inch paper doily with repositionable stencil adhesive. Align the doily with the fabric circle and press to adhere.
- Spray paint the doily.
- When dry, carefully peel away the doily then peel the fabric away from the freezer paper.
- Drape the fabric over the Styrofoam cone with the dot in the very center.
THE WING
- Place one of the 8” squares onto a work surface, paper side up. Trace the wing template using a marker.
- Use a brush to evenly coat the entire fabric side surface of each of the 8” squares.
- Bond all three squares as follows: When the squares are completely dry, remove the freezer paper from one square and set the square down on the layer with the wing outline. Paint with more decoupage, which will bond the two fabrics. Repeat with the third wing and let dry.
- Spray adhesive on the back of a scrap of lace and place it over the wing shape. It should cover the wing completely.
- Spray paint the wing. When the paint has dried, remove the lace and cut out the wing following the line created with your marker. Carefully peel away the freezer paper.
THE DETAILS
Head
- Place enough toothpicks in the hole of a ball ornament to fill the space. Glue the toothpicks to the ball.
- Wrap gold wire around a knitting needle or a skinny pen five times to form a coiled ring small enough to cover the toothpicks. Snip away any excess wire.
- Insert the toothpicks into the spiral wire and push it into the dot in the fabric leaving about ¼” space between the head and the body. Making a hole with the tip of a craft knife first, will make it easier to insert the toothpicks.
Halo
- To form the circular halo, double wrap wire around any round object (we used a craft glue container) measuring approximately 1 ½”. Slide the wire off the container. Make a 45 degree bend in the excess wire leaving a 2 ½” tail. Smooth out any kinks in the wire circle.
- Wrap the opposite wire end around the angle and snip off the excess.
- Push the wire stem into the Styrofoam behind the angel’s head.
Arms
- Cut a piece of wire 8” long. Stick the wire through the Styrofoam ¼” down from the neck. An even amount of wire should stick out of each side. Bend the wire to form angled arms.
- Stick the wire ends through a purchased piece of ornamental leafy Christmas décor and loop the ends.
Attach The Wings
Put nail head wires through three pearls. Place the wings on the back of the angel. Position one pearl at the top of the wings, and push the nail into the Styrofoam. Place another pearl at the middle and one at the bottom to secure the wings in place.
Designed and Created for Testors by Domestic-Divaonline.com