Rust-Oleum Projects
Aztek Airbrushed Lighted Doily Christmas Tree
Browse Projects
-
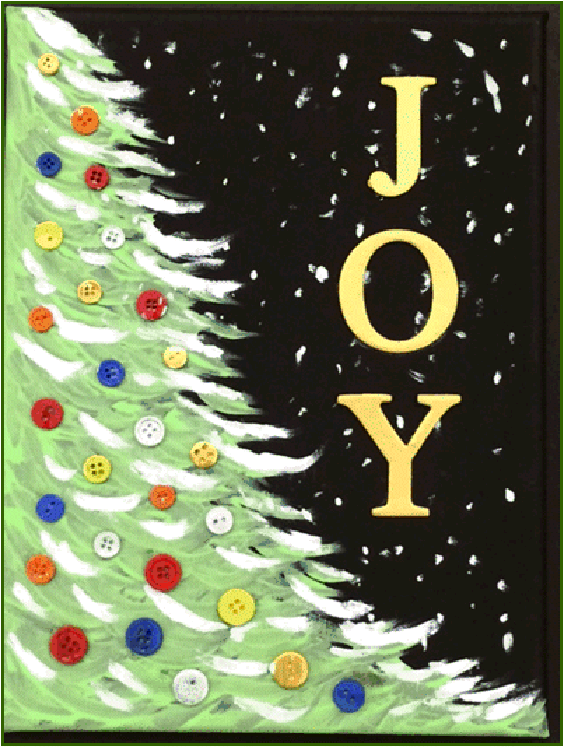
Joyous Night
-
Easy Cardboard Christmas Ornaments

-
Tools & Supplies:
-
Metal Star
-
Pipe Cleaners
-
Pearls
-
Scissors
-
Glue Gun
-
12 inch paper mache cone
-
Tiny Lites 20 LED battery powered lights
-
10 round polyester doilies
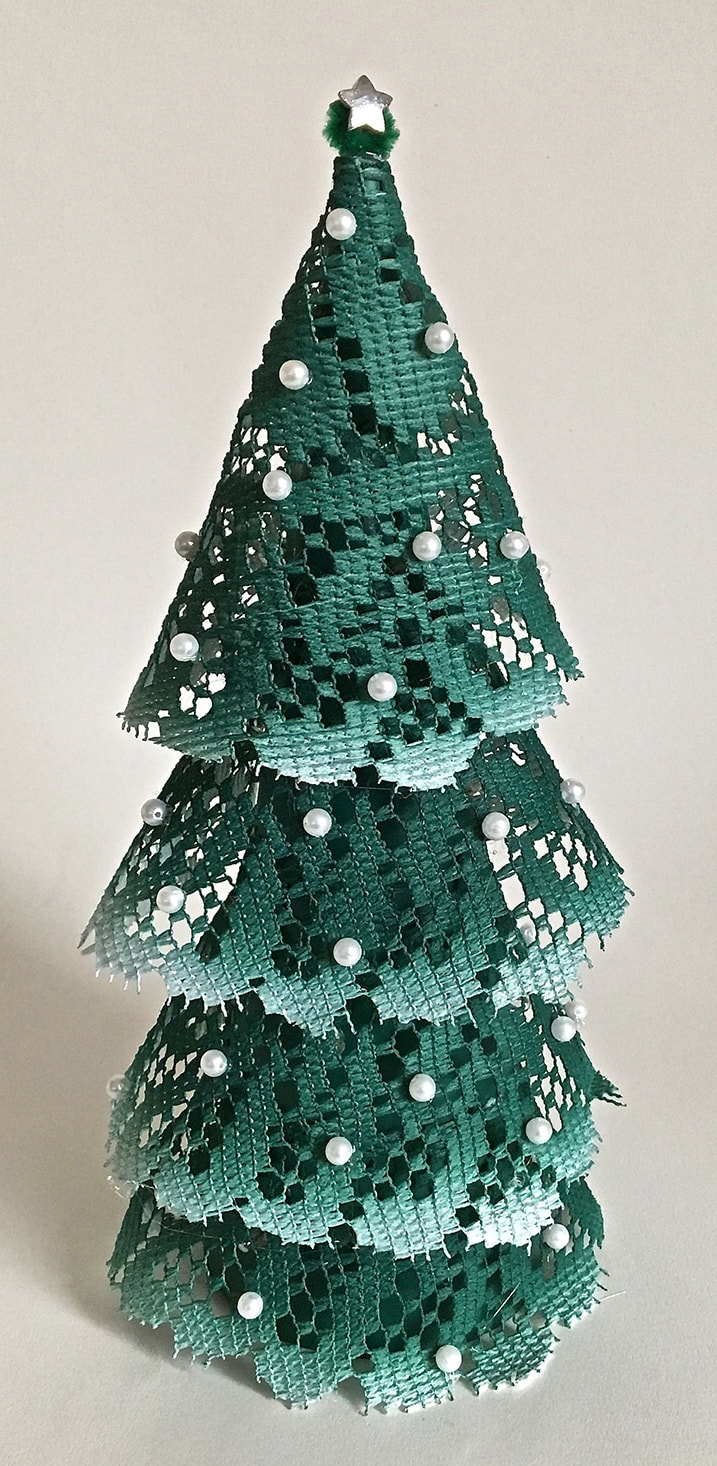

Aztek Airbrushed Lighted Doily Christmas Tree
Project designed and created by Gloria Uhler at Domestic-Divaonline.com for Testor’s Corp.
Supplies:
At Testors
Aztek Airbrush & compressor
Aztek Paints - 9446 Red, 9451 Green
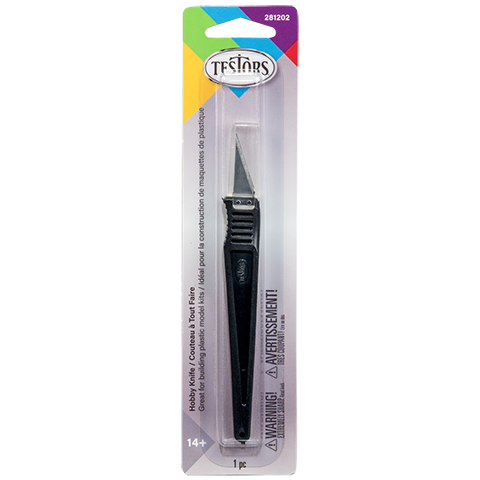
Hobby Knife
Miscellaneous
12” Paper Mache Cone
metal star bead
green pipe cleaner
Tiny Lites - 20 LED battery powered lights
10” round polyester doilies - 2
Pearls
Sharp scissors
Hot Glue Gun
note: Protect your work surface and all areas not being painted. Always allow paint to dry completely before moving to the next step.
Project Steps
Step 1
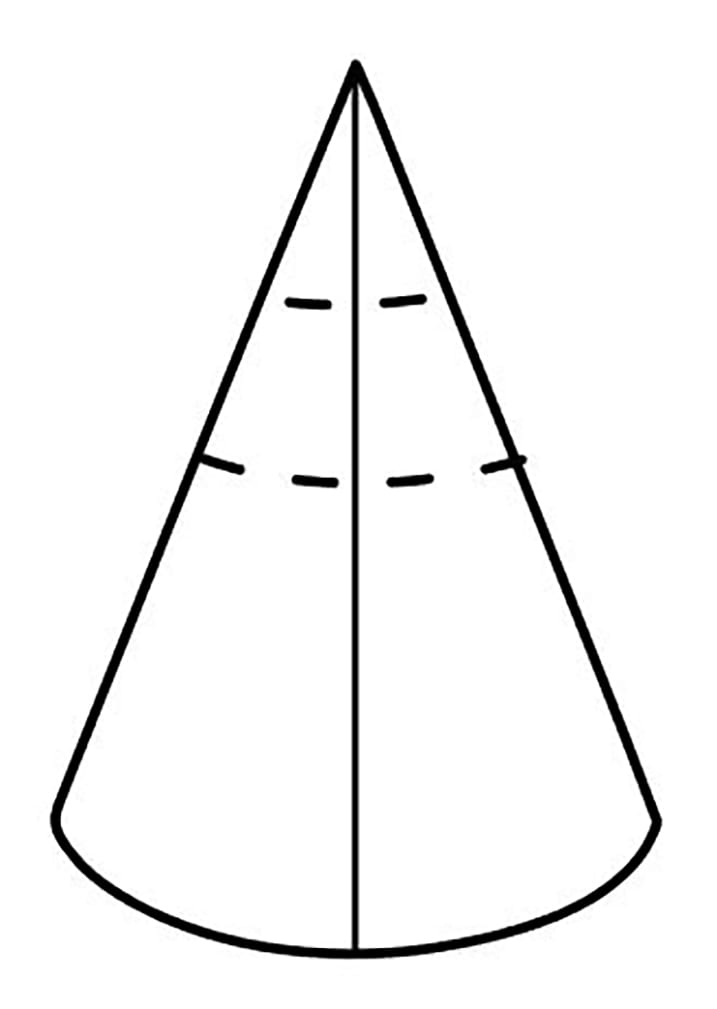
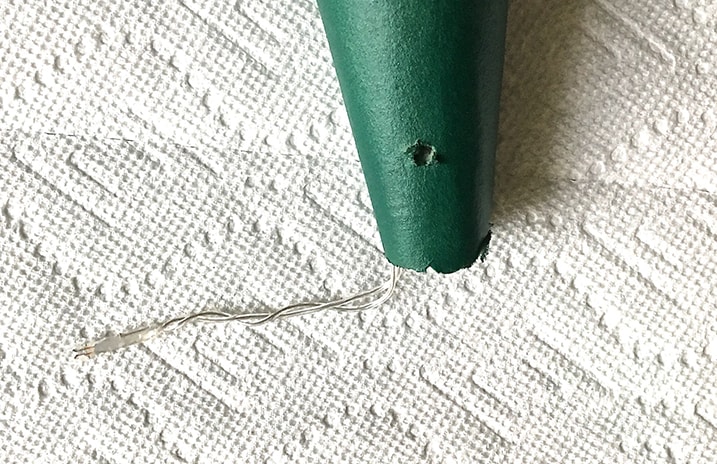
With a craft knife, cut the tip off the Paper Mache cone leaving a small hole for inserting a pipe cleaner later.
Step 2
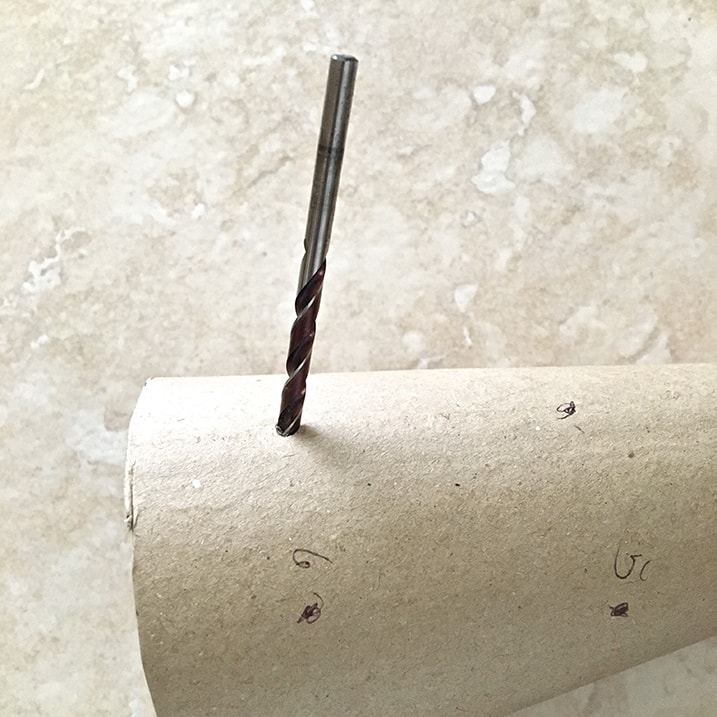
Mark the cone with 20 dots for the placement of the lights. Distribute them evenly around the cone by starting one inch from the bottom and working to approximately one inch from the top. Create a row with six dots around the cone, a row with five, then four, three and two near the top. Pierce the dots with a thin pointy object. Enlarge the hole by twisting in an 11/64 drill bit with your hands.
Step 3
Since the upper portion of the cone is too small to reach into and insert the lights, use a hobby knife to slice across the narrower sections separating the cone into three pieces. Set aside.
Step 4
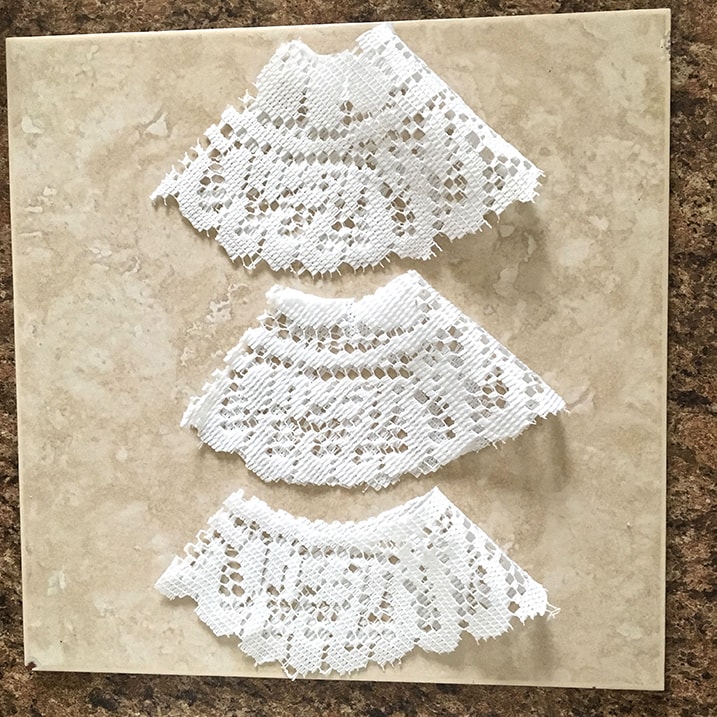
Fold two doilies in half and cut them on the fold with scissors. Fold each one in half. Following the curved design of the doily, trim the pieces to the lengths: 2.50”, 3.50”, 3.50”, and 4.50”. (only three are pictured) The 2.50” piece will later be placed around the bottom of the cone, followed by the next largest, etc.
Step 5
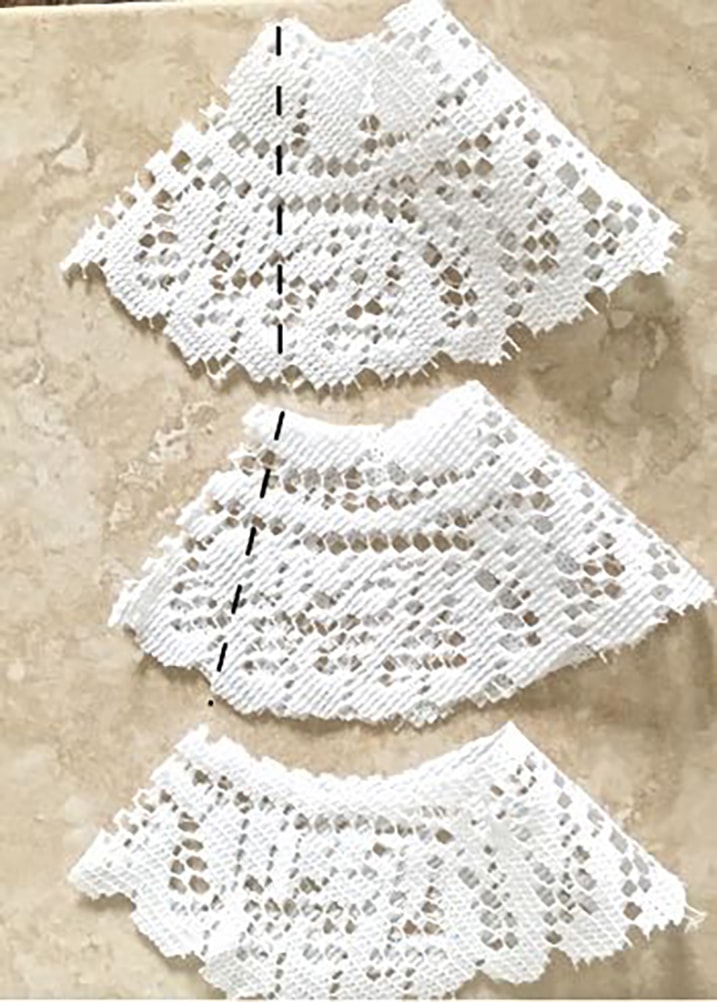
note how the straight edges of the pieces meet when wrapped around the cone and adjust the angle of each as necessary so they all match. The doily at the top of the cone will require the most adjustment.
Step 6
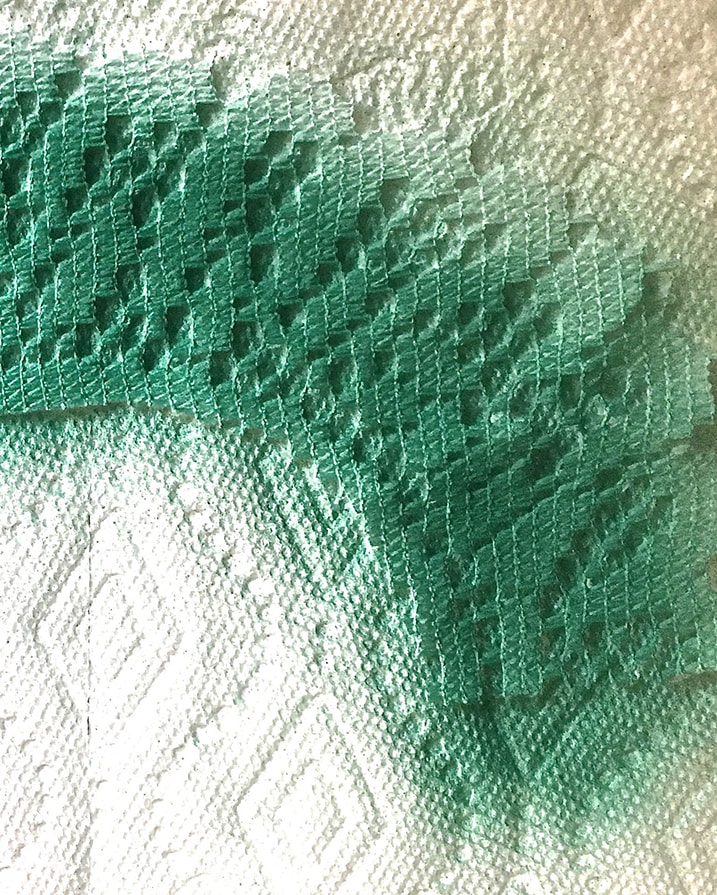
Mix a little red paint with the green to create a deep Green color. Airbrush the three cone pieces. Airbrush the four doily pieces leaving a .25" white rim on the curved edges.
Step 7
Insert the end of the light string through the cone pieces in order with the end bulb in the cone's top piece and the battery pack at the bottom.
Step 8
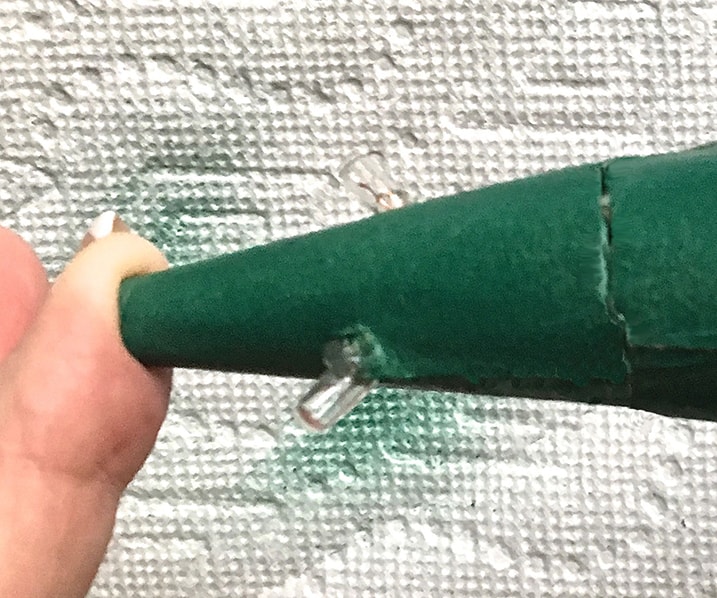
From inside, push bulbs out the two top holes. Apply hot glue to the base of each bulb. Push the bulb back into the hole so that it only protrudes slightly. Allow the glue to set to secure the bulb in the hole.
Step 9
Insert bulbs into the next cone piece and hot glue them in place. Hot glue the top and middle cone pieces together.
Step 10
Continue filling the holes with bulbs and gluing them in place. Hot glue the remaining two cone pieces. Glue bulbs into the bottom portion of the cone.
Step 11
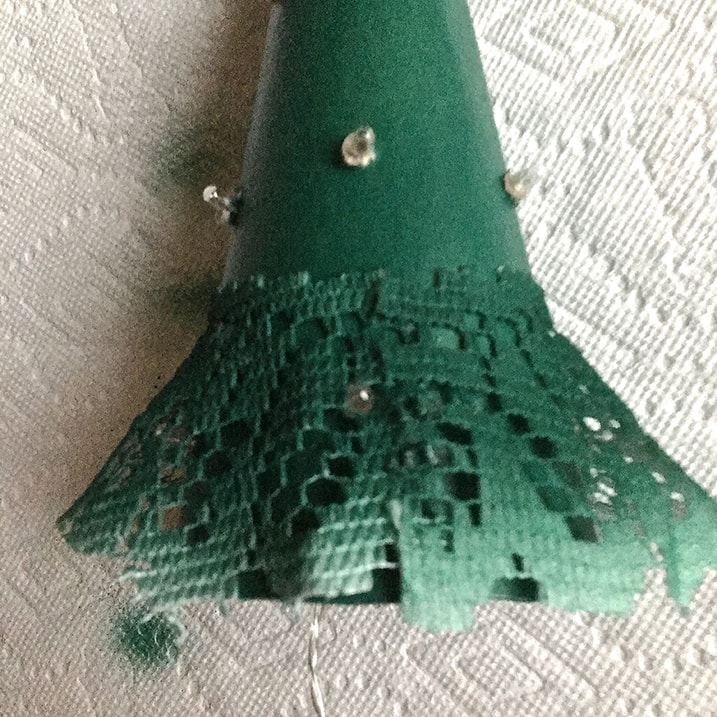
Bring the straight edges of each doily together and apply dots of hot glue. Slip each cone shaped doily onto the painted paper cone in order. Dot glue at the top edges of each to keep them from slipping around the cone.
Step 12
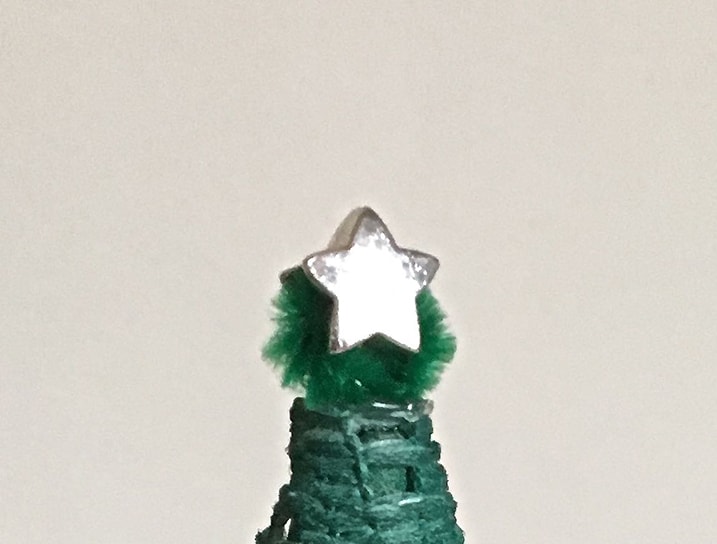
Run a pipe cleaner through a star bead. Twist the ends. Dot the twist with glue and insert it into the hole in the top of the cone.
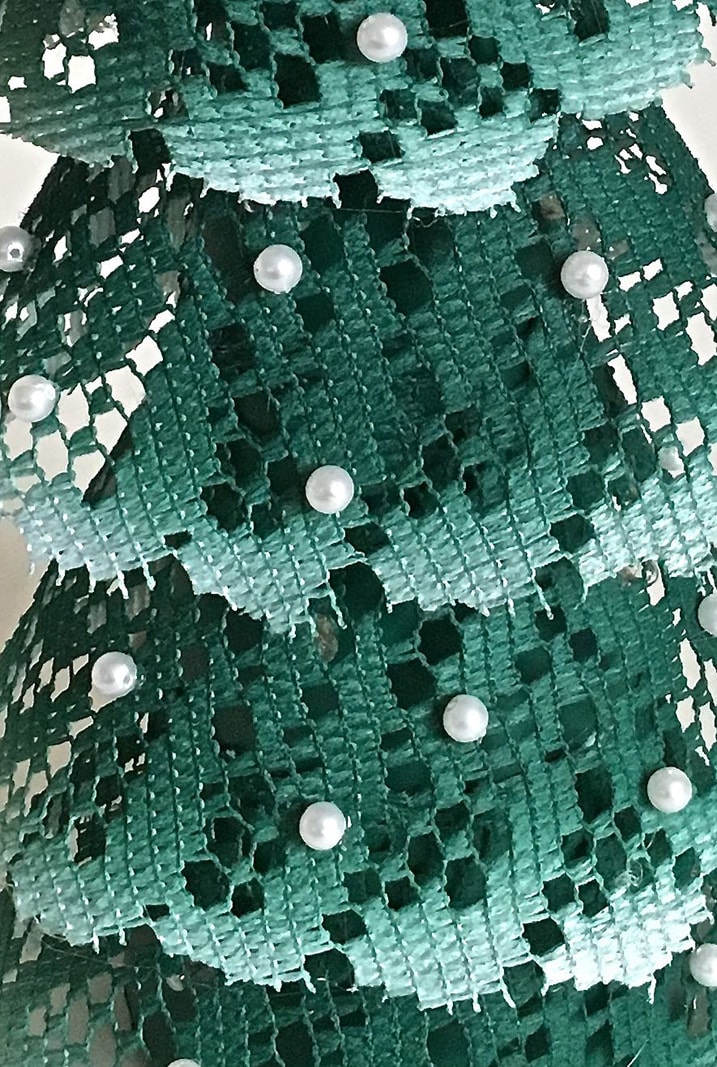
Step 13
Hot glue pearls to the doily layers.
Step 14
Push aside the wires inside the cone to store the battery pack with the switch facing down.