Rust-Oleum Projects
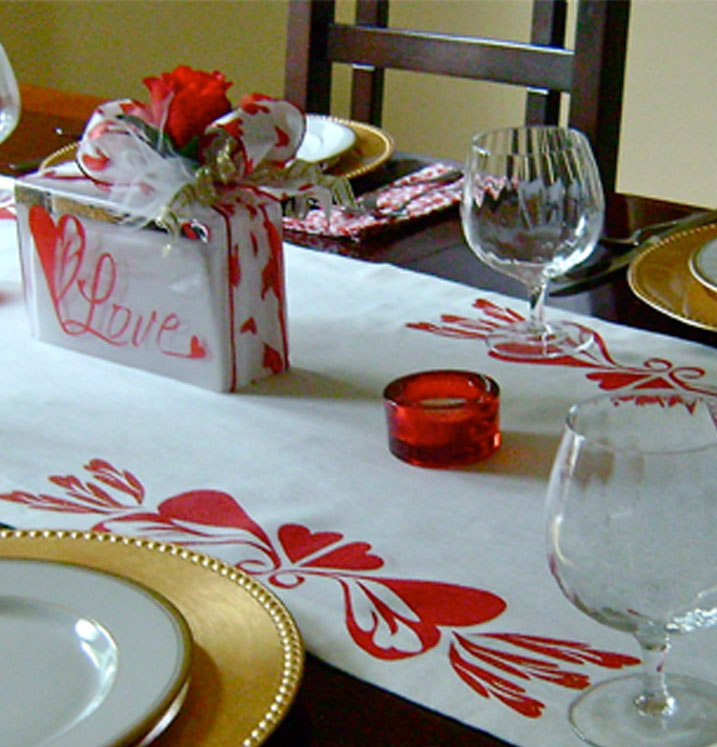
Red Heart Table Runner
Browse Projects
-
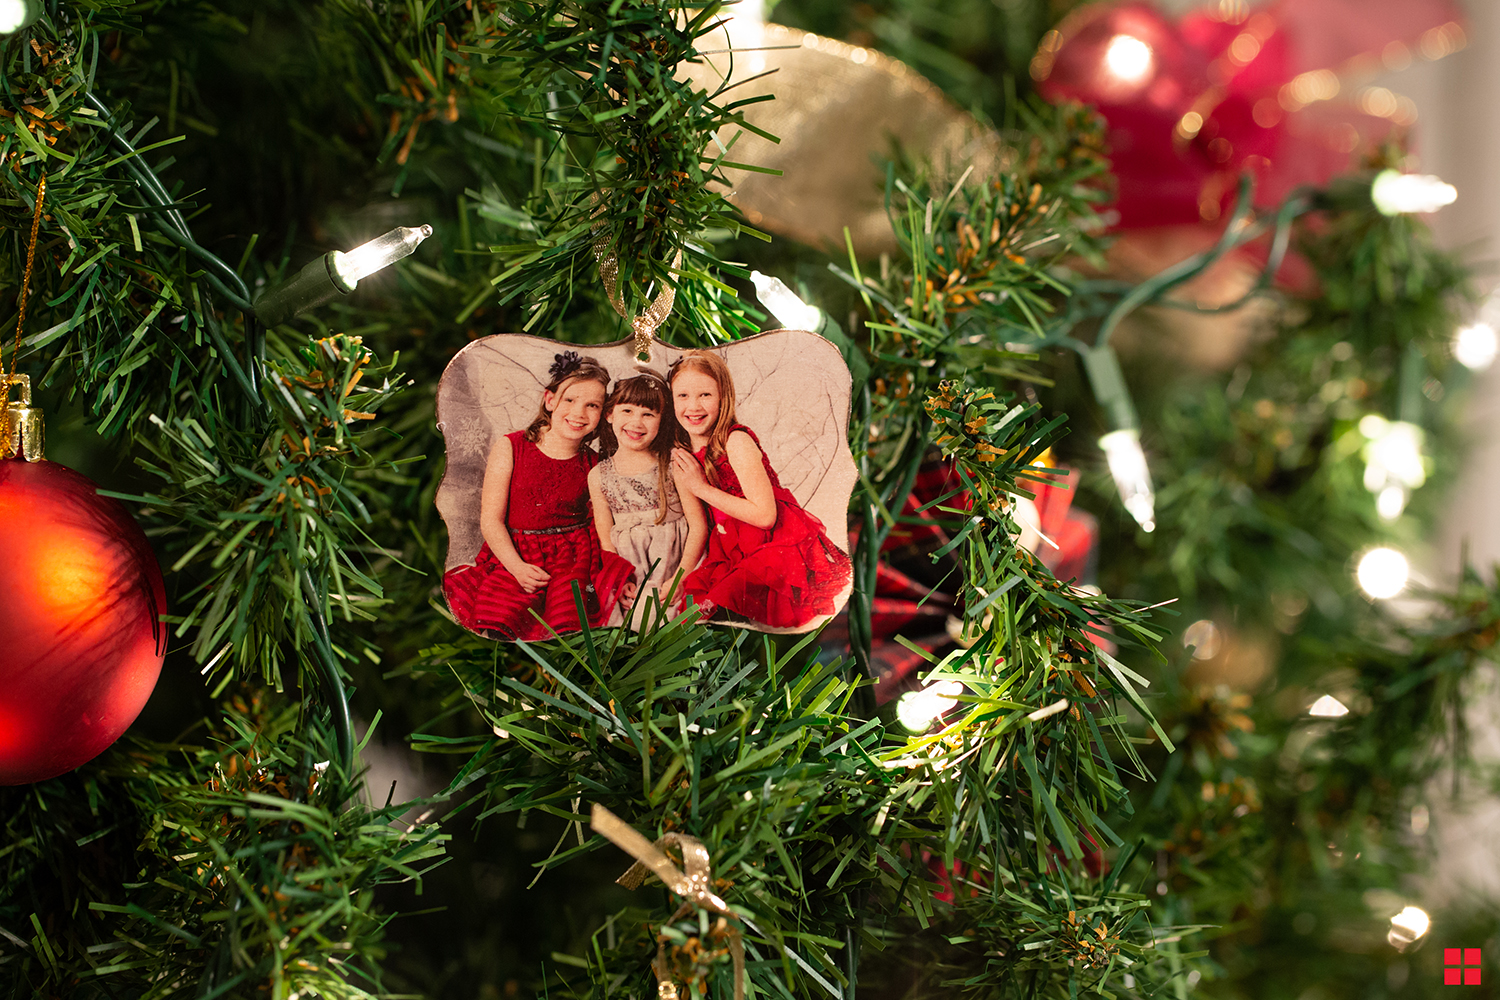
DIY Photo Ornaments
-
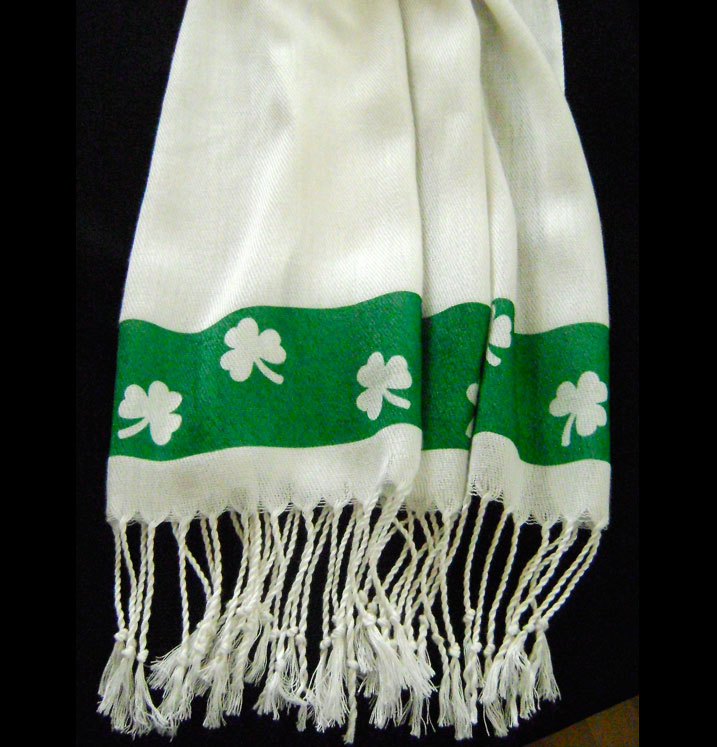
Shamrock Scarf
-
Tools & Supplies:
-
Card Stock
-
Gold Glitter Fabric Paint
-
Heavy Needle
-
Repositionable Spray Mount Adhesive
-
Sewing notions
-
Stencil
-
Tape
-
White Linen 2 and a Half Yards
-
Instructions:
- Cut the linen to measure 24" wide.
- Find the straight edge of one side by pulling threads in the weave. Remove rows of threads until you have a straight line across the 24" fabric. Once you do, cut along that line.
- Begin fringing by using a heavy needle to remove rows of threads one at a time. Remove threads until you have one inch of fringe. Move to the other end of the fabric runner and create a one-inch row of fringe.
- Fold, pin, and press a three-inch hem on each long edge. Remove pins and fold the raw edge of the hem into the fold, creating what will be the finished 1.50" hem on each side of the runner. Machine stitch the two hems.
- Print and cut out the stencils found by clicking here. Save and mark the cut outs with “L” and “R” so they will be easy to replace later.
- Piece and tape the three sections together. Be sure to mark and cut out areas that overlap.
- Spray the back of the stencil and the cutouts with adhesive.
- Fold the runner in half. Place pins 5 inches from the left and right of the center.
- Position the first stencil with the right edge of the design against the first pin. The edge of the stencil should be parallel to the edge of the hem. Press down to adhere the stencil to the fabric.
- To block the inner heart design from paint, place the left heart shape on the stencil only as a guide for positioning. Once the inner heart design is adhered to the fabric, remove the left heart.
- Protect areas not being painted. Airbrush the stencil with Red paint. Let dry completely.
- Carefully peel away the stencil and place it in the next position. There should be ten inches from the end of the first design to the start of the next. Paint two designs on each side of the runner.
- When the airbrushed designs are dry paint gold glitter on the end sections using a small brush.
- After 24 hours, place a cloth over the design and set the paint with an iron. Protect the ironing board with an old towel.
Finished Runner measures 18” X 6.50’
Designed and Created for Testors by Domestic-Divaonline.com