Rust-Oleum Projects
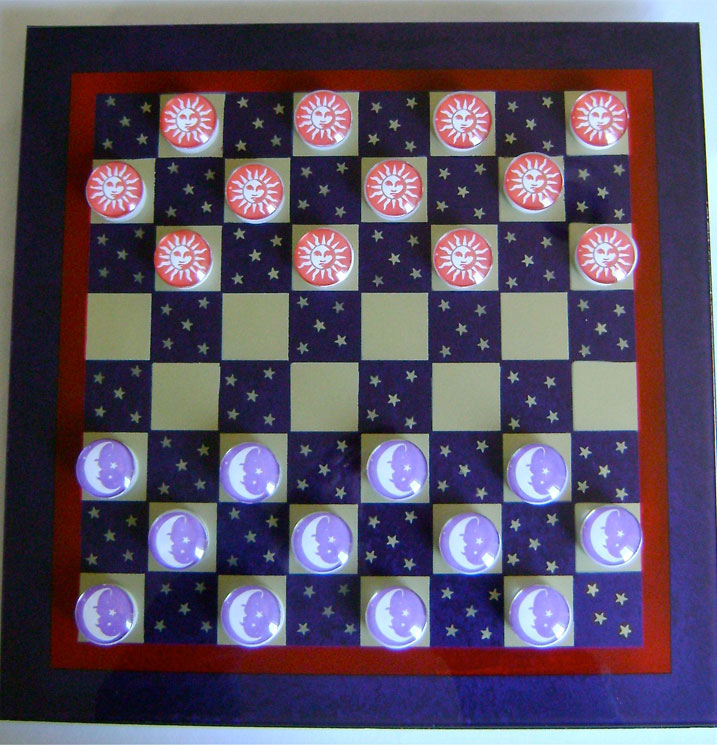
To the Moon and Back Checkers
Browse Projects
-
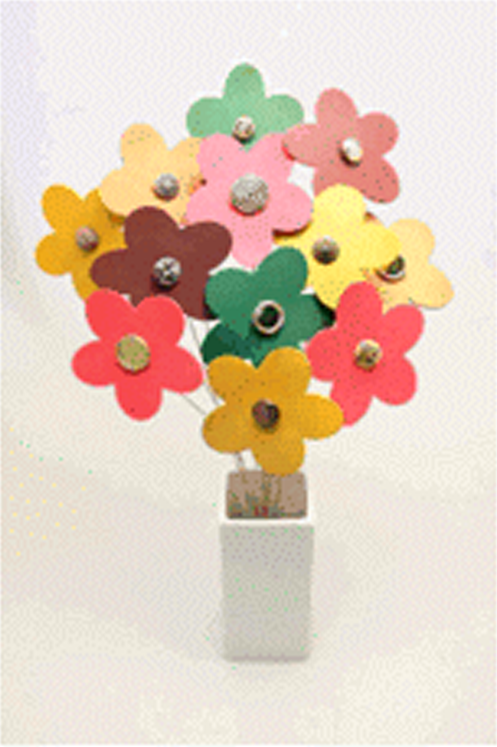
Spring Foam Flowers
-
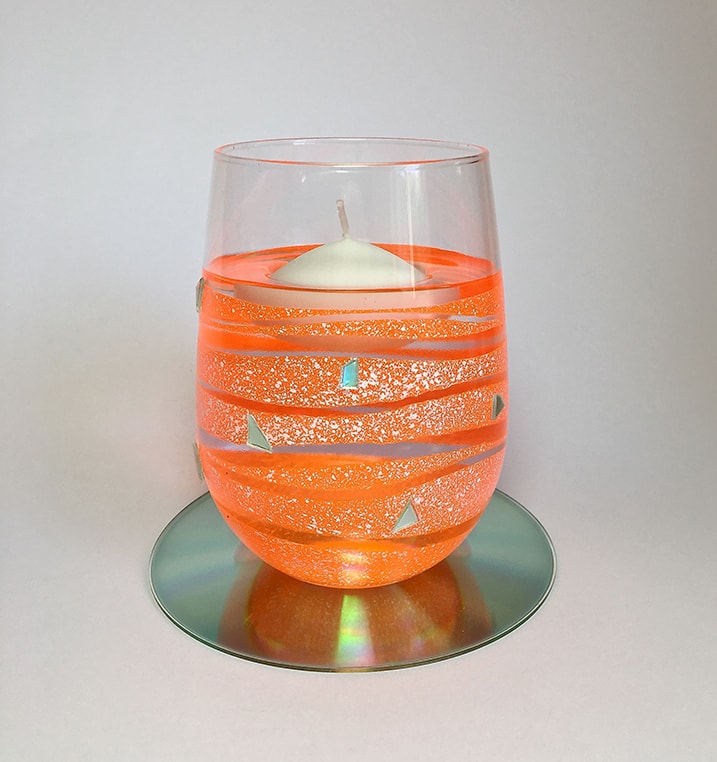
Tangerine Floating Candle Holder
-
Tools & Supplies:
-
Beacon Fast Finish
-
Card Stock
-
Diamond Glaze
-
Glass Cabochons For Checker Pieces
-
Glass For Checker Board
-
Mat Board
-
Painter's tape
-
Plastic Water Bottle Caps
-
Recollections Star Punch
-
Scotch Spray Mount Repositionable Adhesive
-
Tape

Instructions:
- Download and print four copies of the checker board template found here.
- The finished board is larger than a printed page so it will require that pieces be taped together to create the full size. There should be eight squares across each row vertically and horizontally – 4 grey and 4 white per row. Cut out each grey square.
- Cut 1.75” from the two widest margins of the paper and add 1.75” to the narrower margins.
- Your finished page should measure 14” x 14” with a 1.50” border on all sides measuring from the edge of open squares to the edge of the page. Set aside.
- Align one-inch wide strips of painters tape on the four edges of the 14" x 14" glass.
- Tape together two pieces of card stock to create a page that measures 11” X 11”.
- Spray adhesive only along the very edges of the 11” X 11” page. Center the page on the glass leaving an open ½” gutter between the tape and the page on all sides.
- Spray the open area with the red paint and allow it to dry.
- Remove the 1” tape.
- Remove the 11” X 11” page.
- Spray the template page with adhesive avoiding the ½” that borders the squares on all sides because it will come in contact with the red paint. Place the template face down on the glass. You should be able to see the very edges of the red paint in the open corner squares.
- Paint the openings with gold paint. Spray it again with white paint, which will prevent the purple paint from darkening the gold color when it is applied later.
- Remove the stencil.
- From card stock, cut a 3.25” x 11” wide strip to create the stars stencil. Place the strip under the board stencil and trace the position of the open squares with a pen or marker. Remove the strip and fold in the center on the long edge. Punch stars in the squares.
- Place the punched areas of the strip over the unpainted squares on the glass and spray with gold paint. Mask off areas not being painted.
- Pick up and move the stars stencil to the next section and continue painting until all the open squares are filled with stars.
- Paint the entire back of the glass with Grape Paint. Let the paint set for a few hours.
- Cut a piece of mat board to measure 14” X 14”.
- Use a broad brush to paint Diamond Glaze on one side of the mat board.
- Press the mat against the painted side of the glass. Repositioning the mat after it touches the glass may cause the paint to lift. Holding the mat and glass firmly together turn them glass side up and let it dry overnight. Weigh it down with heavy books to maintain a strong contact.
- To make the board easier to handle, attach round felt pads to the mat on the four corners.
- Laser Print on card stock, and cut out 12 of each checker piece image. You’ll find extra images on the page in case you need them. The images must be laser printed. Inkjet images will run and smear when the decoupage is applied.
- Use a brush to apply Fast Finish to the flat side of a cabochon. Set a checker image face down on the glue.
- Let the pieces dry thoroughly on a plastic bag with the image sides facing up.
- Apply Diamond Glaze to the flat side of a plastic bottle cap and center the cabochon on top. Repeat to complete 12 sun images and 12 star images. Allow them to dry overnight.
- To remove accidental glaze from the glass pieces drape a warm, damp paper towel over that area for a few minutes. The glaze will wipe off easily. Protect bonded areas from water.
Tips:
Allow paint and glue to dry completely between steps.
Martha Stewart has a paper punch with multi-size stars that would be ideal for this project because it can be positioned anywhere on a page.