Customer Project
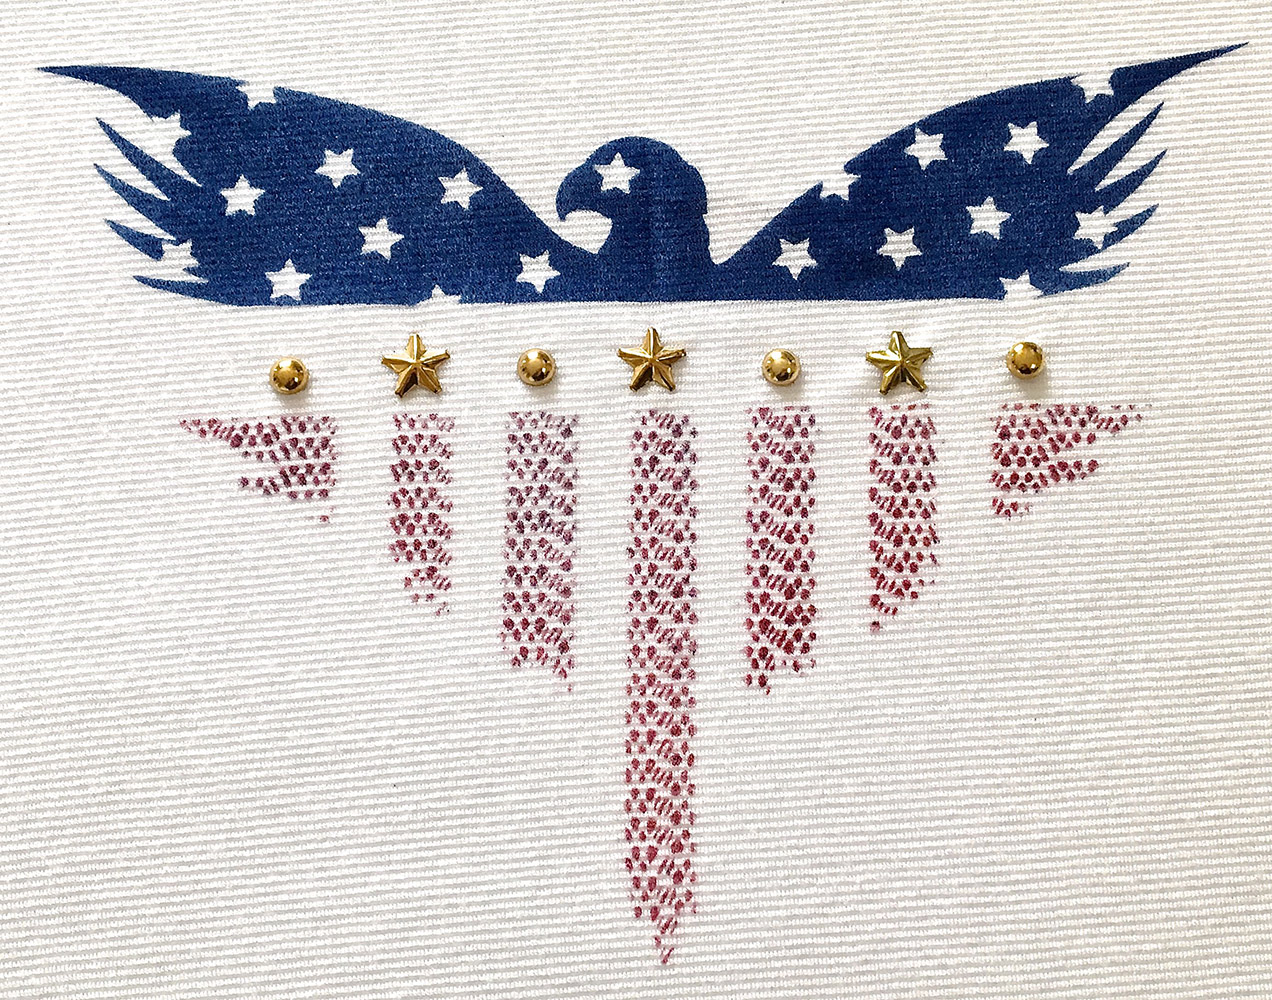
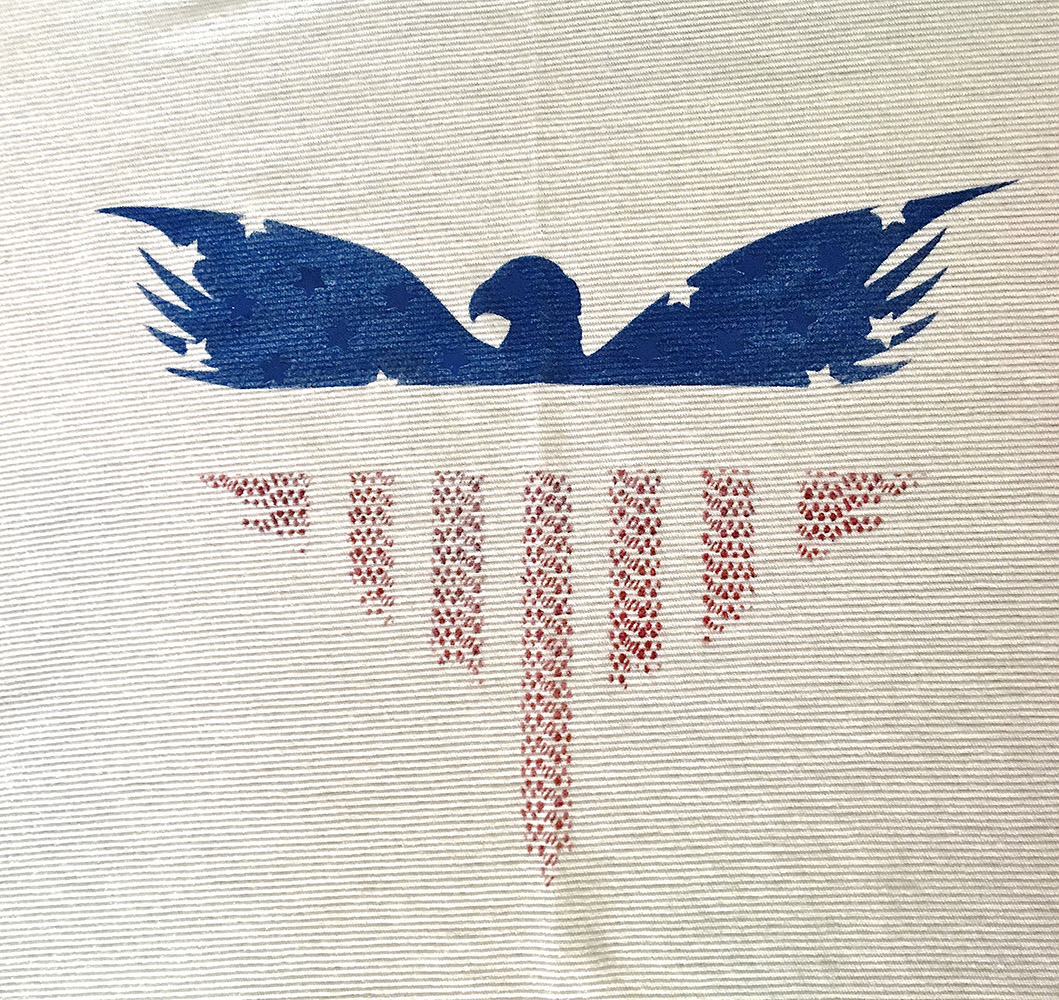
Airbrushed Patriotic Eagle T-shirt
Browse Projects
-
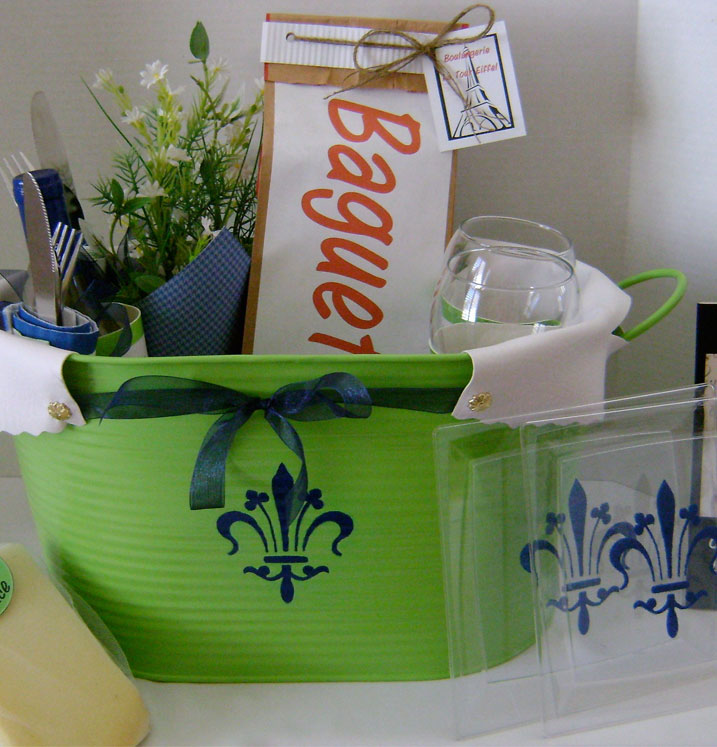
Meet Me in Paris
-
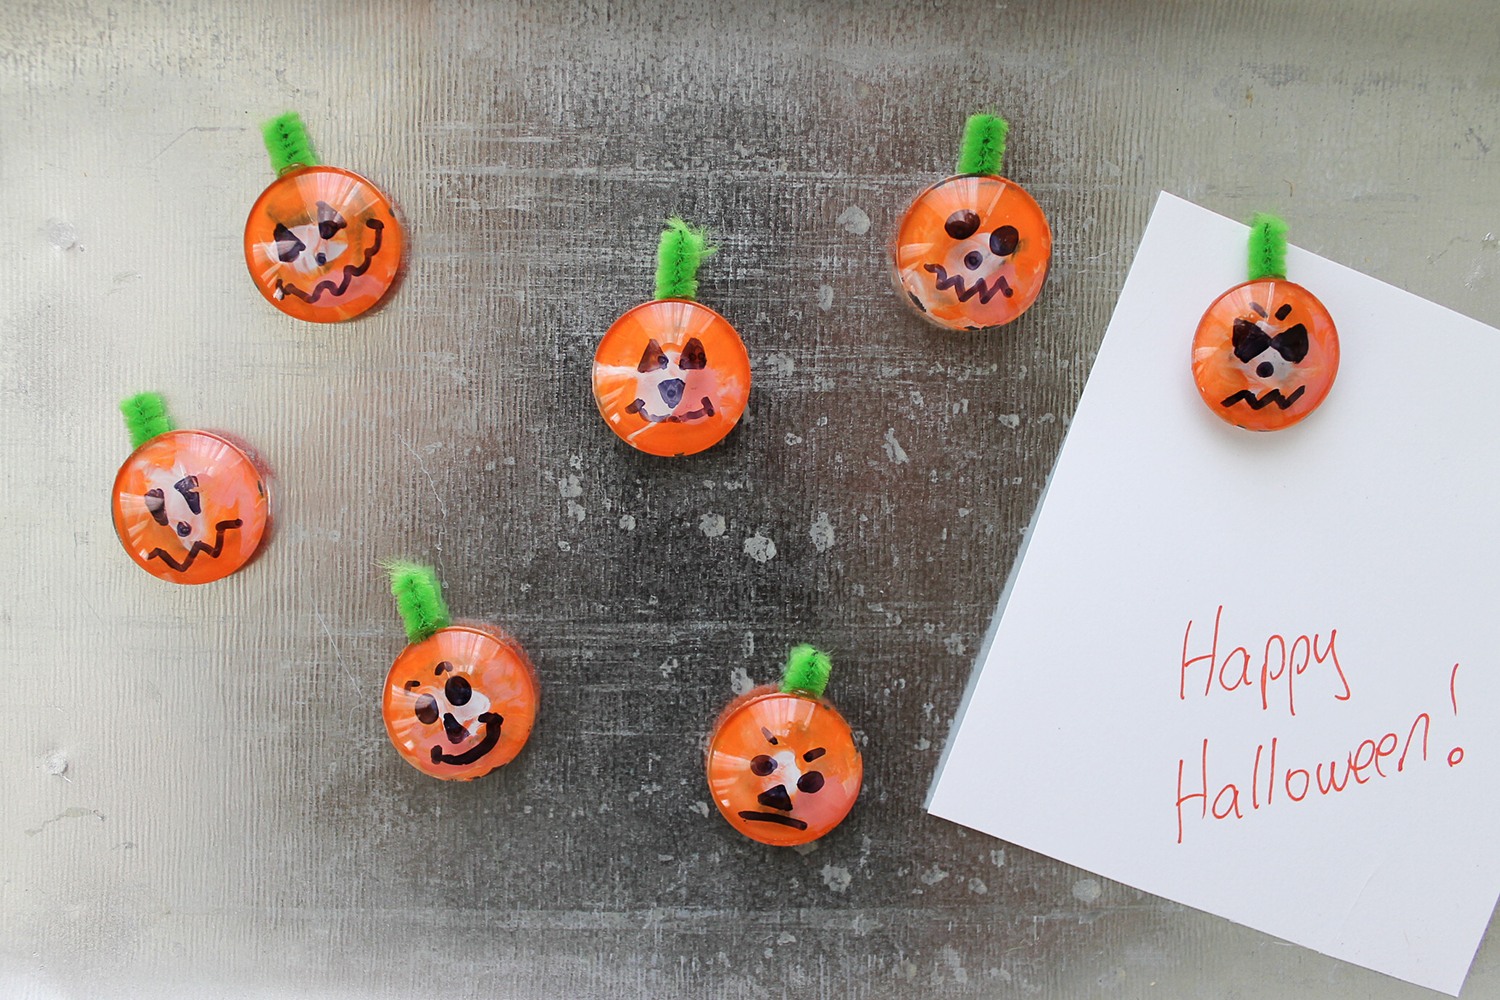
Halloween Glass Pumpkin Magnets
-
Tools & Supplies:
-
Aztek Paint - 9446 Red, 9449 Blue
-
Spray Mount Repositonable Adhesive
-
Studs - Star .50" and Circle .25"
-
Star Stickers .25"
-
Straight Pins
-
Card Stock
-
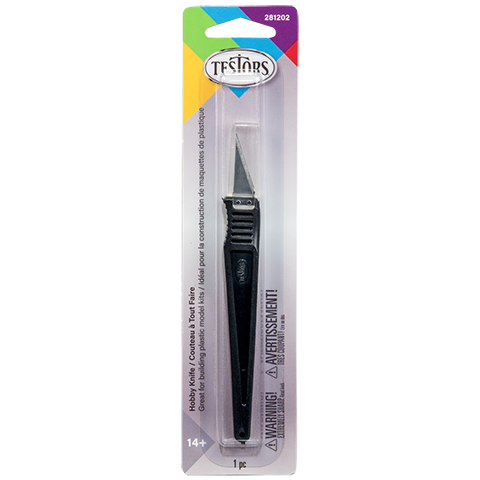
Craft Knife
-
Shelf Liner
-
Tank Top
-
Tape
Protect areas not being painted from accidental overspray.
Allow paint to dry between coats.
Project designed and created by Gloria Uhler at Domestic-Divaonline.com for Testors Corp.
Allow paint to dry between coats.
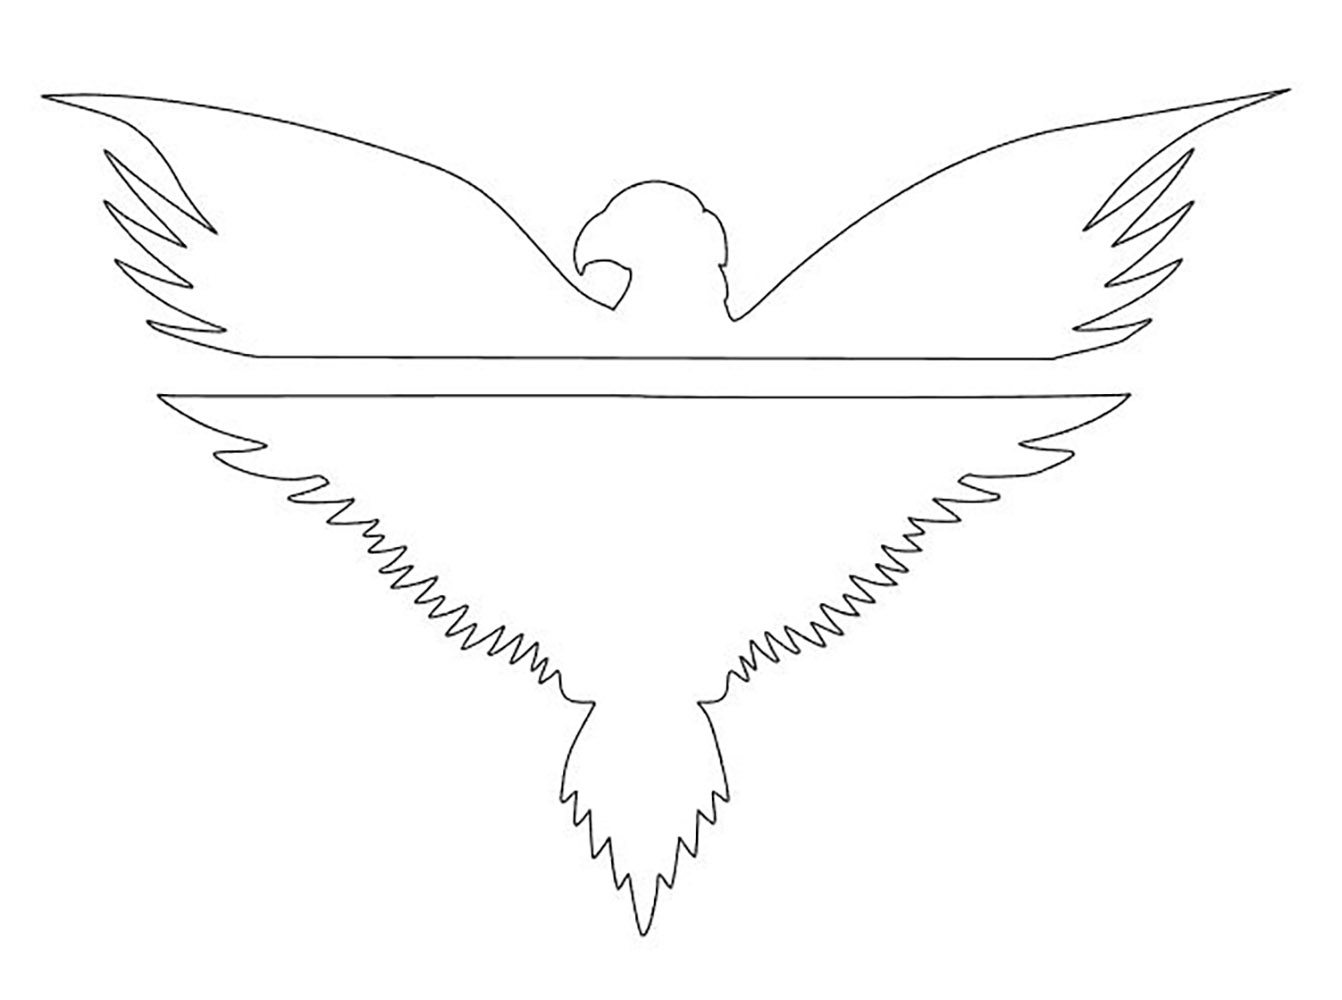
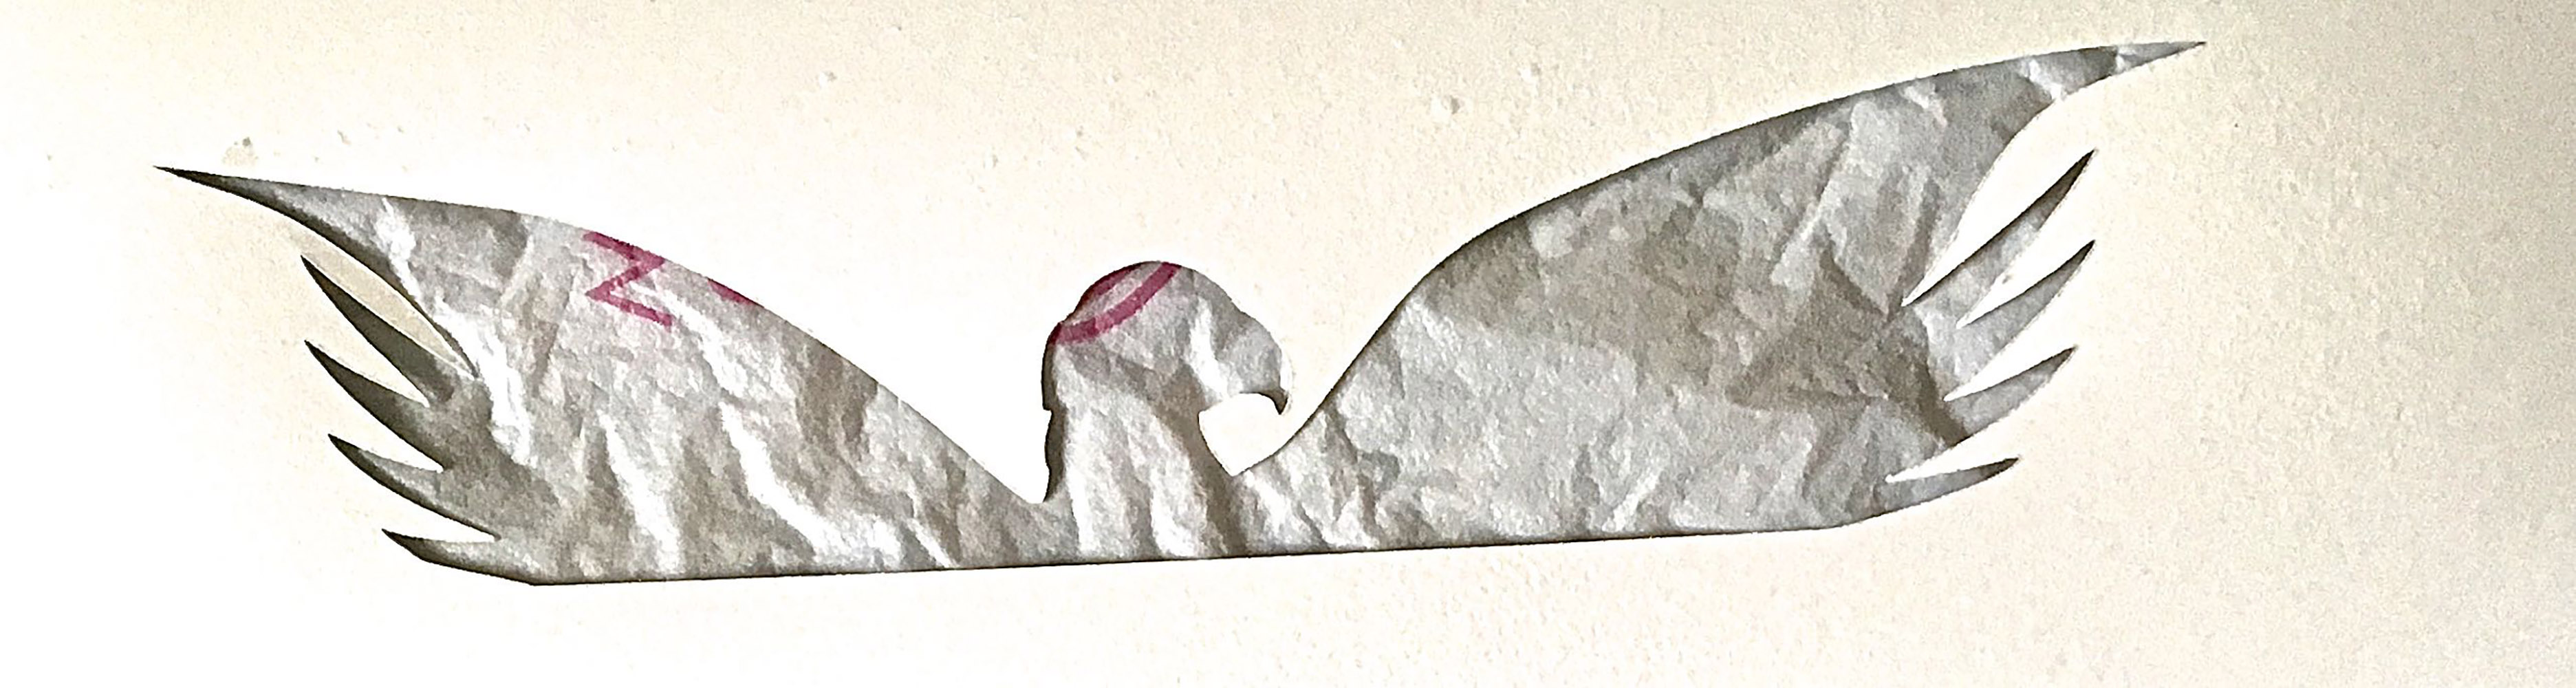
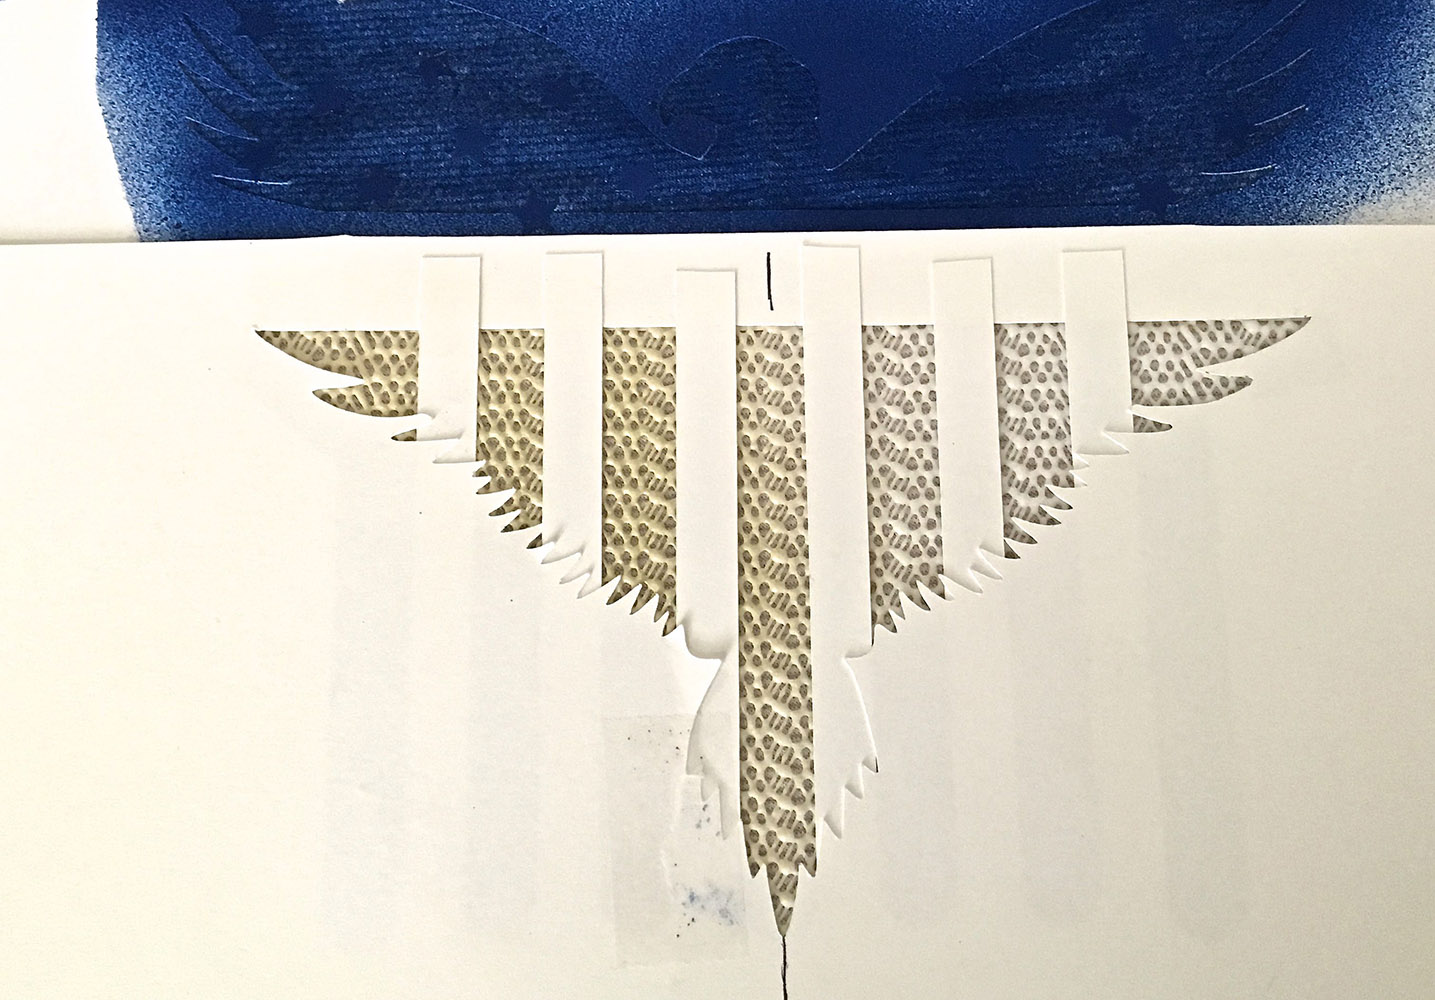
- Search Internet images for an “eagle coloring page”. Find a simple eagle image you like, size it to measure “8.50” across and print it on card stock. Cut the image in half horizontally. Cut along the image outline with a craft knife to create a stencil for the top and bottom pieces.
- Vertically and equally divide the space on the bottom half of the image with .50” strips of card stock. Tape them to the image.
- Spray adhesive to the wrong side of the top and bottom images.
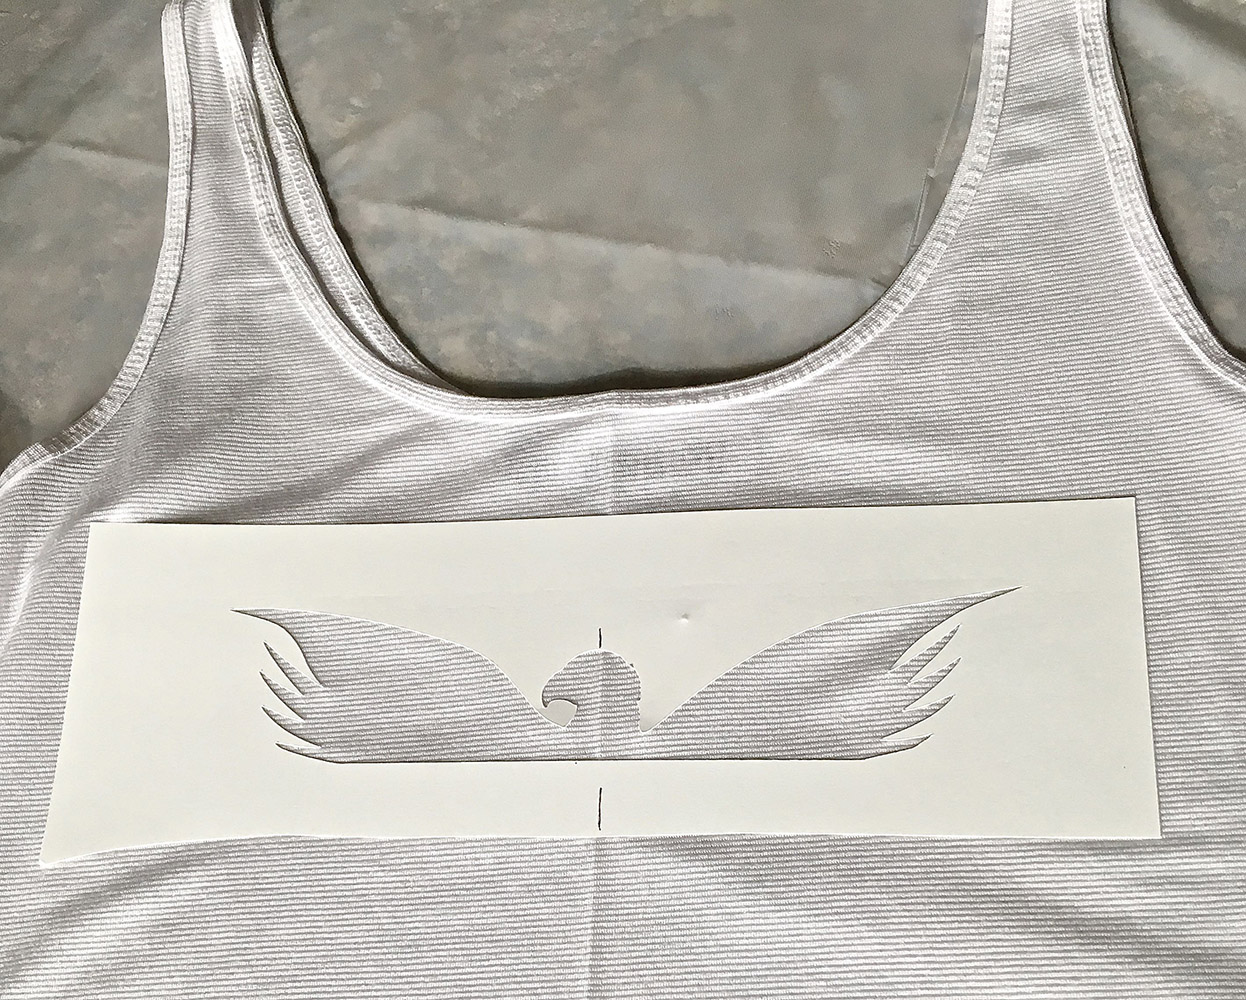
- Find the center of your shirt by pinning the side seams together, matching up the armhole and the hem. Iron a soft crease on the center front of the shirt.
- Mark the vertical center of both stencil images. Align the upper image with the mark matching the crease. Press the cardstock to the shirt.
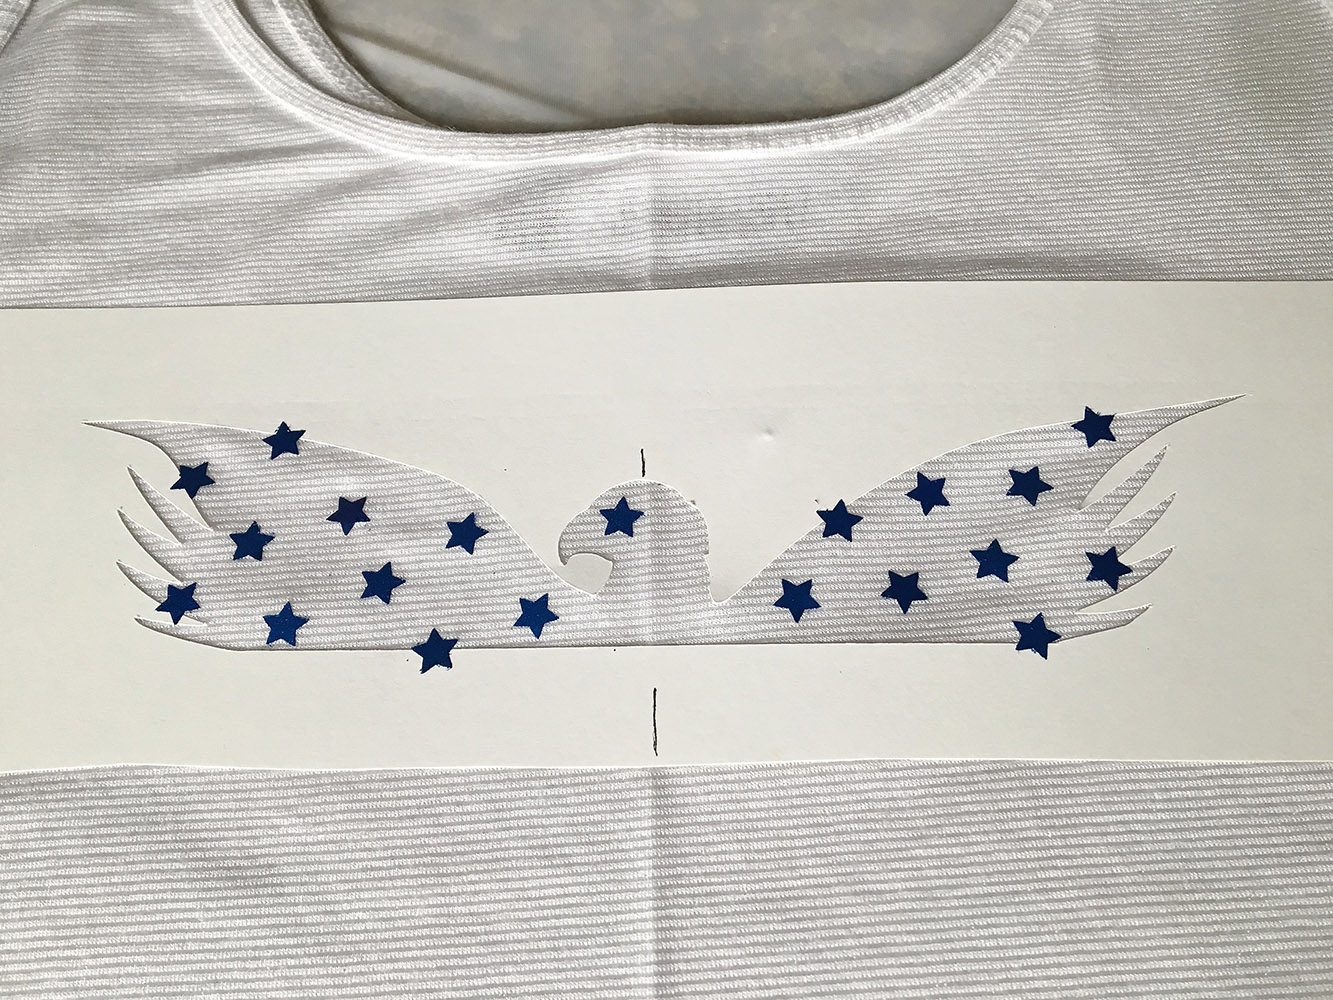
- Place star stickers randomly across the image.
- Airbrush the image with blue paint.
- Cut a piece of shelf liner to fit the opening in the bottom stencil. Adhere the liner to the sticky side. Spray the clean side of the liner with adhesive so it will stick to the shirt.
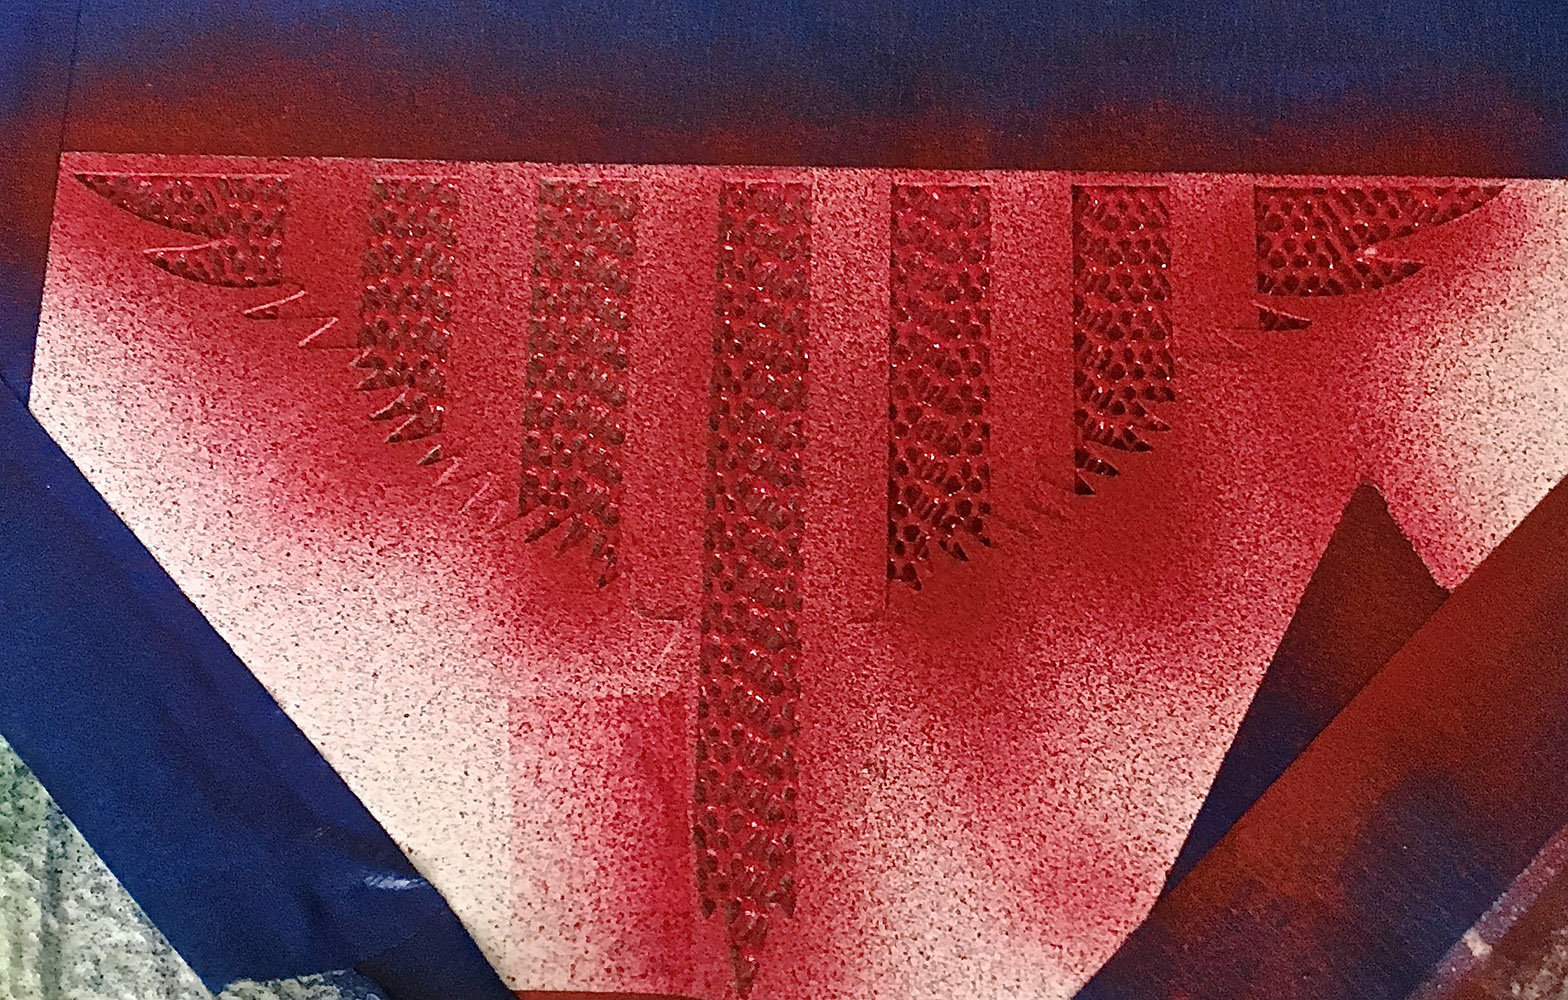
- Position the bottom image on the shirt .75” below the bottom of the upper image. Center it with the crease. Press it to the shirt.
- Mix a little blue with the red paint to get a deeper red shade. Airbrush the bottom image with the mixed red paint.
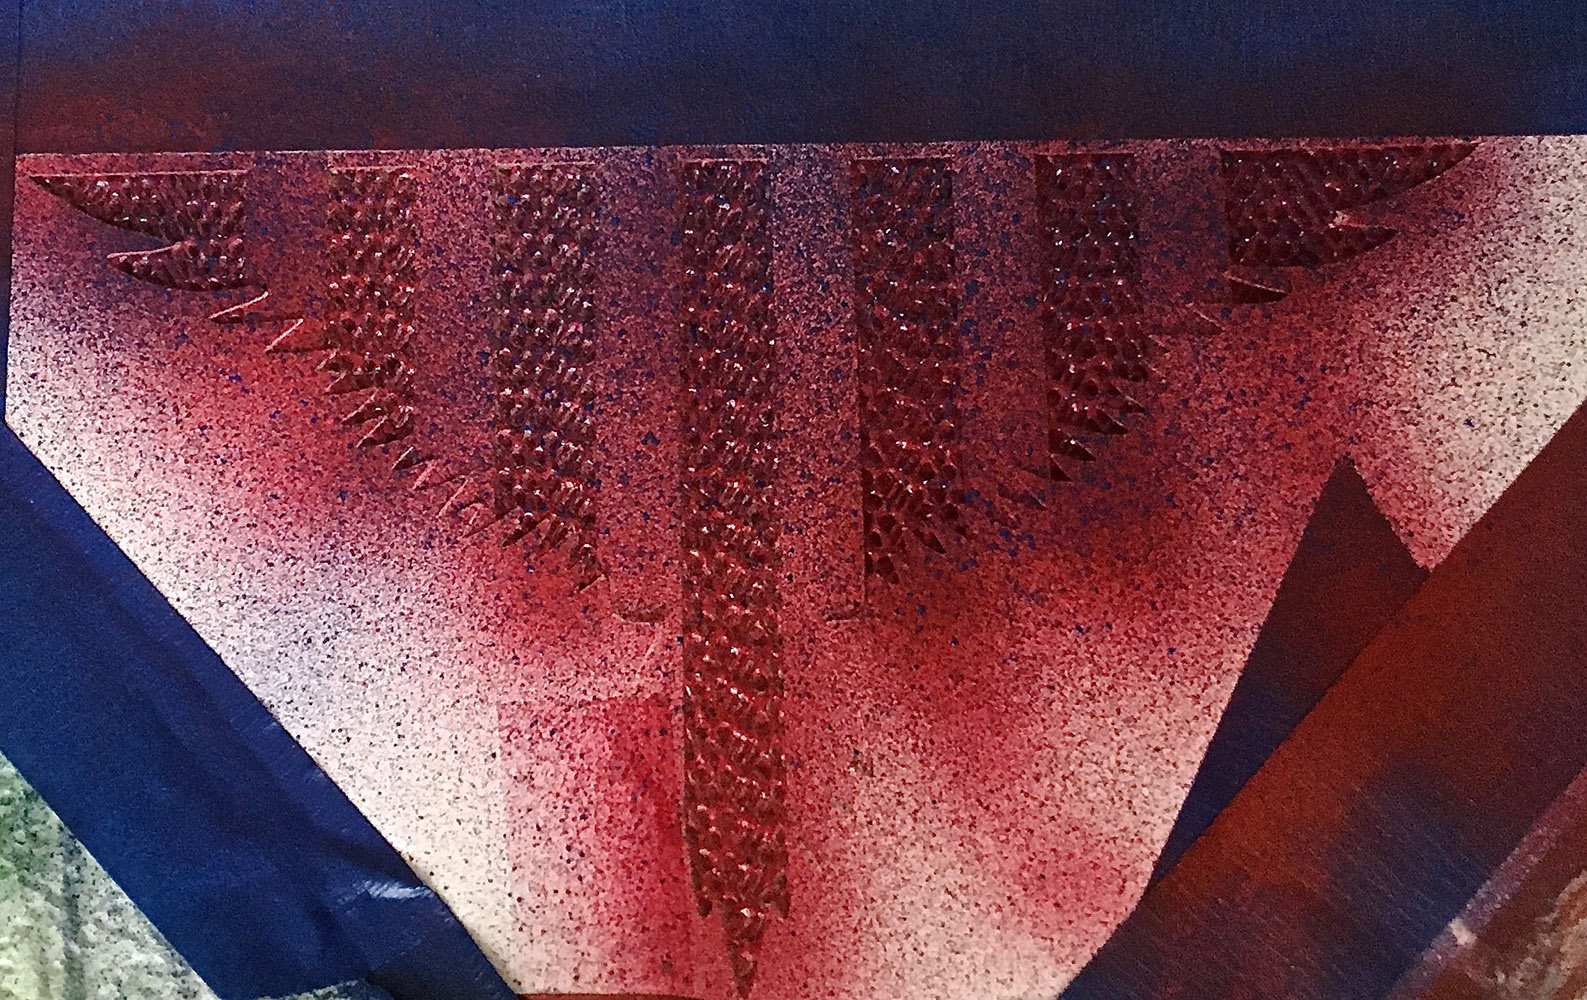
- Lightly dust the red with blue paint using soft irregular strokes. This will create a variegated look to the bottom design.
- Remove the stencils and the stars.
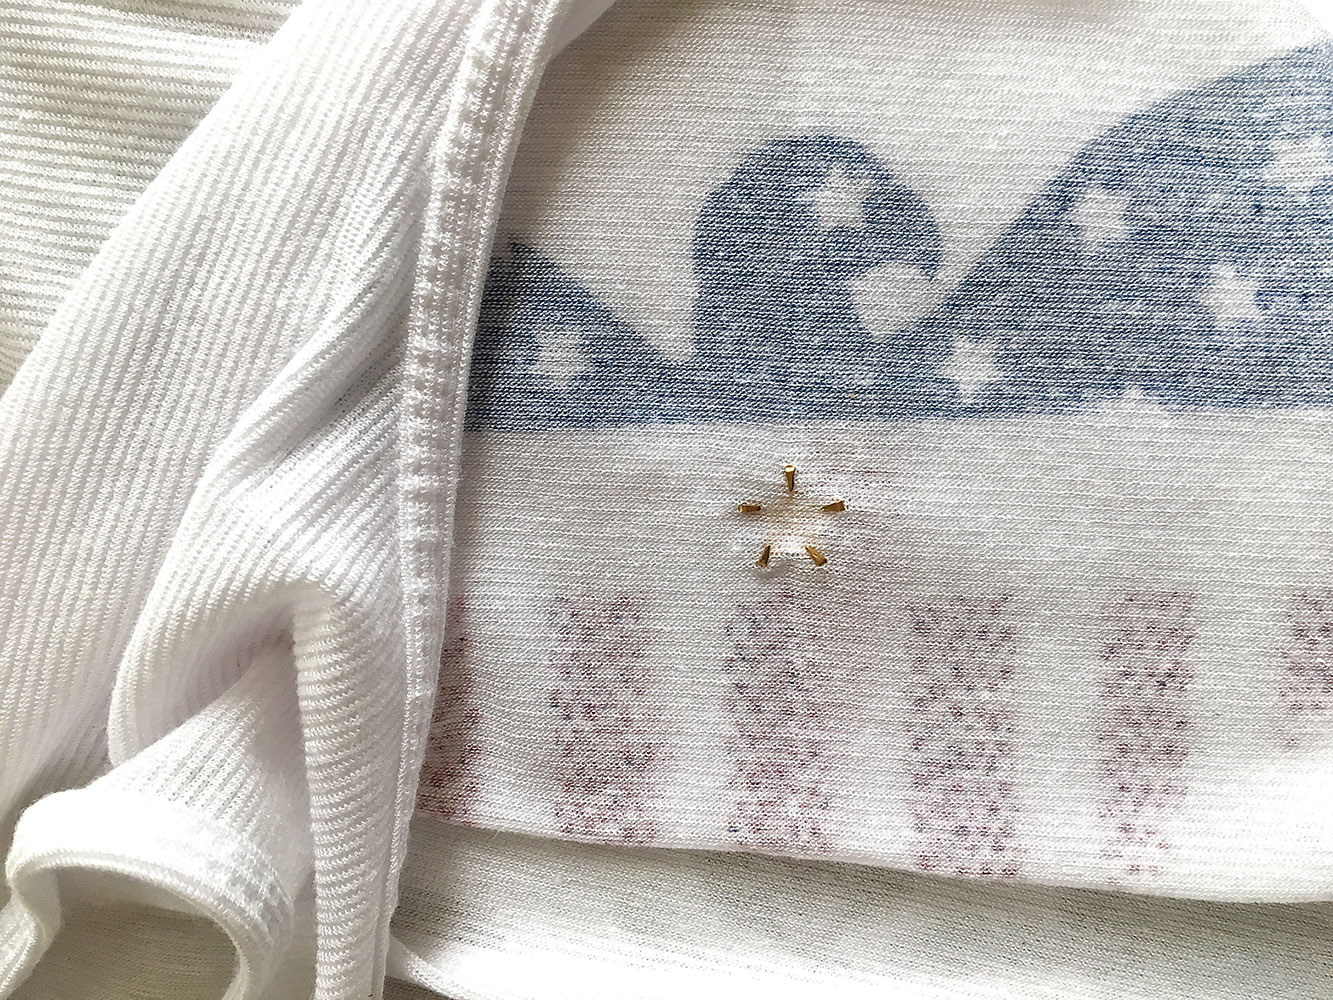
- Attach gold star and circle studs to the space between the top and bottom designs. Start with the center star and work out to the sides, spacing the studs equally. Push the stud prongs through the shirt and bend them down on the backside.


Project designed and created by Gloria Uhler at Domestic-Divaonline.com for Testors Corp.