Rust-Oleum Projects
Spooky DIY Halloween Sign
Browse Projects
-
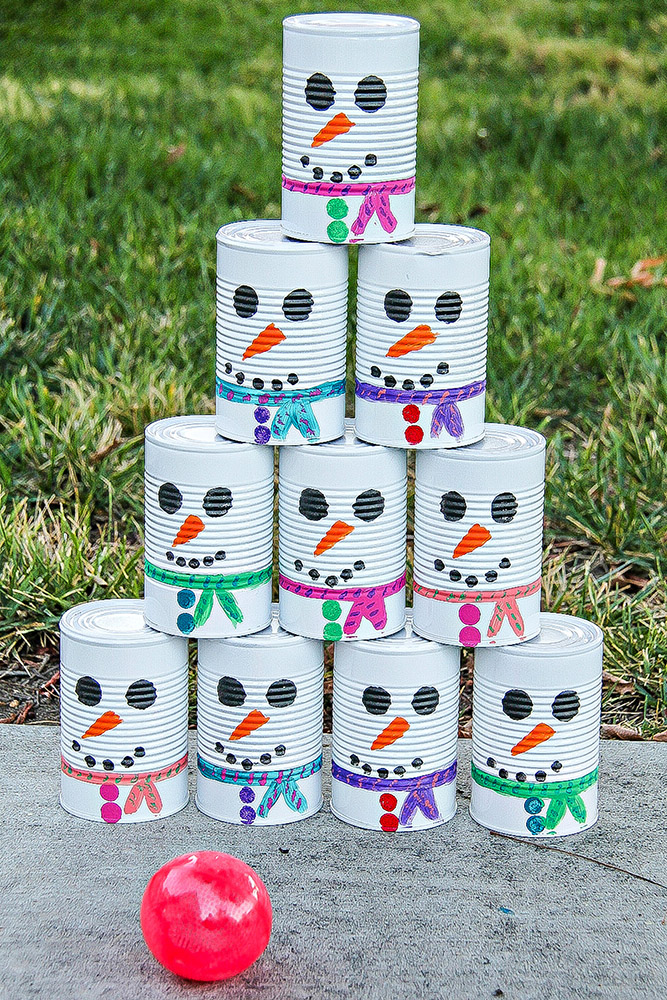
DIY Snowmen Tin Can Toss
-
Congratulate Your 2019 Graduate with Spray Chalk

-
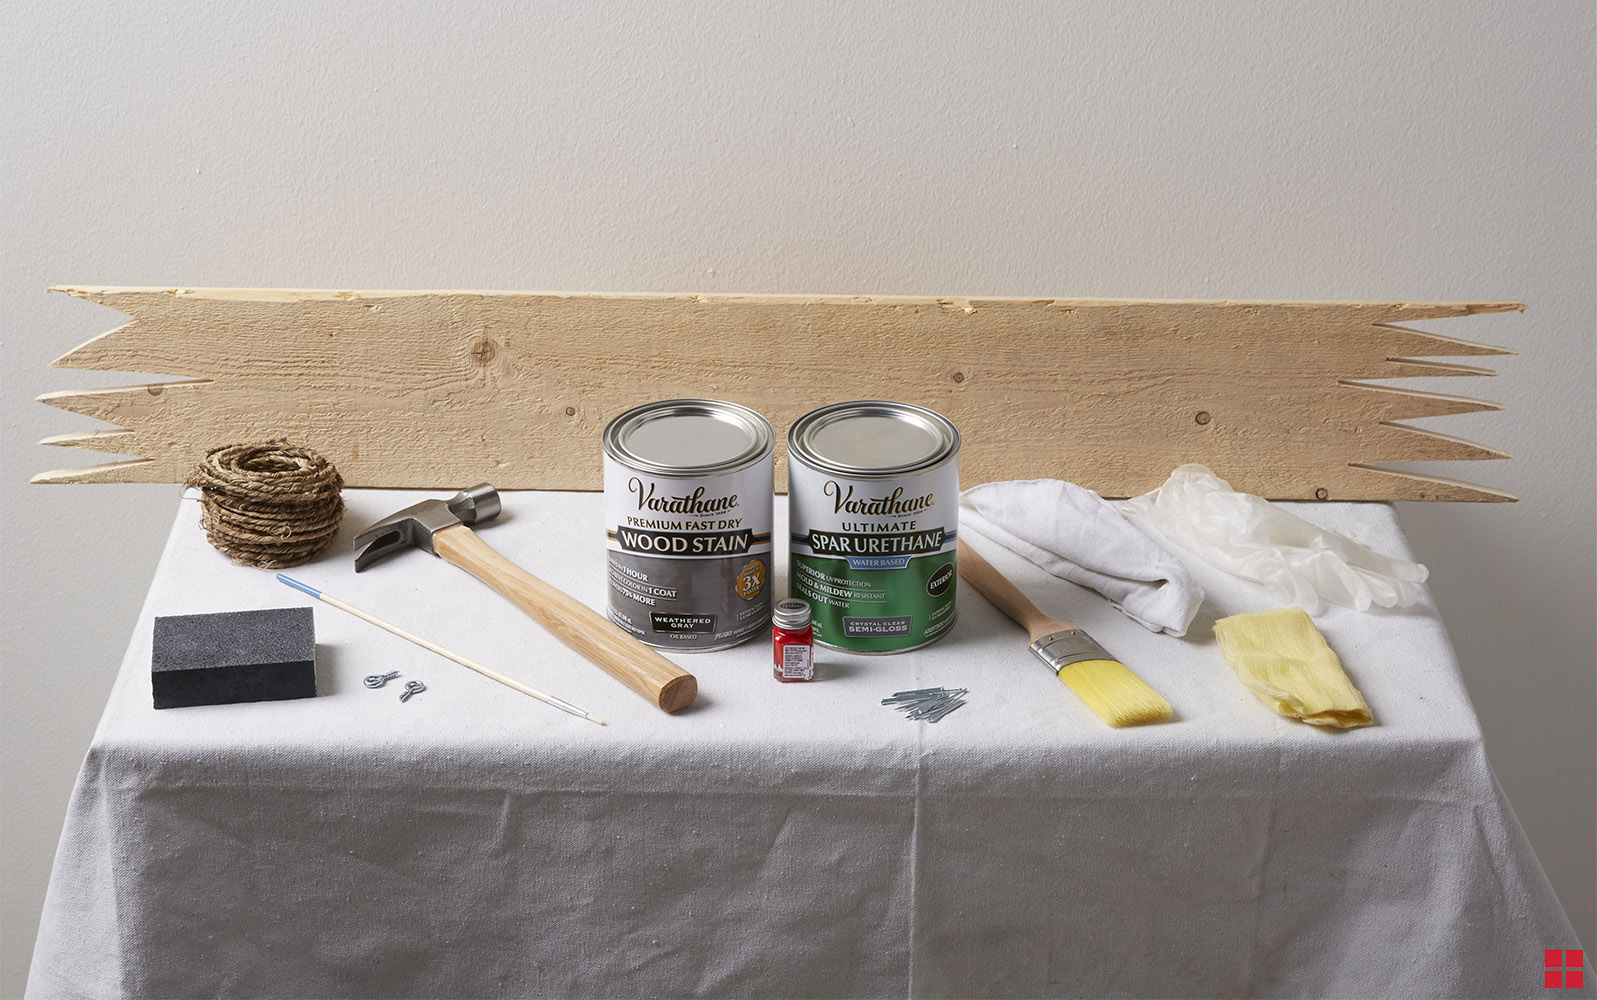
Tools & Supplies:
-
Pallet wood
-
Jig Saw
-
Two 2" high-quality synthetic paint brushes
-
Sanding block
-
Tack Cloth
-
Lint-free cloths
-
Small paint brush
-
Hammer
-
2 eye hooks
-
Small nails
-
Twine
-
Gloves

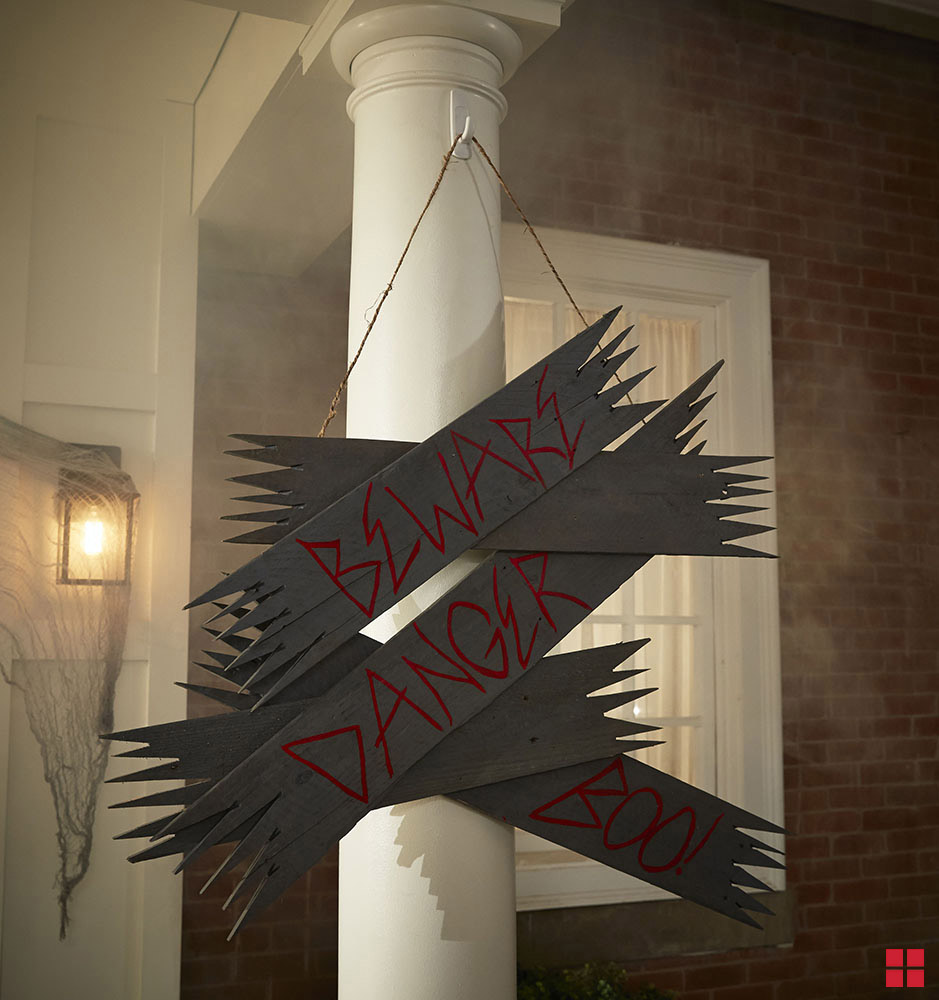
A few simple steps take you from bare pallet wood to a Halloween sign for your porch. Use Rust-Oleum's wood stain and Testors enamel paints to create the sign that fits your personality!
Step 1
Cut your pallet wood with jagged edges.
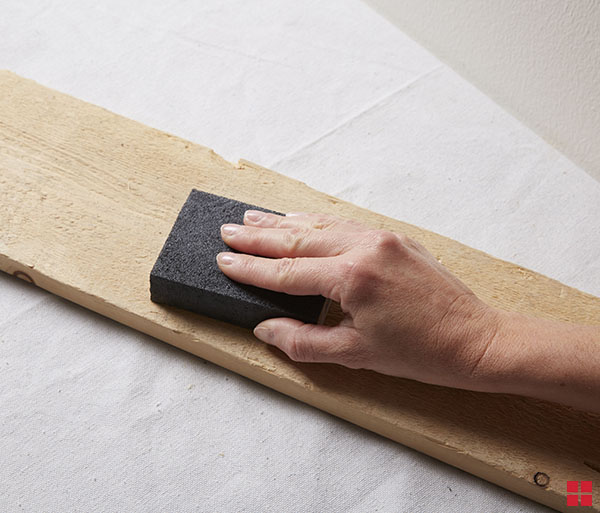
Step 2
Sand the pallet wood with the sanding block until smooth. Wipe away sanding dust with a tack cloth.
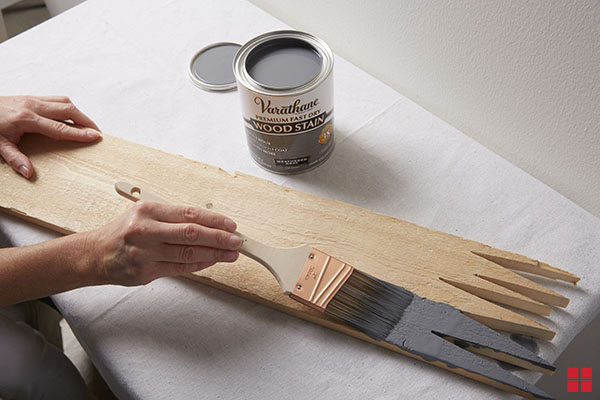
Step 3
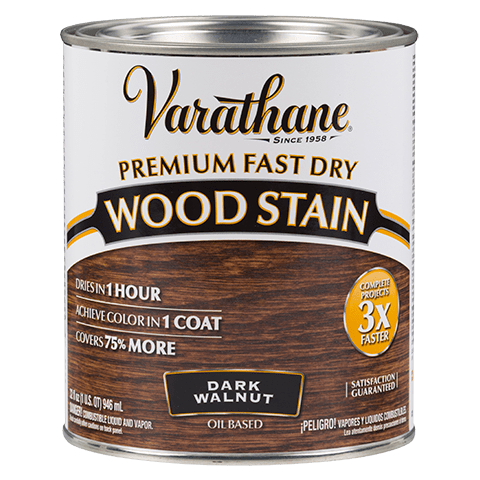
Brush or wipe on a liberal coat of Varathane Wood Stain according to the directions on the can. Let the color sit for 2 - 3 minutes. Wipe away excess with a lint-free cloth. Let stain dry for at least 30 minutes.

Step 4
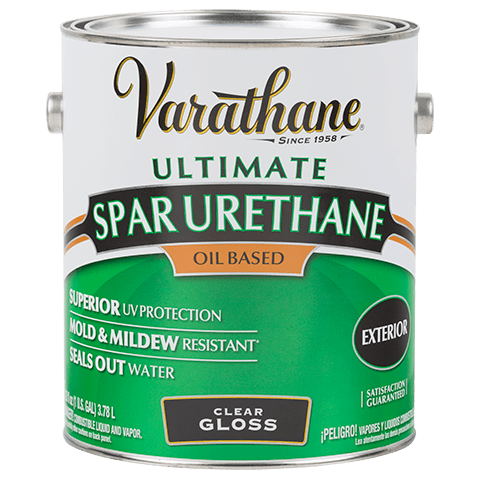
Brush on a light coat of Varathane Spar Urethane according to the directions on the can. Let dry for at least 1 hour.

Step 5
Shake the Testors enamel paint and a with small brush, paint on the desired lettering.

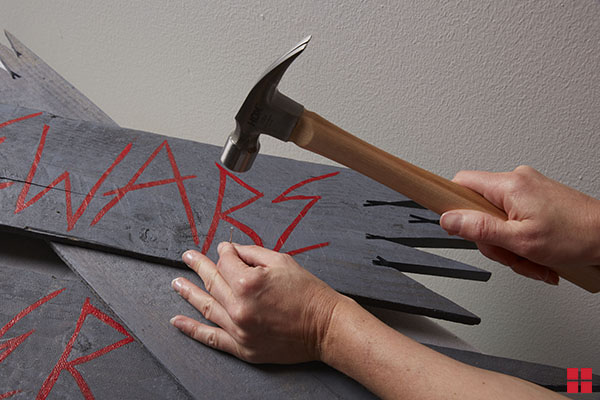
Step 6
Once enamel paint is dry (approximately 1 hour), attach the boards together using a hammer and small nails.
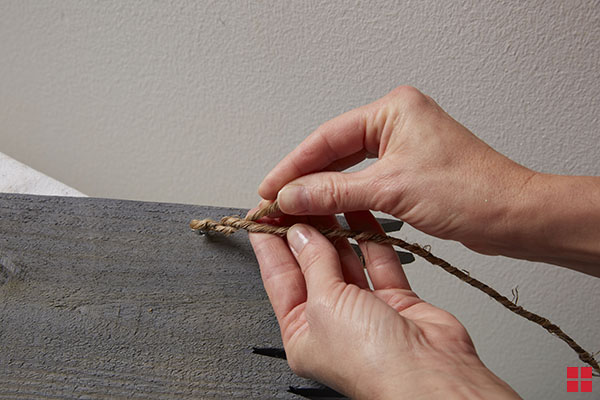
Step 7
On the back, affix eye hooks and twine to hang your sign.