Rust-Oleum Projects
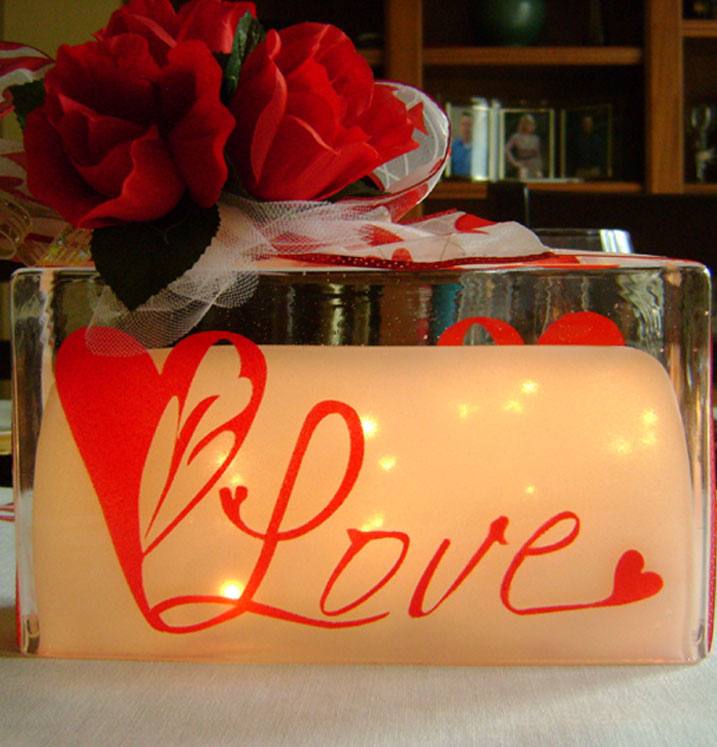
Heart Lights Centerpiece
Browse Projects
-
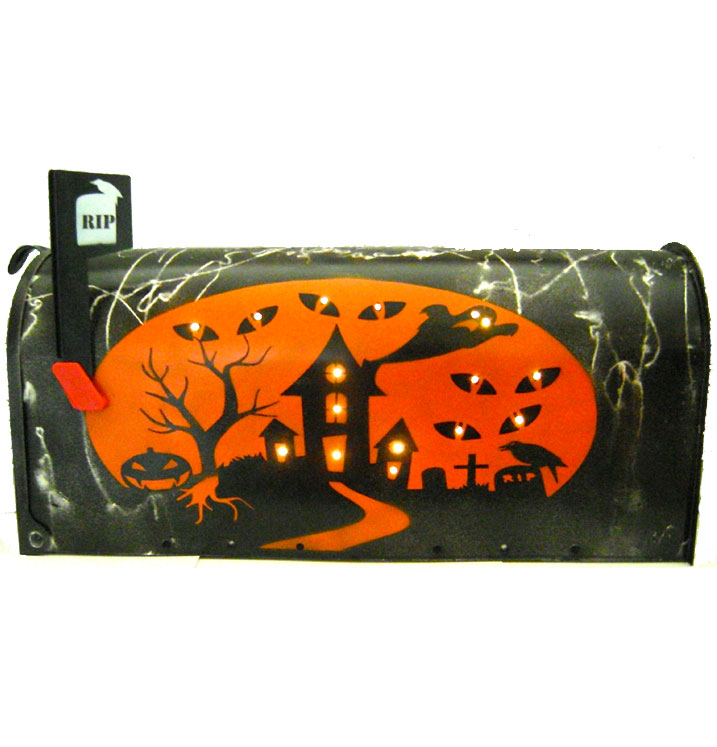
Ghost Town Mail
-
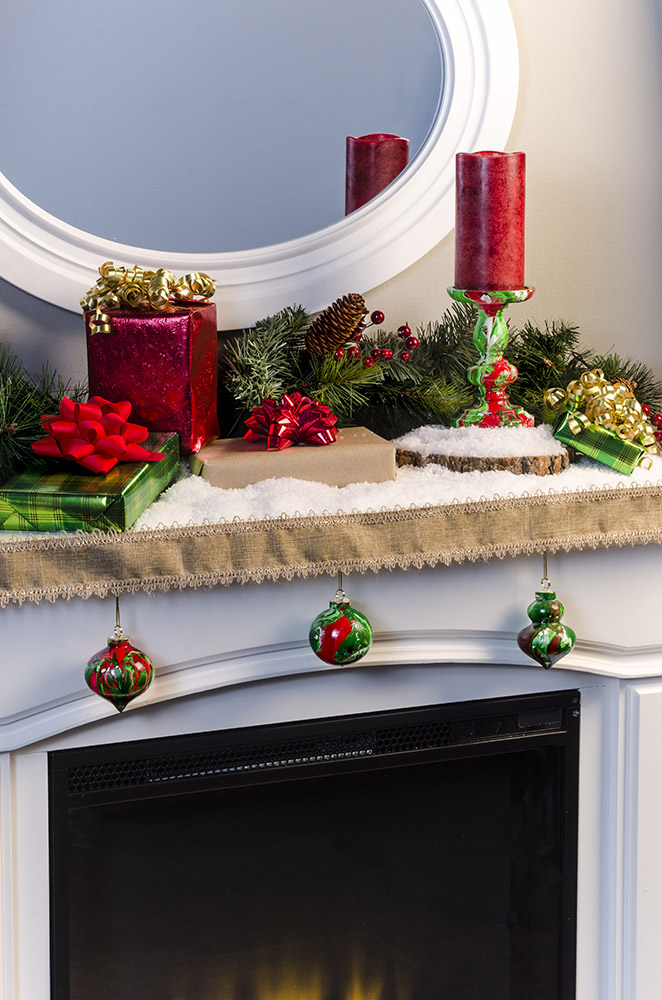
DIY Hydrodipped Christmas Ornaments
-
Tools & Supplies:
-
18 Led Submersible Light String
-
Gold Curly Ribbon
-
Heart Ribbon
-
Hot Glue Gun
-
Rectangular 8 Inch X 4 And A Half Inch Glass Vase
-
Repositionable Spray Mount Adhesive
-
Silk Roses
-
Tulle Ribbon
-
Wire Cutters
Instructions:
- Download and print the stencil located here on card stock. Cut out the stencil. Save the pieces that separate from the stencil, as you will need to position them on the glass before painting. These include the inside of letters and the inner heart design.
- Using a fine nozzle, airbrush the inside of the vase to create a white mist of color. Spray lightly to prevent dripping. Protect areas outside the vase from overspray.
- When dry, spray inside the vase with one or two light coats of Glosscote to protect the paint.
- Spray the back of the stencil and cut out pieces with adhesive. Let it rest for a few minutes then press it against an old towel or tee shirt and remove it. Doing this two or three times will lessen excess adhesive and make it easier to remove from the glass after painting.
- Place the stencil on the outside of the vase. Center and match the top of the stencil with the bottom of the vase. Protect areas not requiring paint, from overspray.
- Airbrush the stencil with red paint. Allow paint to dry completely before carefully removing the stencil.
- Place the painted side of the vase down on a soft surface like an old tee shirt. Position the stencil on the blank side of the glass. Airbrush with the Red paint. Let dry.
- Remove the stencil.
- Spray both painted sides of the vase with light coats of Glosscote to protect the paint finish.
- Wrap the ribbon around the vase, tying it in a bow on the upper right corner.
- Tilt the vase and move aside the ribbon as necessary to stuff the lights into the vase.
- Hot glue the battery pack to the bottom of the ribbon with the on/off switch accessible. When the vase is placed on a flat surface the battery pack will be pressed inside the vase so it and the wires will not be visible.
- Tie a string around a piece of tulle ribbon to bunch it up.
- Hot glue the tulle to the center of the bow. Glue pieces of gold curly ribbon between the bow and the ribbon.
- With a wire cutter, trim the rose stems close to the base of the flower. Add the roses to the center of the bow with hot glue.
- To turn on the lights, simply tilt the vase to access the battery pack switch.
“Designed and Created for Testors by Domestic-Divaonline.com