Rust-Oleum Projects
DIY Hydrodipped Christmas Ornaments
Browse Projects
-
Heart Lights Centerpiece
-
Hydrodipped Candlesticks for Christmas


-
Tools & Supplies:
-
5 Gallon Bucket
-
Ceramic Ornaments
-
Drop Cloth or Plastic Sheeting
-
Latex Gloves
-
Tepid Water


Hydrodipping is easy on ceramic ornaments. Just fill a bucket, dip slowly and you'll have one-of-a-kind décor for your Christmas tree or fireplace mantel.
Step 1
Fill a 5-gallon bucket with tepid water (about 78 degrees).
Step 2
Over a protected surface, place the bucket in a reachable location and shake the enamel paints before opening.Open an enamel paint and stir gently with a coffee stirrer.
Step 3
Slowly, and gently, pour the enamel paints, onto the top of the water, one at at time.
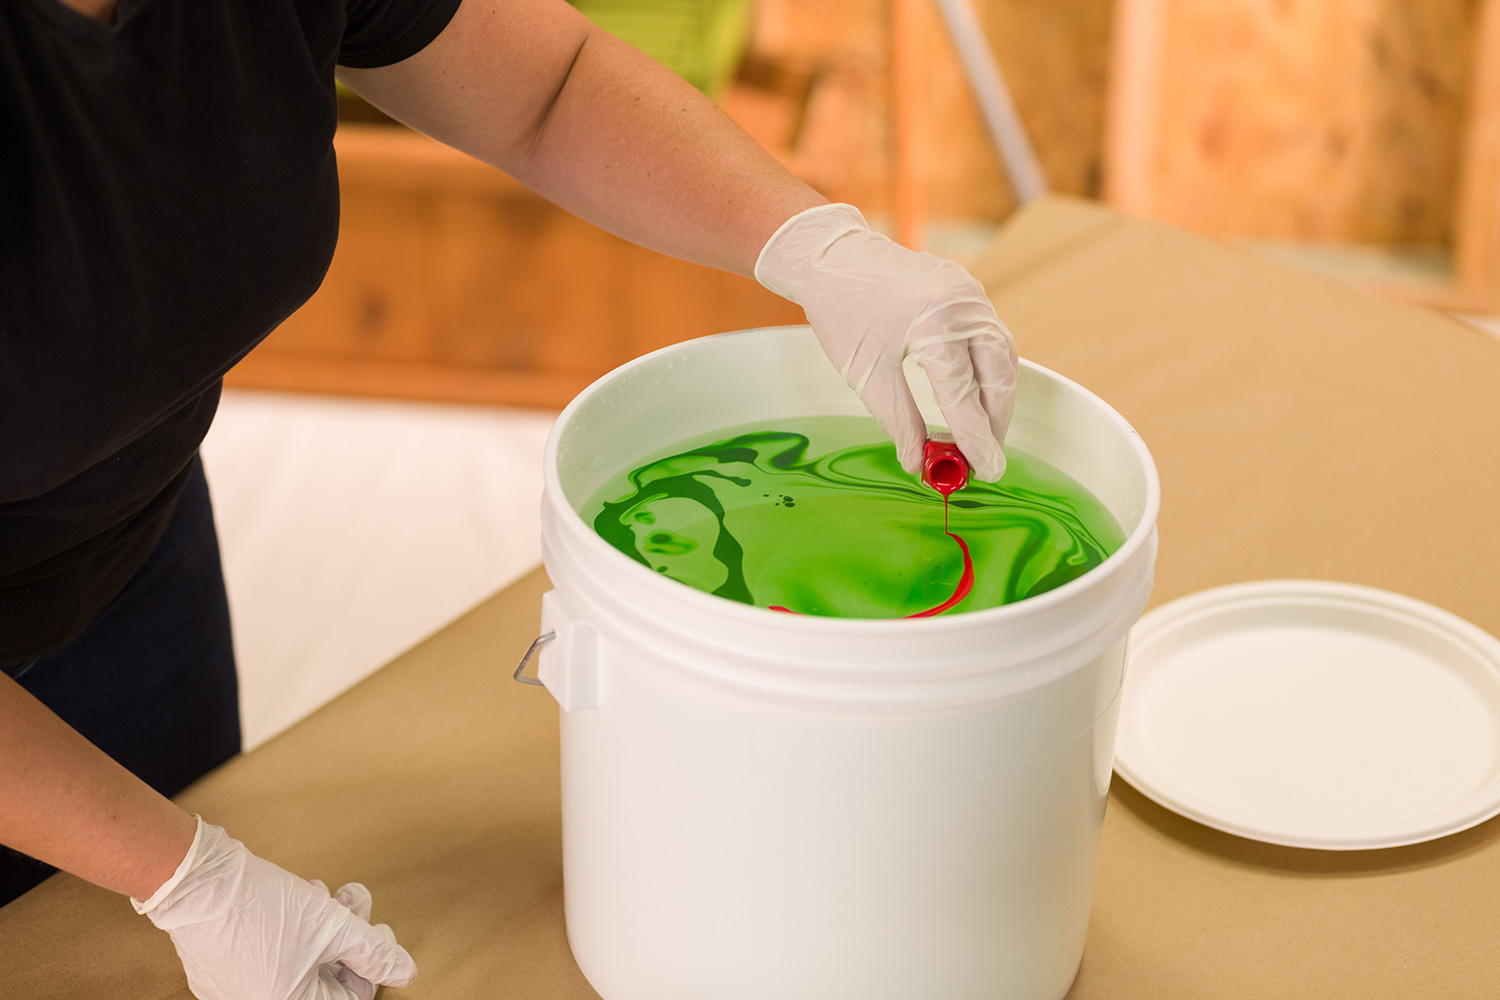
Step 4
Once all of your enamel paint colors are in the bucket, use a coffee stir stick and slowly drag it across the colors to swirl them together.
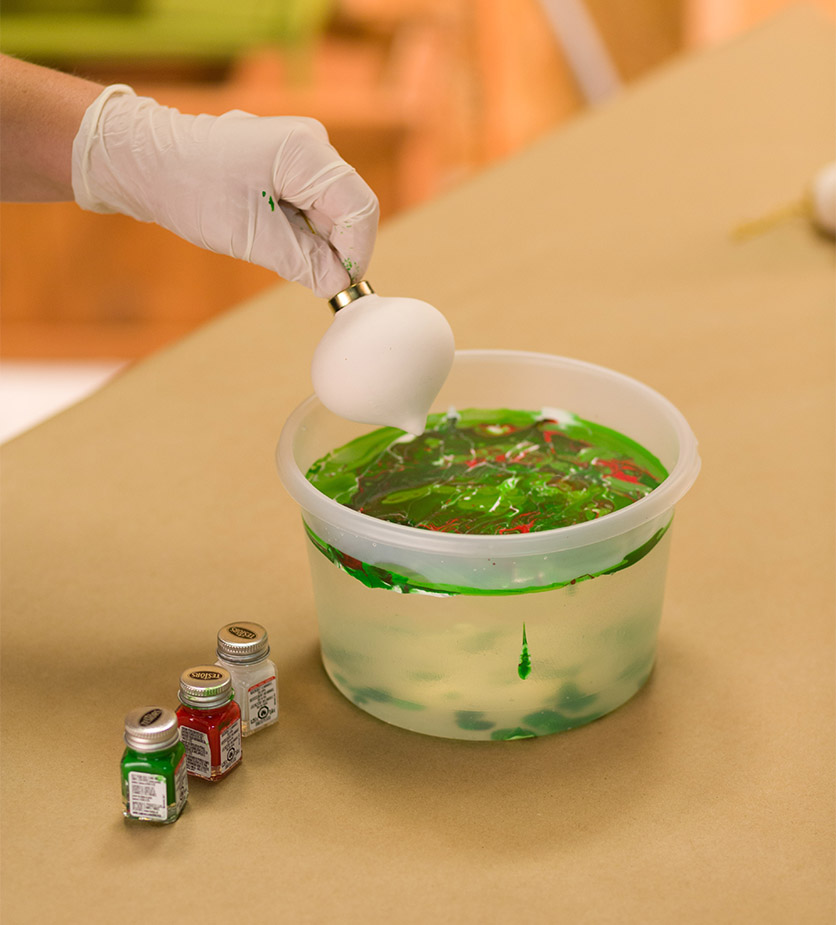
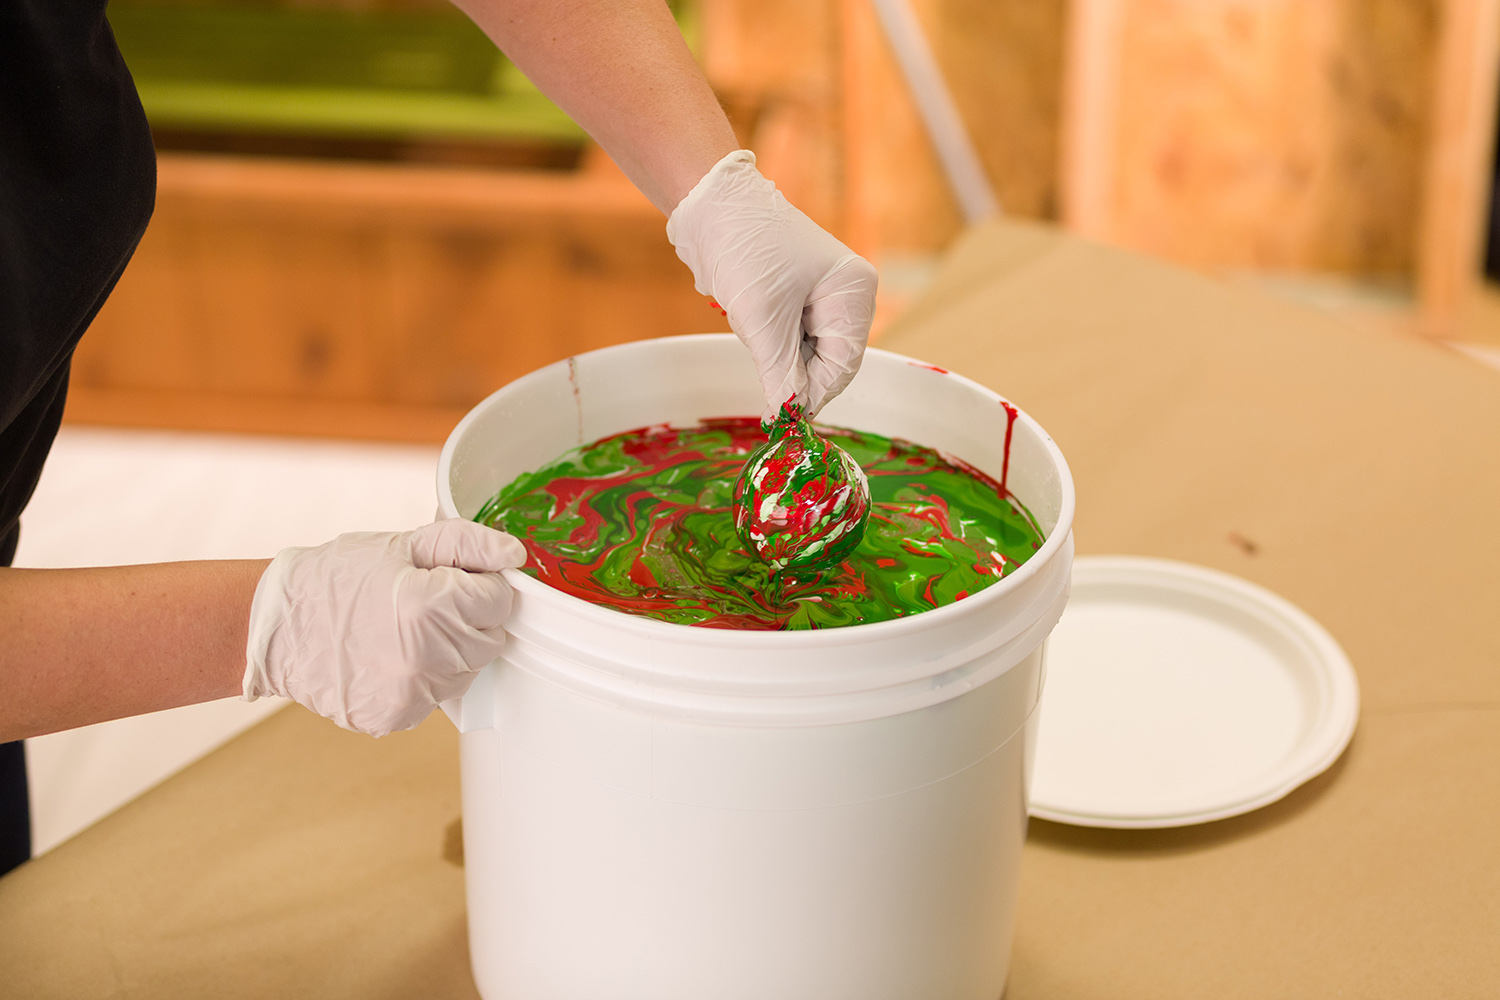
Step 5
Very slowly, dip the ornaments into the bucket on an angle so the paint sticks. Turn the ornaments for a swirled effect.
Step 6
Slowly remove the ornaments from the bucket and set it aside to dry for approximately 24 hours.
Let paint dry for at least 24 hours before handling.