Rust-Oleum Projects
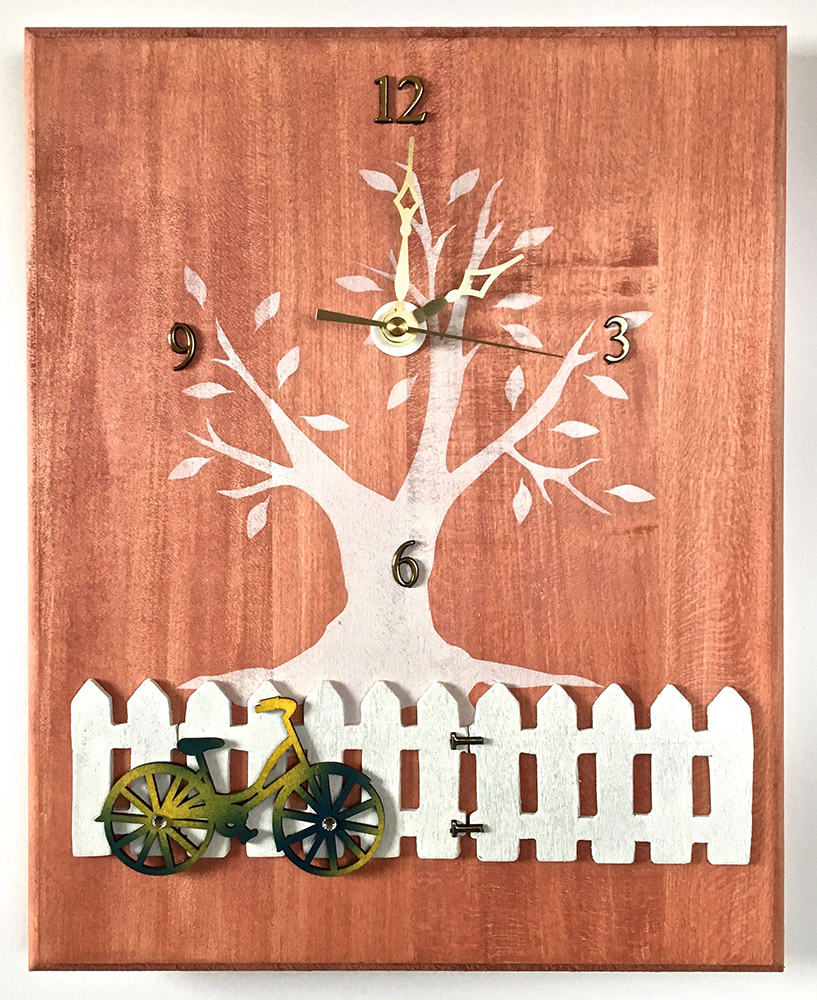
Aztek Airbrushed Back Porch Clock
Browse Projects
-
April Showers Bring May Flowers
-
Sun, Sand and Sea Chair

At Testors
Aztek Airbrush
Testors Acrylic 9148 Paint set - White, Mocha, Blue, Citron
Testors CreateFX - Barn Yard Red Wash 79402, Walnut Wash 79401
Testors Hobby Knife 8801AT
At Michaels
ArtMinds .75” Clock Movement Kit
ArtMinds Basswood Rectangle 11” x 14”
Repositionable Stencil Adhesive
E6000 Glue
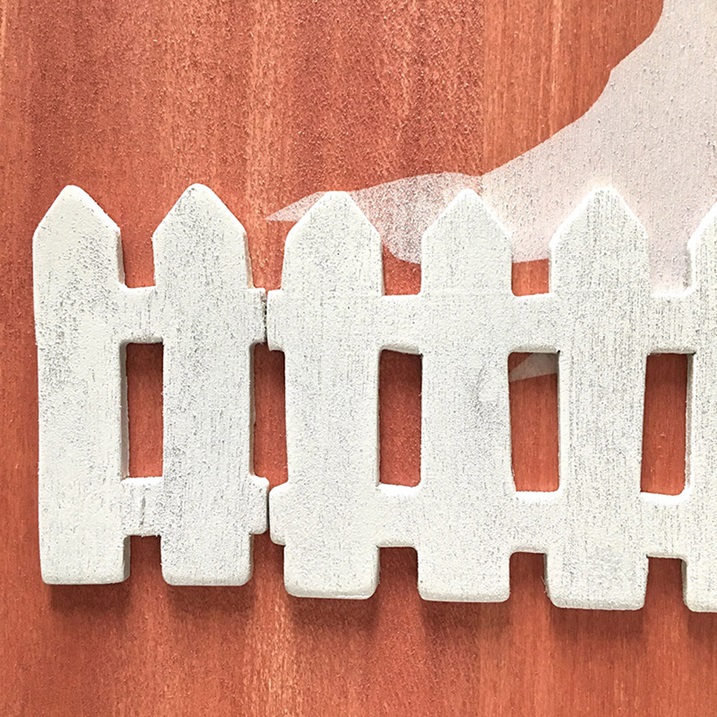
Wooden picket fence 4.25” x 2.50”
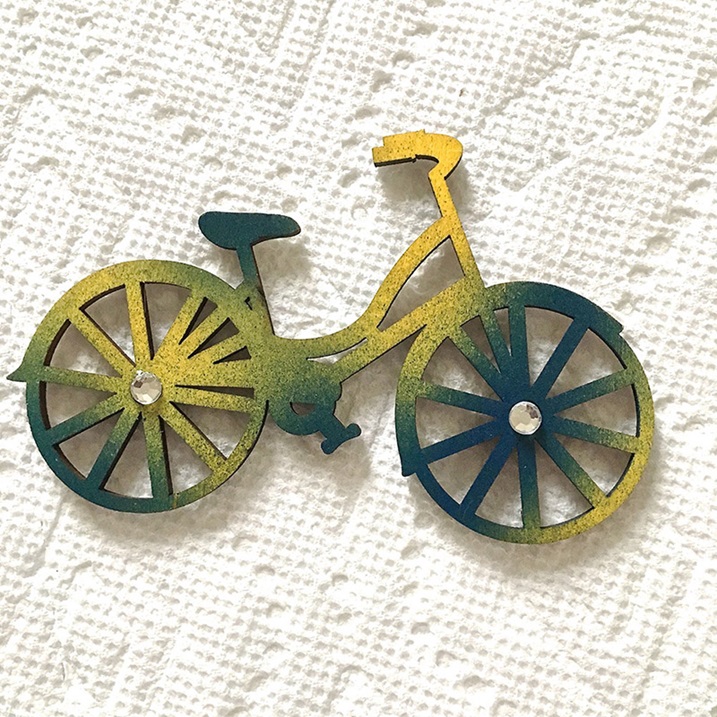
Wooden bicycle 4” x 2.50”
Rhinestones
Miscellaneous
Marker
Cloth for staining
Project designed and created by Gloria Uhler at Domestic-Divaonline.com for Testors’ Corp.
Create an outdoor scene for your outdoor space and always know what time it is.
Protect your work surface and all areas not being painted. Always allow paint and glue to dry completely before moving to the next step.
Step 1
Mark the center of the wood plaque 4.50” from the top. Drill a hole to accommodate the size of the clock shaft.

Step 2
Lightly sand the wood with fine sand paper in the direction of the grain. Wipe the surface with a dry clean cloth.
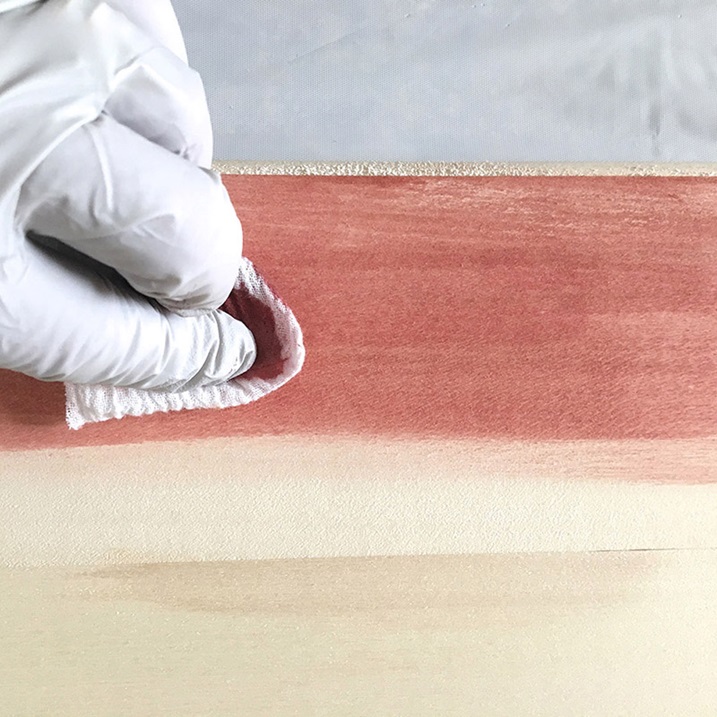
Step 3
Stir a half bottle of the Red wash with a half bottle of the Walnut wash until they are well mixed. Apply the wash to the plaque in the direction of the grain. Apply a second wash if desired to darken the color.
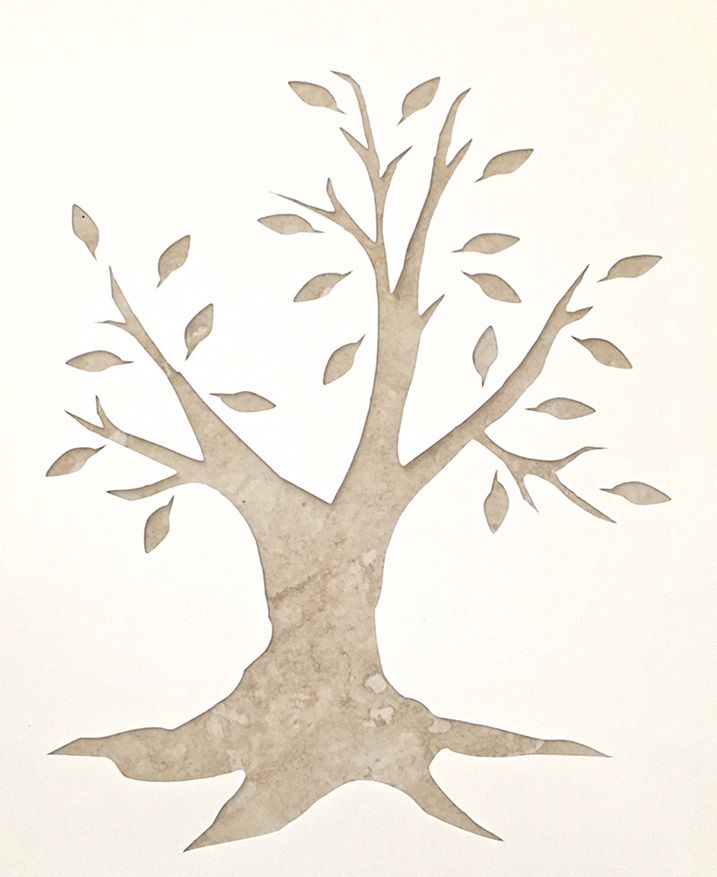
Step 4
Find an image online or draw your own tree on cardstock to measure approximately 7.50” x 8”. Cut out the shape with a hobby knife.
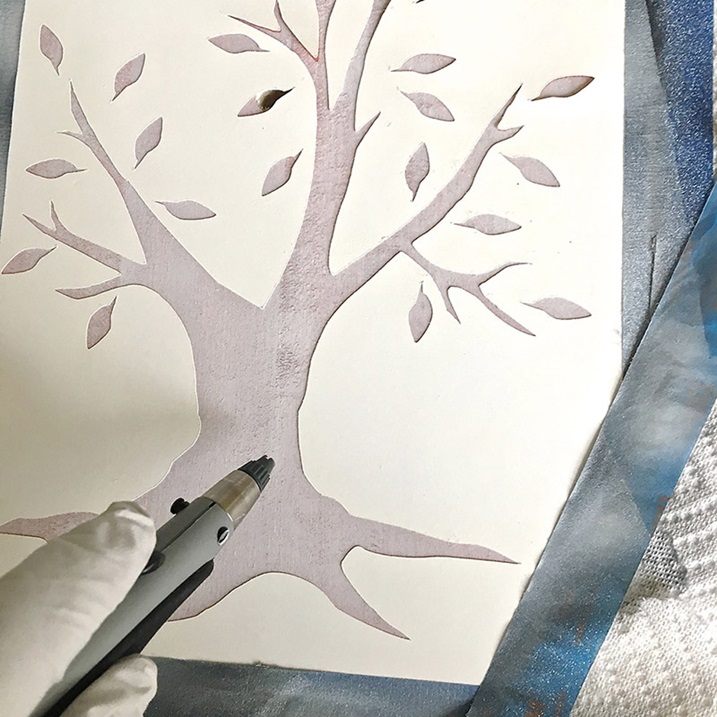
Step 5
Spray the back of the cardstock with adhesive. Center the stencil on the plaque about 3.50” from the bottom with the sticky side down. Press in place.
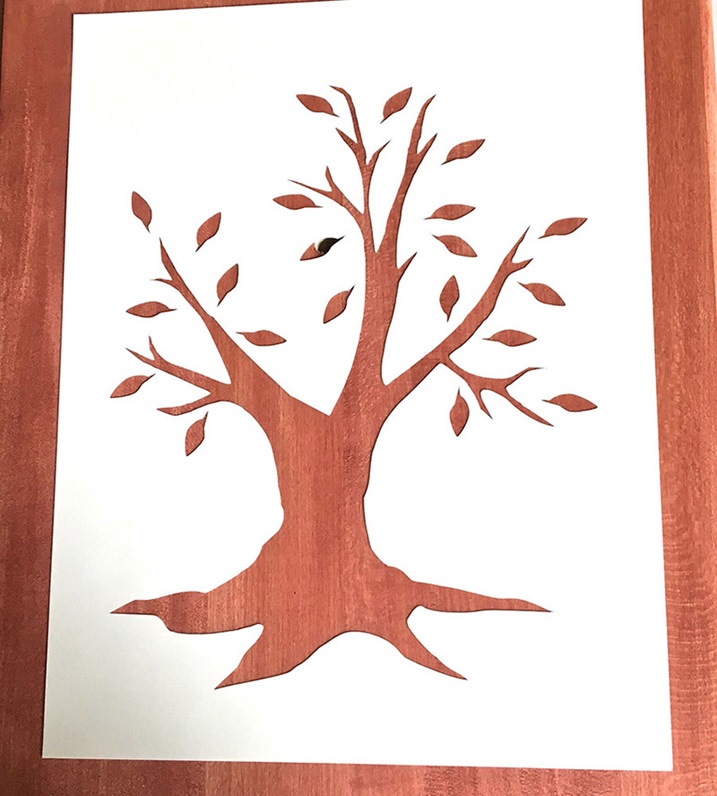
Step 6
Airbrush the tree stencil with white paint. Remove the stencil.
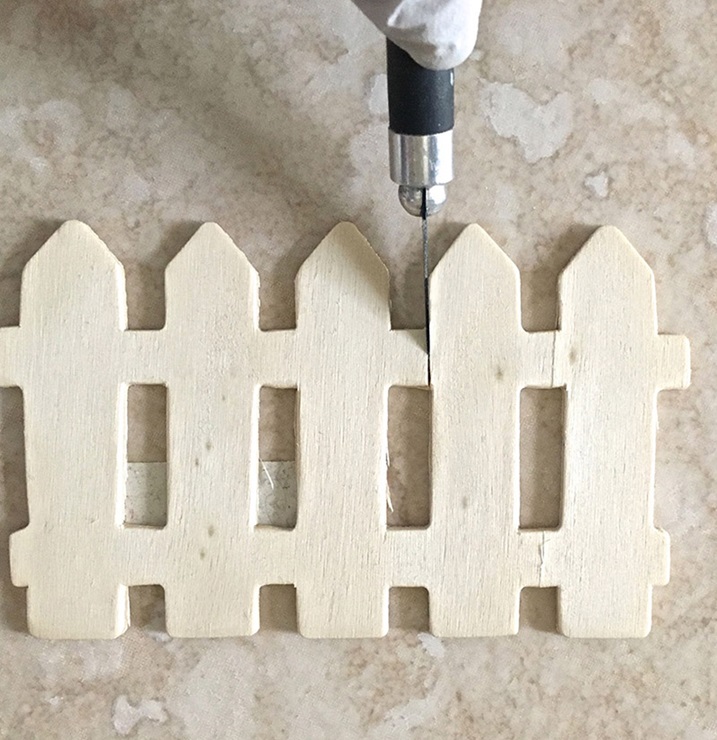
Step 7
Arrange enough wood fence pieces together to stretch across the width of the plaque. Use a hobby knife to slice them and create straight ends on both edges of the plaque.
Step 8
Airbrush the fence pieces with a mixture of equal parts Mocha and White paint.
Step 9
Airbrush the wooden bicycle with Citron paint.
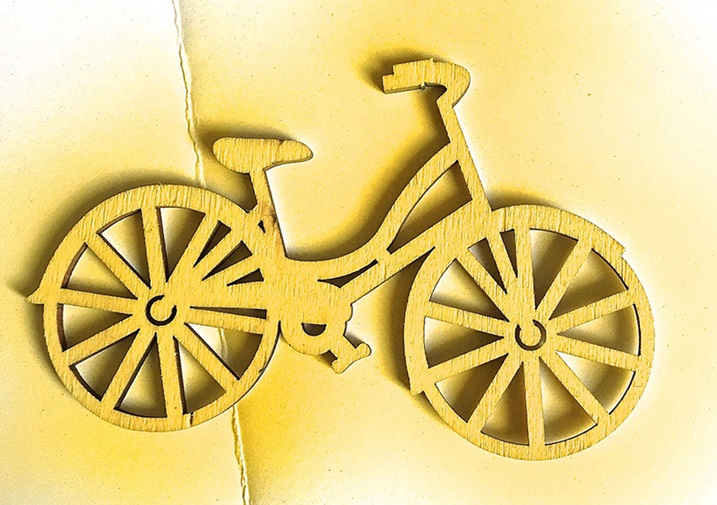
Step 10
Sweep lightly across small portions of the bicycle with blue paint to create a multi color effect. Glue rhinestones on the center of the wheels with E6000.
Step 11
Arrange the fence pieces in a row 1.50” from the bottom of the plaque. Apply E6000 and press them in place.
Step 12
Glue the bicycle to the fence.
Step 13
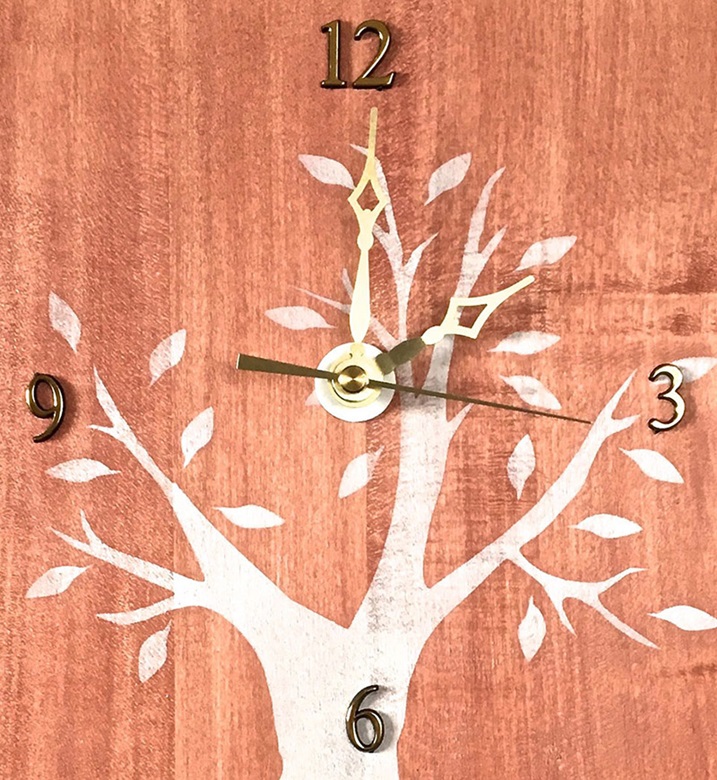
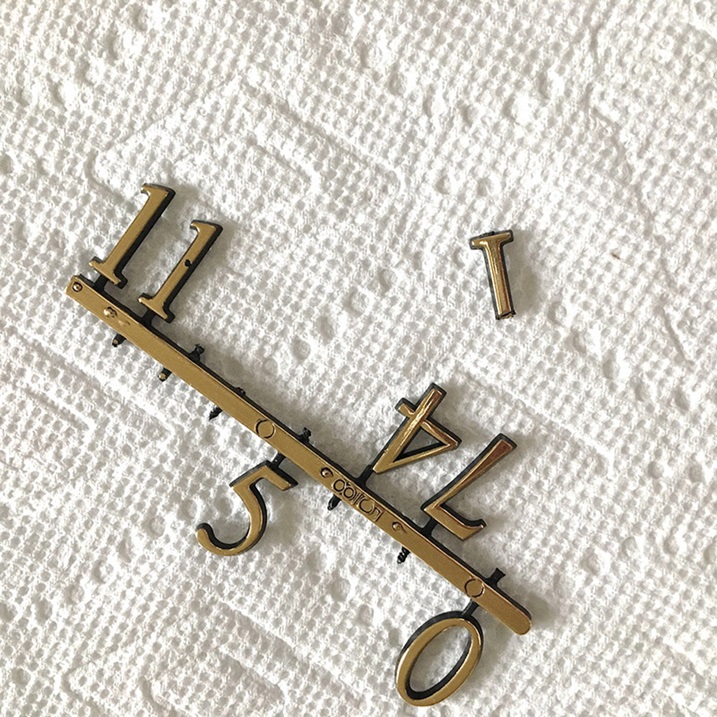
Install the clock kit according to package instructions. Apply the adhesive back numbers 3” from the center of the clock.
Step 14
Cut pieces of the leftover number “1”s to create the gate hinges. Glue them in place with E6000.
note: The white washer pictured in the center of the clock is not included with the clock kit. This paper thin white washer was created with polymer clay to cover the base of the center shaft. This solved a problem of a visible space between the wood and the mechanism caused by the hole being drilled too large.