Rust-Oleum Projects
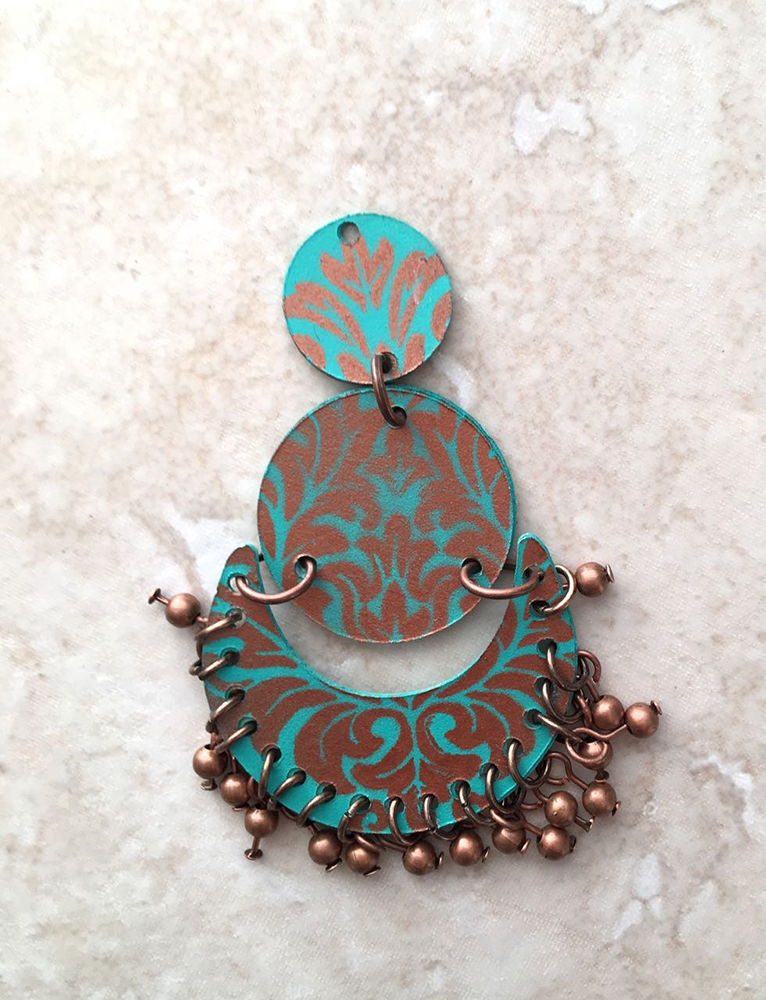
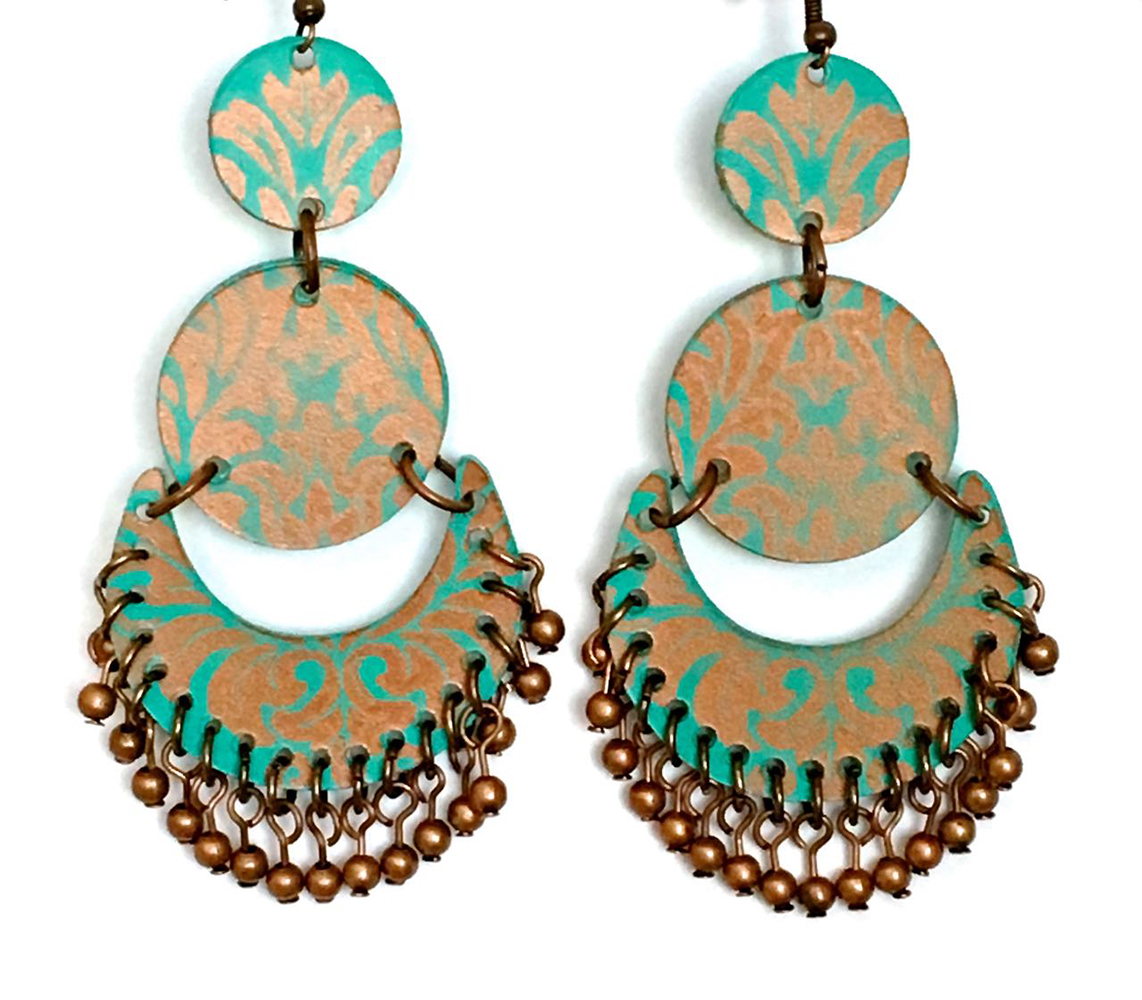
Handmade Airbrush Copper Earrings
Browse Projects
-
Shift the Look of Your Video Game Controllers
-
Creative Stemless Wine Glass


-
Tools & Supplies:
-
4637 Acrylic Gloss
-
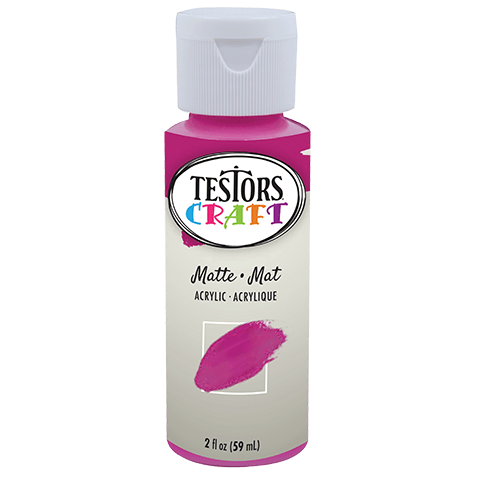
297419 Turquoise Craft Paint
-
297478 Seafoam Craft Paint
-
9473A Copper Airbrush Paint
-
295179 AirBrainz Stencil
-
Craft Knife, Scissors or Stencil Cutting Machine
-
Aztek Aribrush with Paint Cups
-
2" Copper Nail Head Wires - 34
-
6mm Copper Jump Rings - 36
-
8mm Copper Jump Rings - 4
-
Copper Earring Wires - 2
-
4mm Copper Beads - 34
-
Jewelry Pliers and Cutters
-
Plastic Gloves (Optional)
-
Small Paint Brush
-
Elmer's Glue
-
3/32 Drill Bit
-
Card Stock
-
Brush
These handmade earrings with airbrushed details were handmade by Domestic Diva. See more of her unique crafts on her website.
Directions:
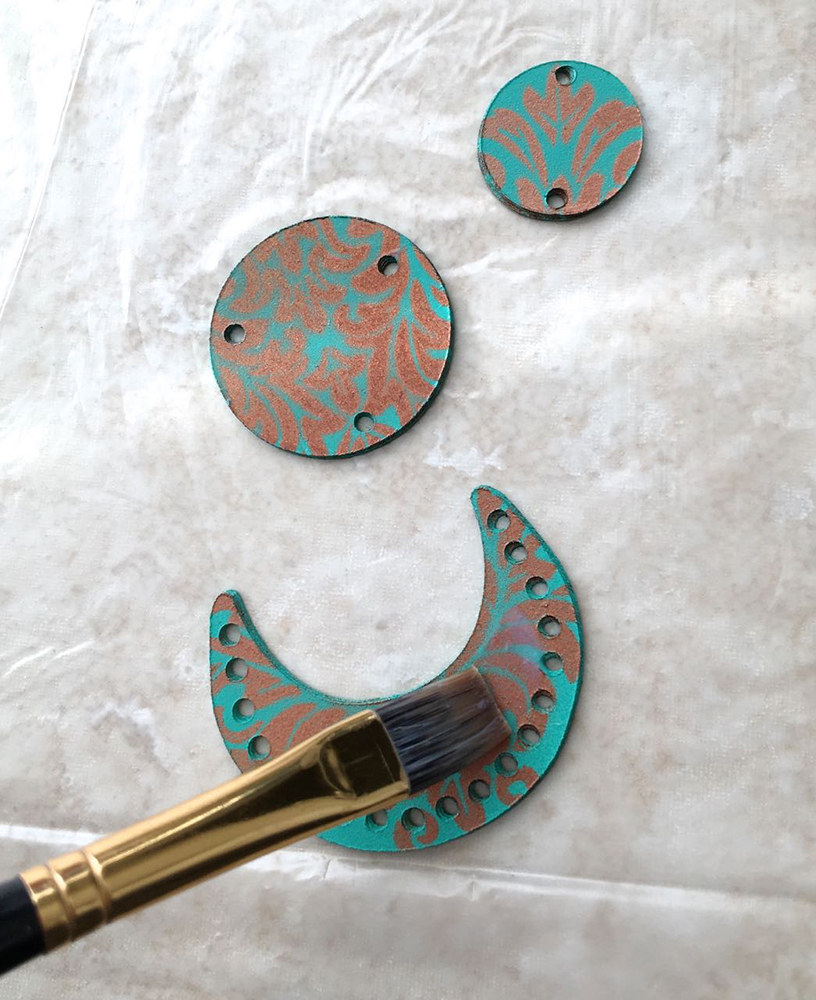
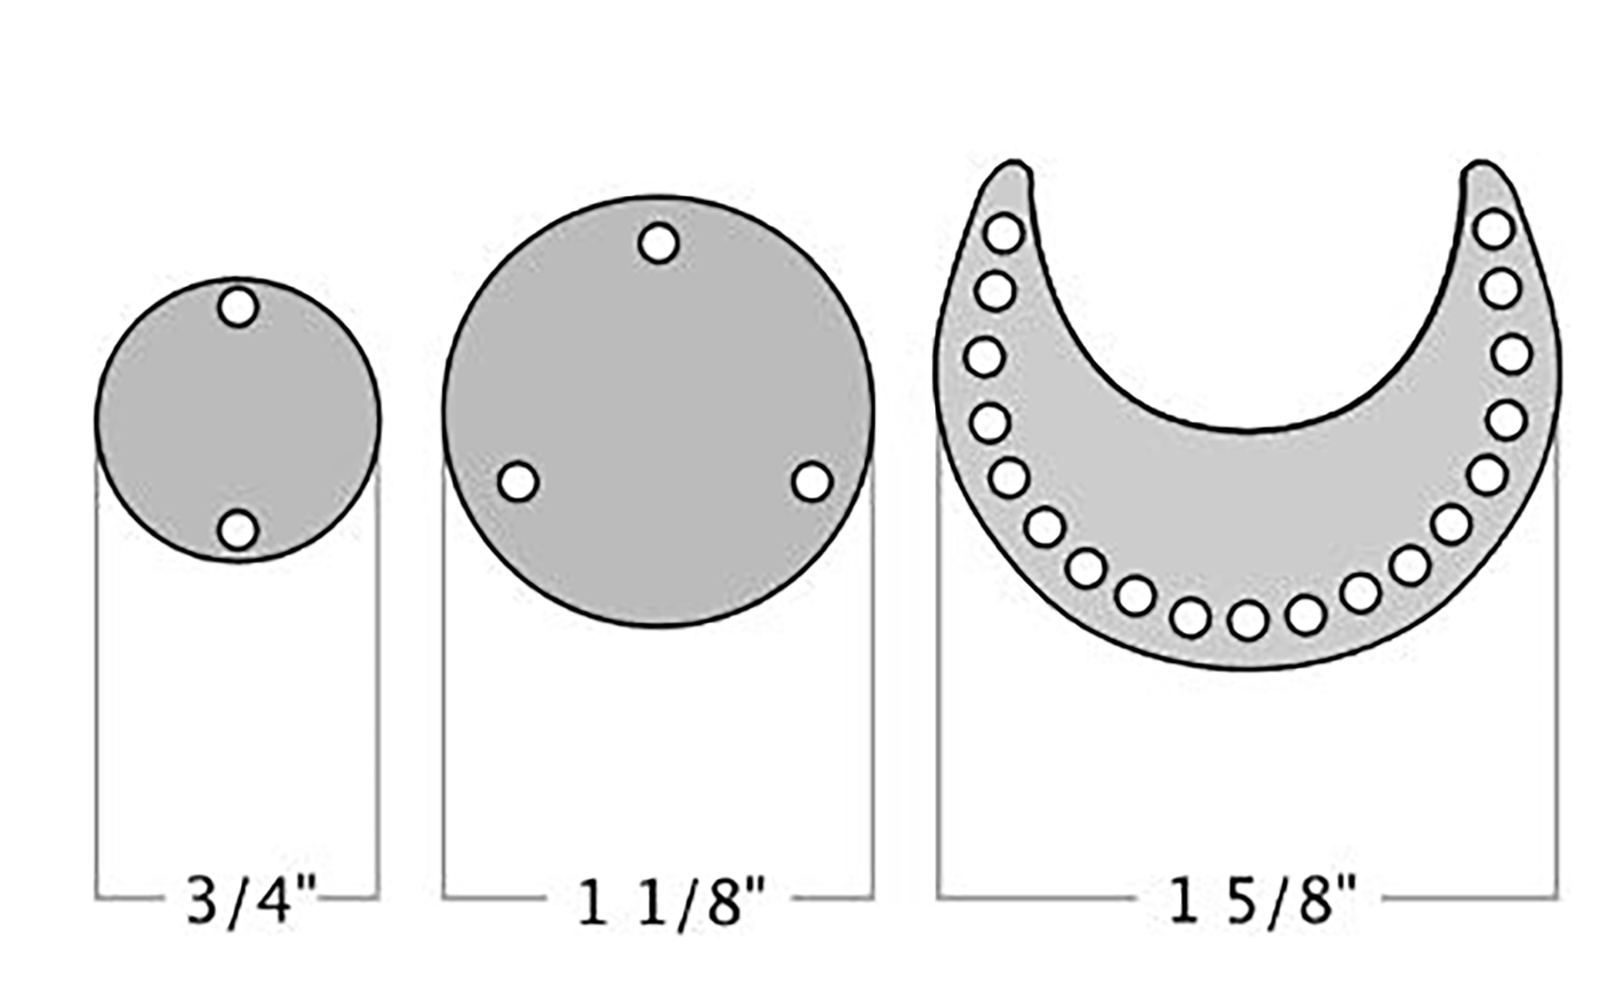
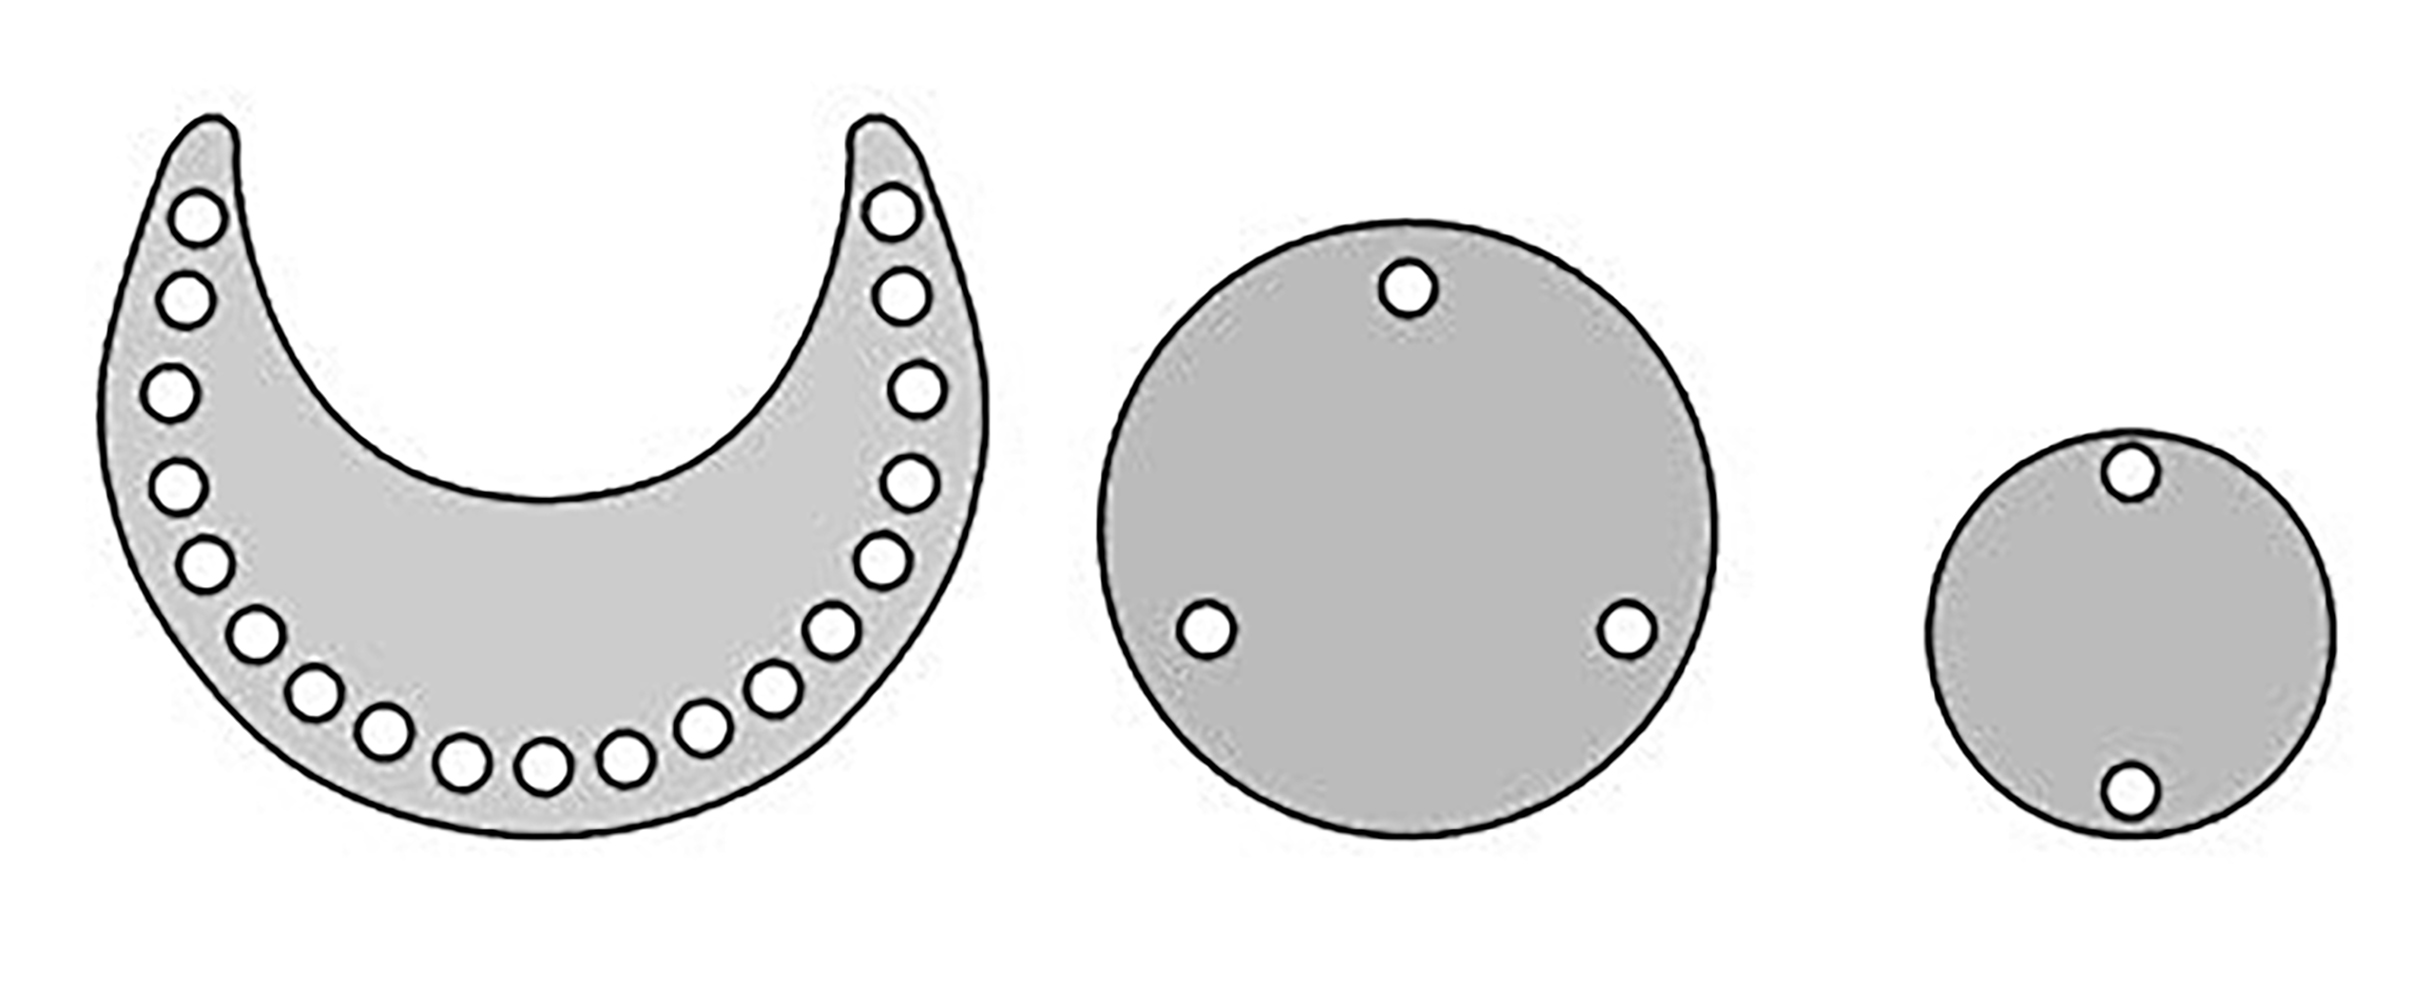
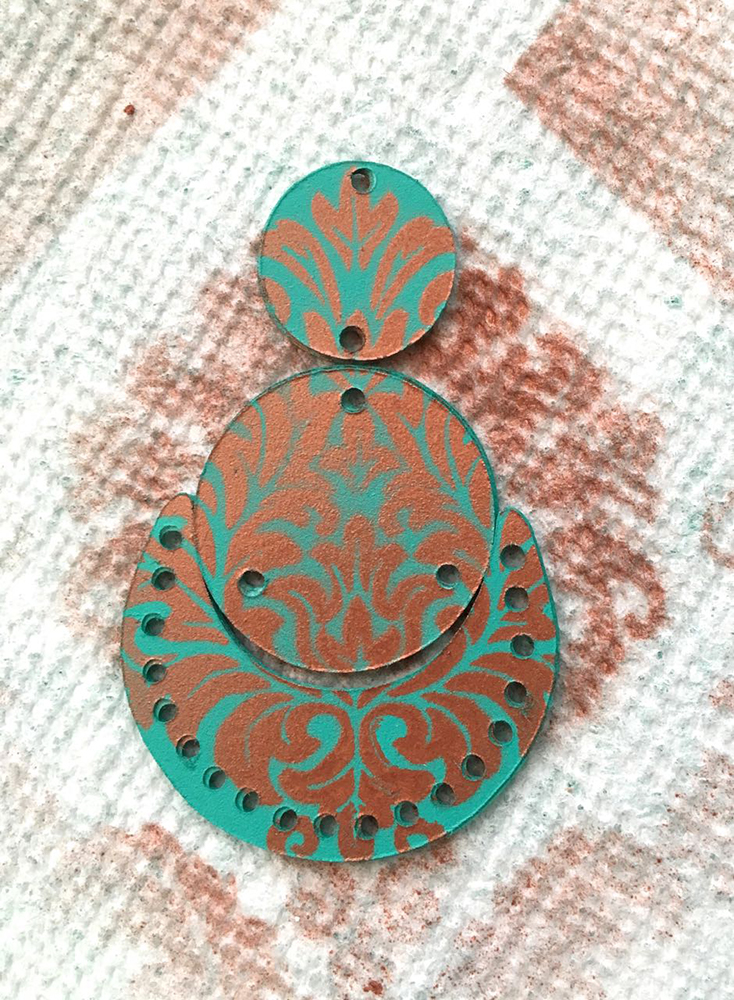
Step 1 – Using a craft knife, scissors or a stencil-cutting machine, cut 8 large and small circles and 8 crescent shapes from card stock. The crescent shapes are 1 5/8” wide, the large circles are 1 1/8” wide and the small circle is ¾” wide. Create the crescent shape so that the large circle fits inside the top of the opening.
Step 2 - Apply glue to one side of six large circles, six small circles and six crescents. Use your finger to apply the glue to avoid over soaking any one area and to be sure there is glue right to the edges of the card stock. Each earring part is made up of 4 layers. Stack the layers with the non-glued piece on top. Allow the glue to dry completely.
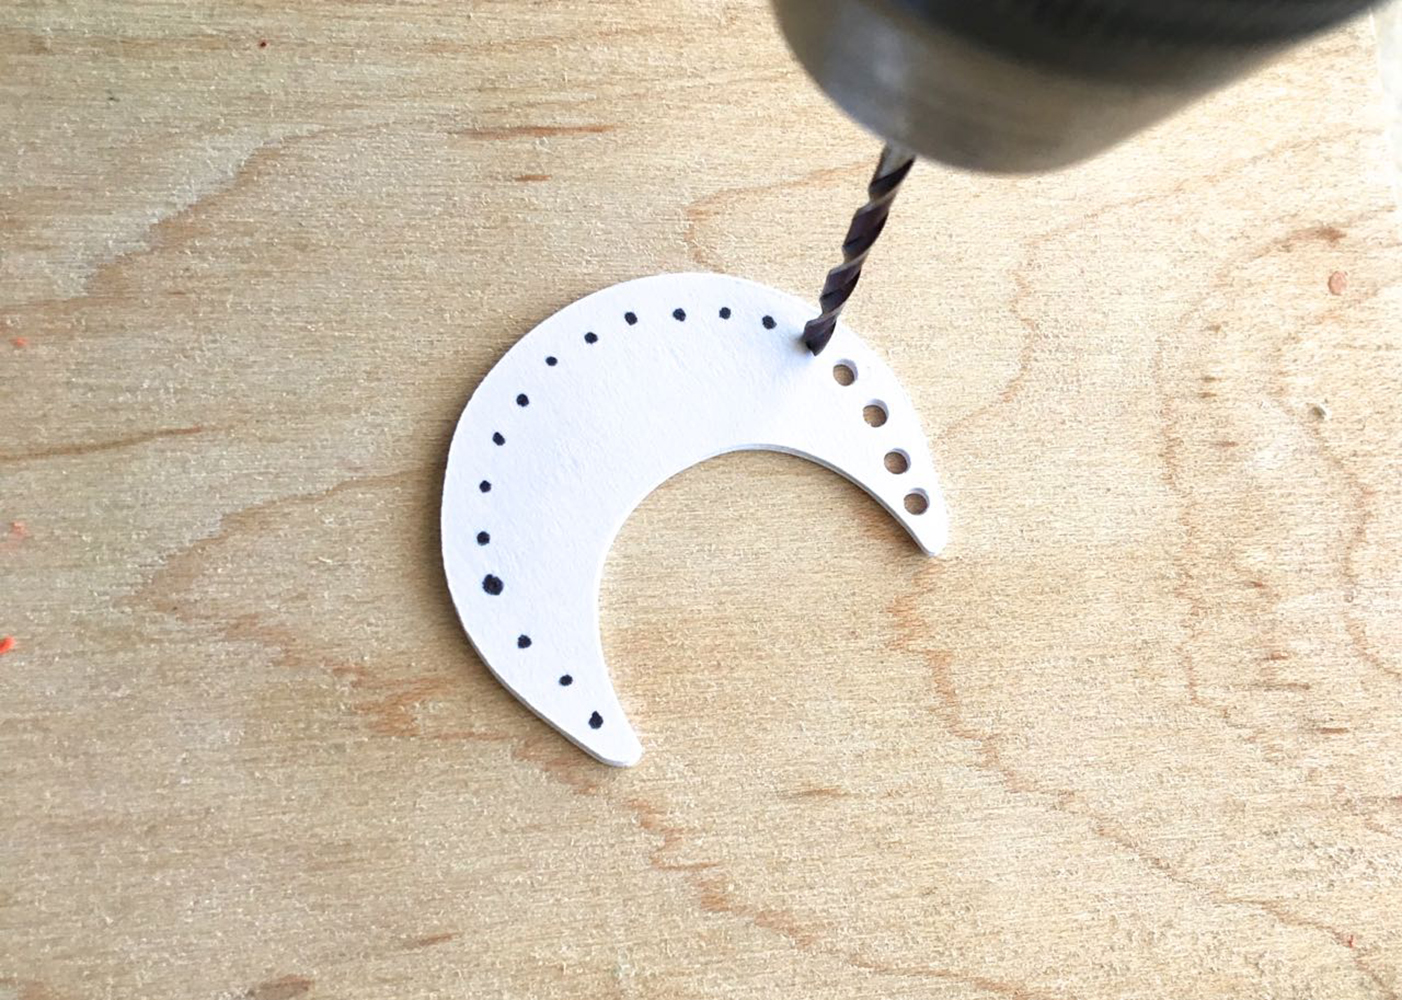
Step 3 - Mark card stock with 19 dots on the edge of each crescent as your guide for drilling holes. Place a mark on the right and left side of the large circles slightly under the centerline. Add another single mark at the top center of this circle. On the small circle, mark the center top and bottom. Drill all the holes with a 3/32 drill bit.
Step 4 - Gently use a nail file to correct any fuzzy imperfections on the outside edges of the glued card stock parts.
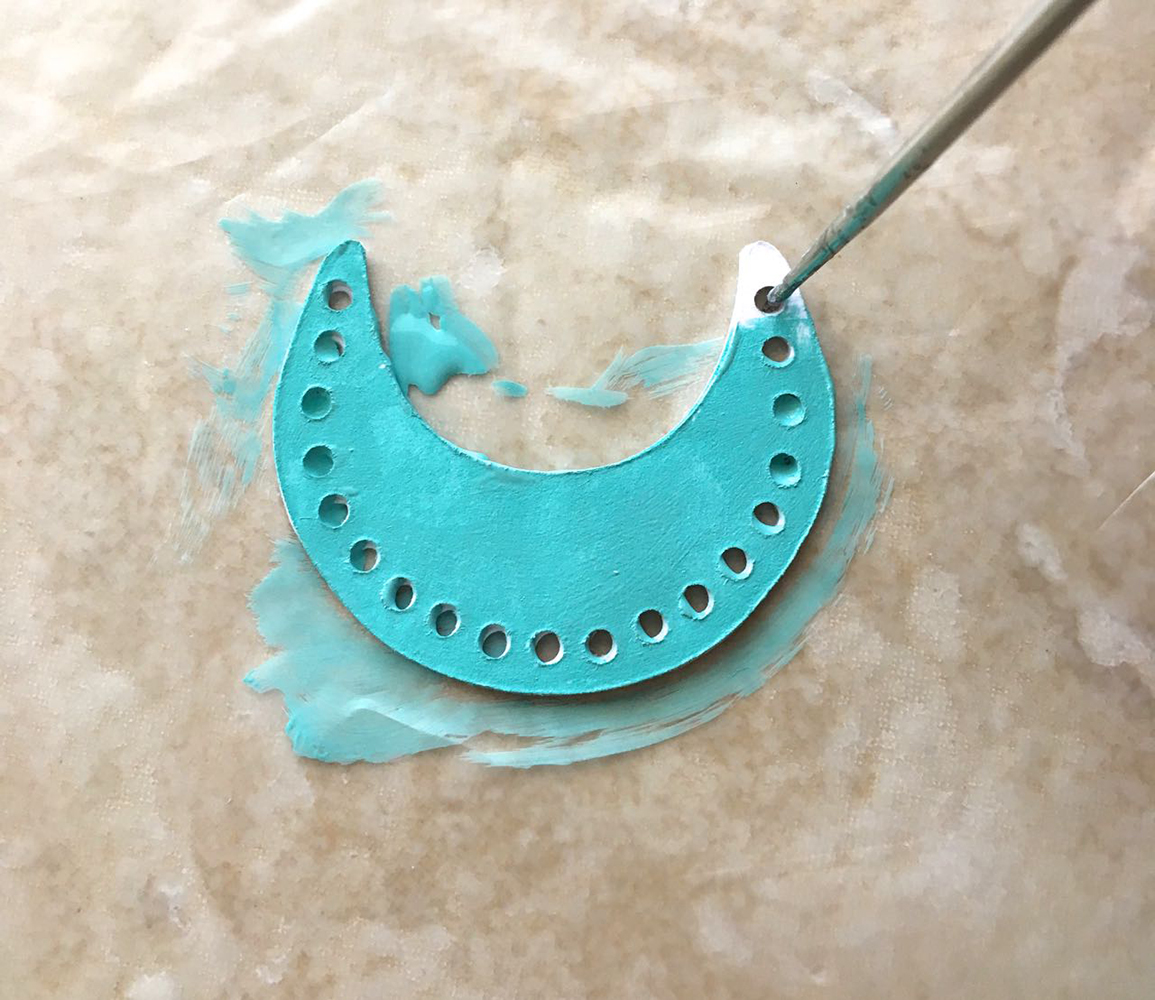
Step 5 – Mix the two craft paint colors to create a medium Turquoise color. With a brush, paint the card stock fronts with thin coats of mixed paint. Allow them to dry. Paint the backside of the pieces. When dry, paint the edges.
Step 6 – Align the parts one above the other on a protected work surface.
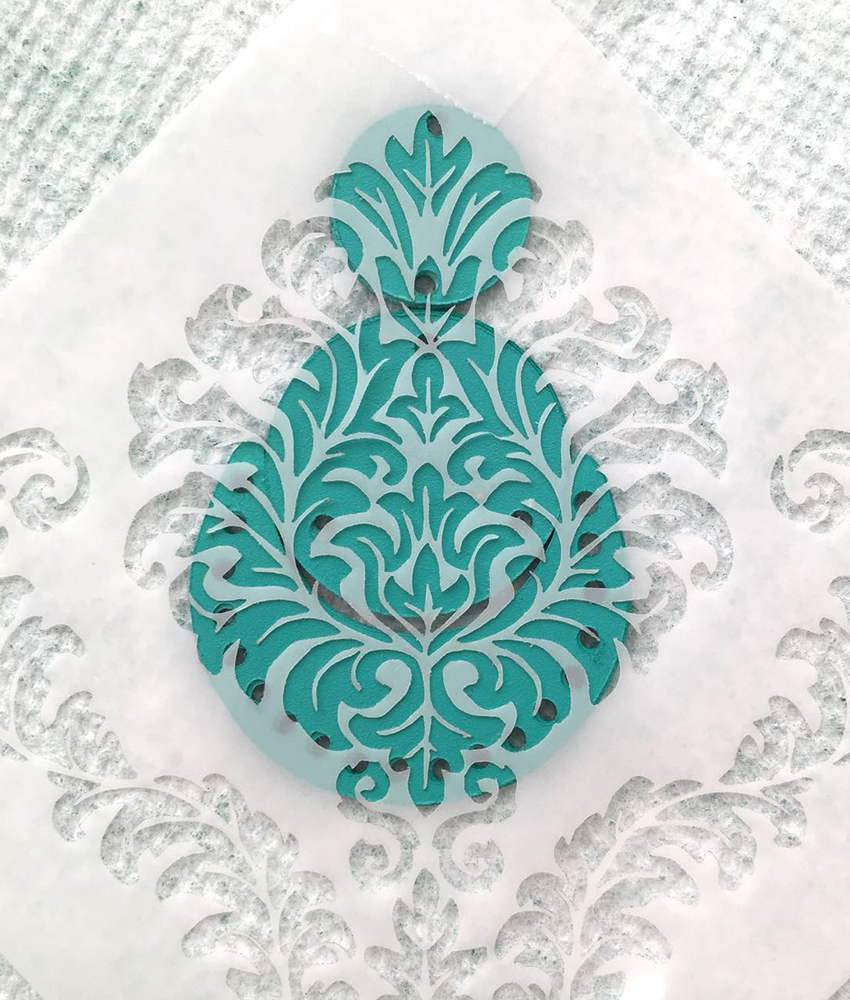
Step 7 – Place the stencil sticky side down on the painted card stock. The stencil design will reach from the top to the bottom of the painted surface.
Step 8 – Airbrush the stencil with Copper paint. When dry reapply the stencil to the second set of earring parts.

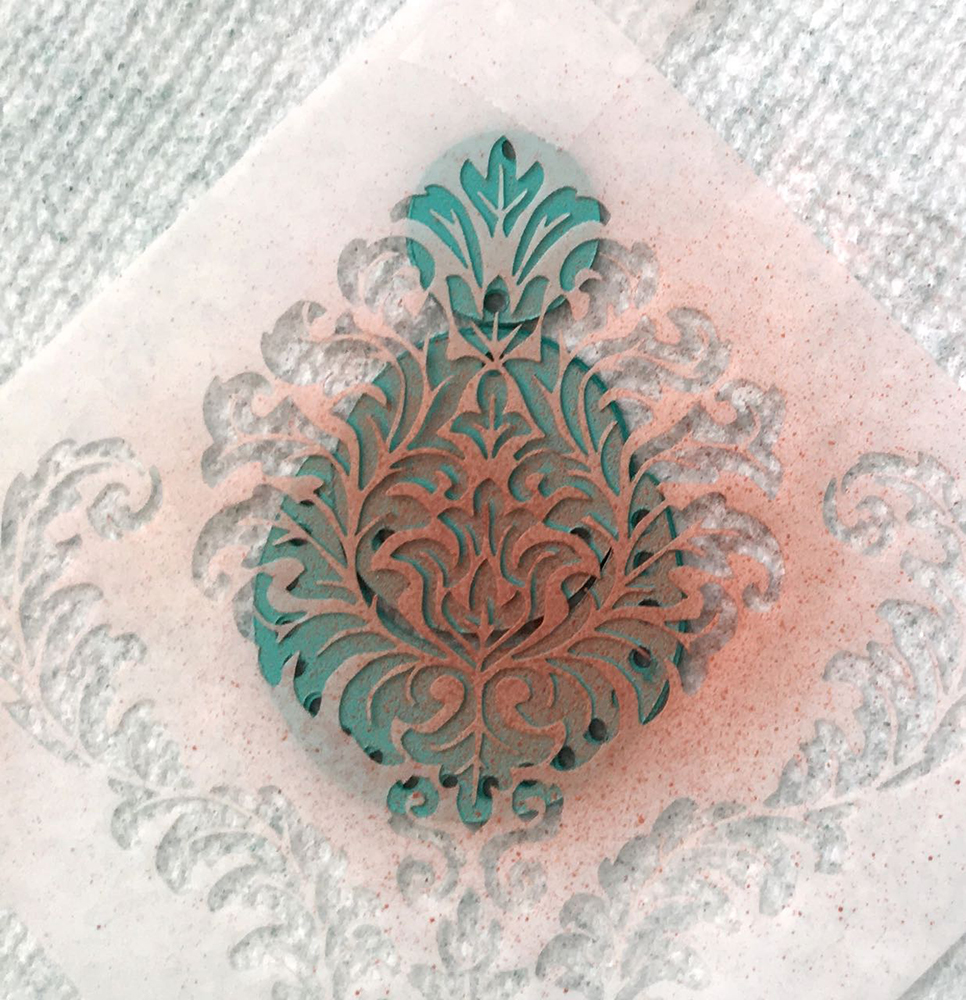
Step 9 – Remove the stencil and allow the paint to dry.
Step 10 – Brush Acrylic Gloss on the front and back of each earring part. Allow the gloss to dry before turning the pieces over.
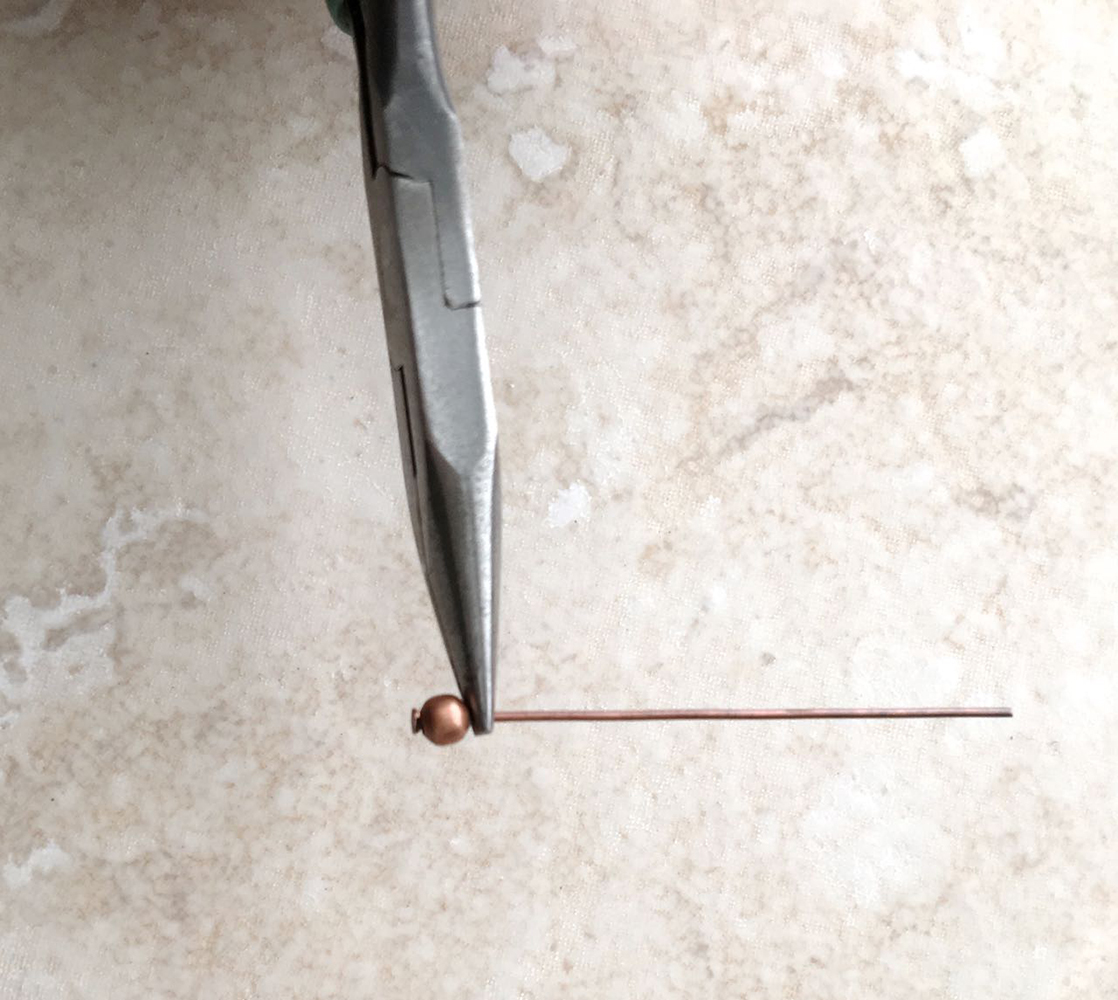
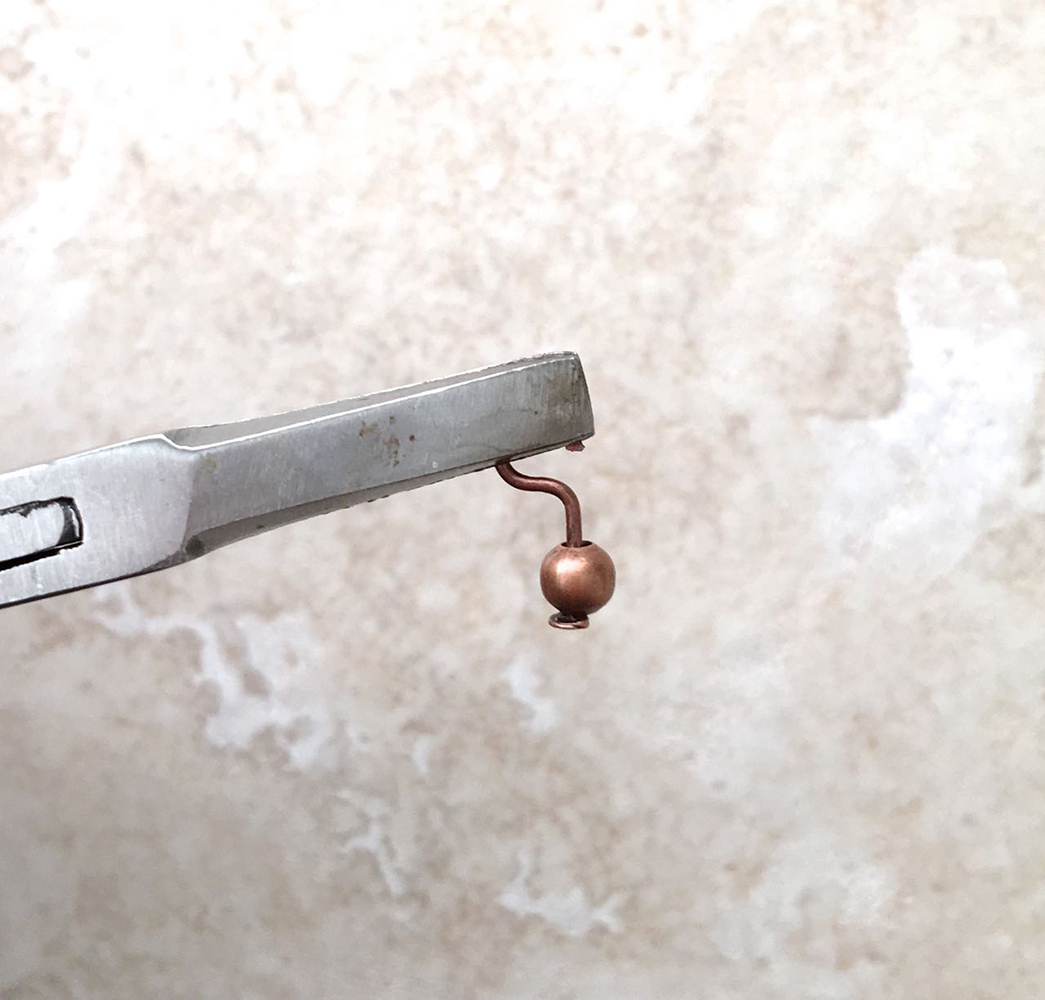
Step 11 - Slip a 2” nail head wire into a 4mm copper bead.
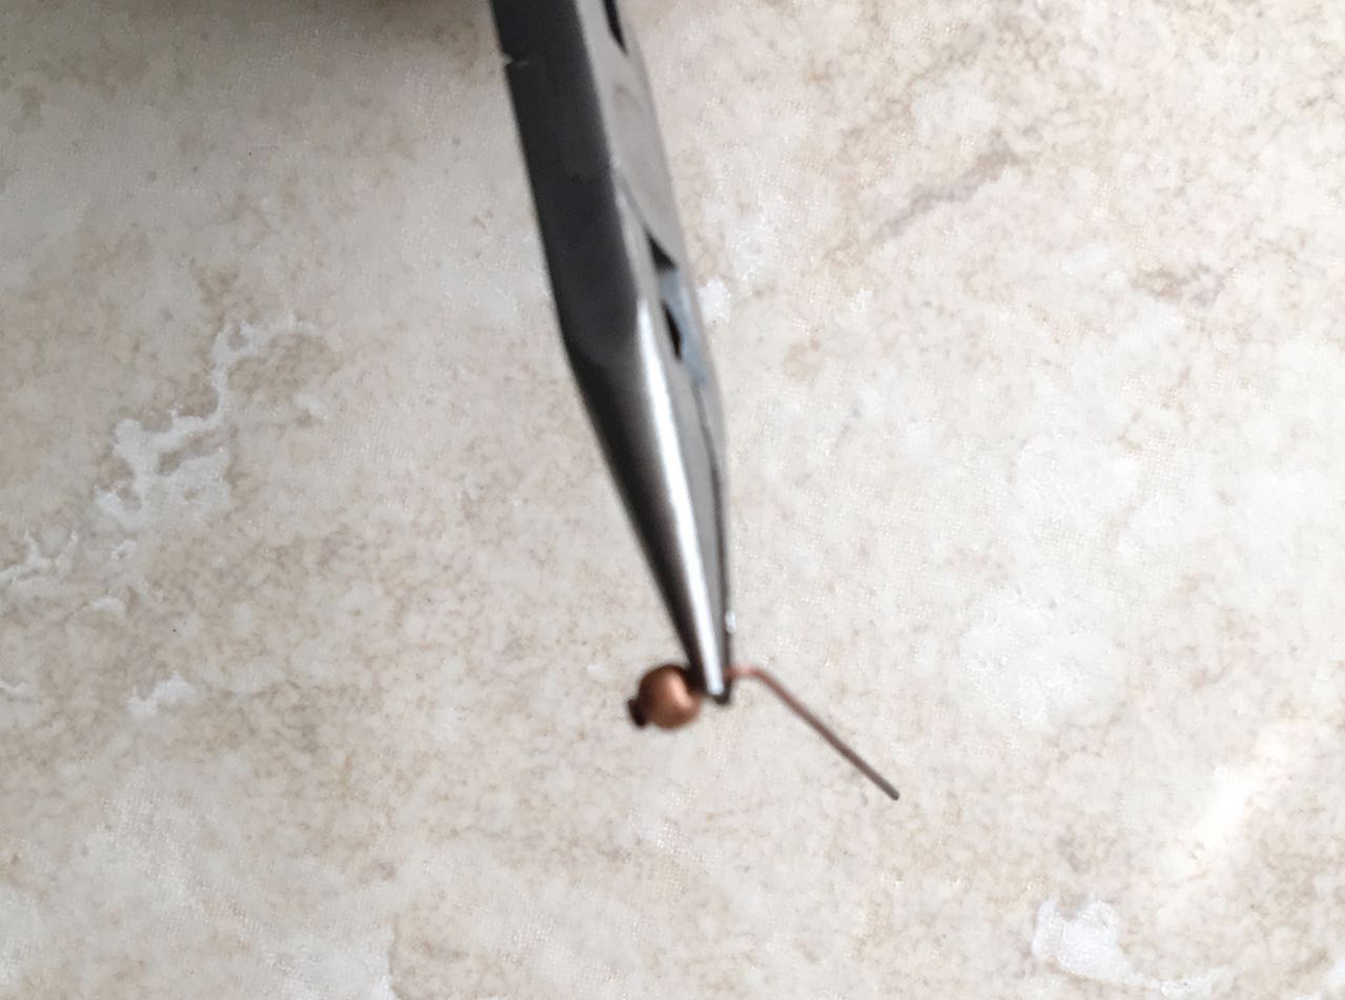
Step 12 – Grasp the wire close to the bead with needle nose pliers. Bend the wire over the top of the pliers to create a 90-degree angle.
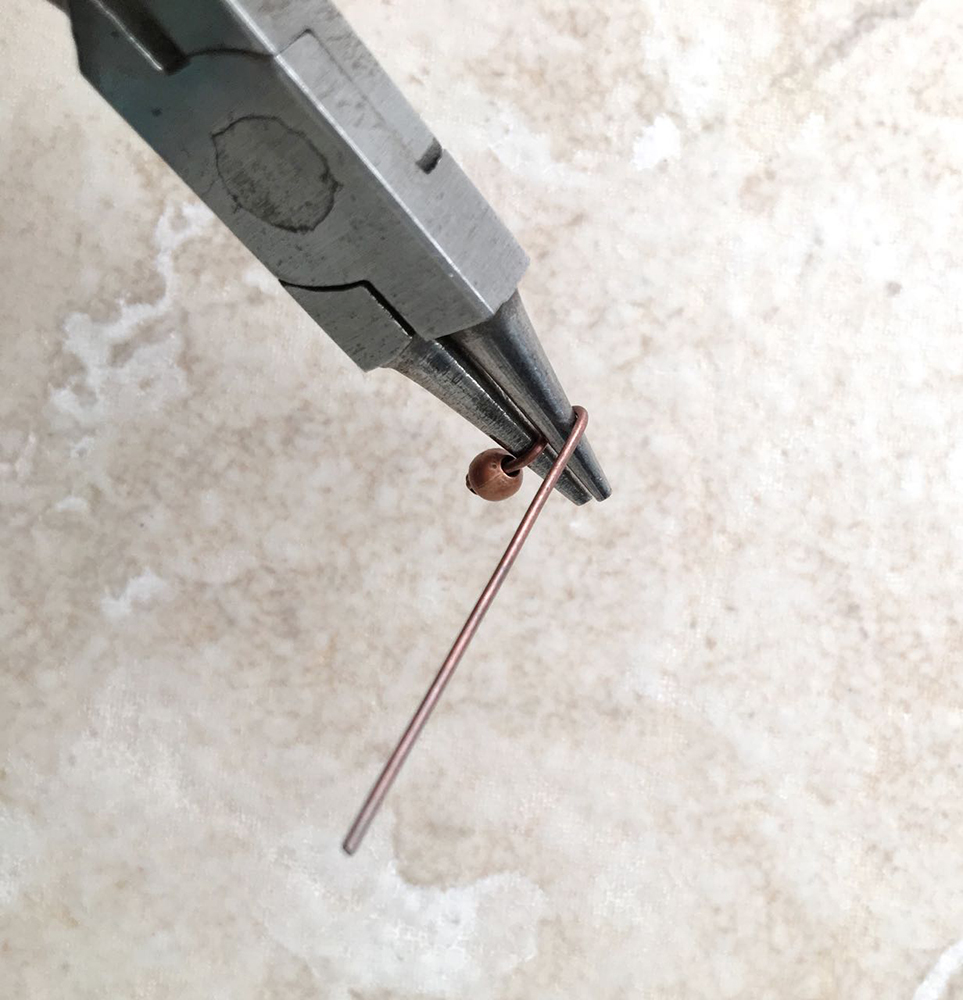
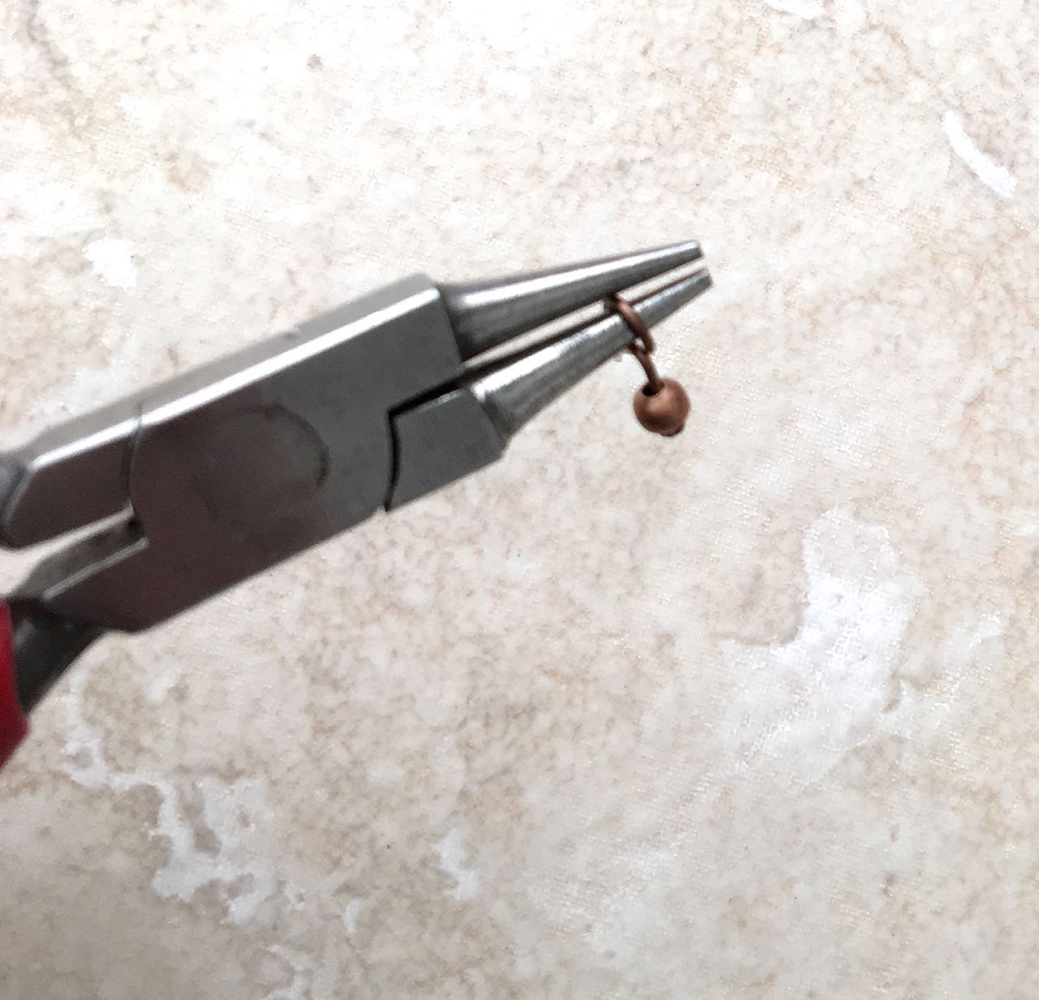
Step 13 – Slip the jaws of round nose pliers into the angle. With your hands, bring the wire over the top of the jaws.
Step 14 – Move the bottom jaw into the wire and bring the wire around the bottom creating a circle.
Step 15 – Snip the excess wire just above the angle with wire cutters.
Step 16 - Grasp the loop with flat nose pliers and turn it upright to close loop. Create 34 looped beads in this way, 17 for each earring.
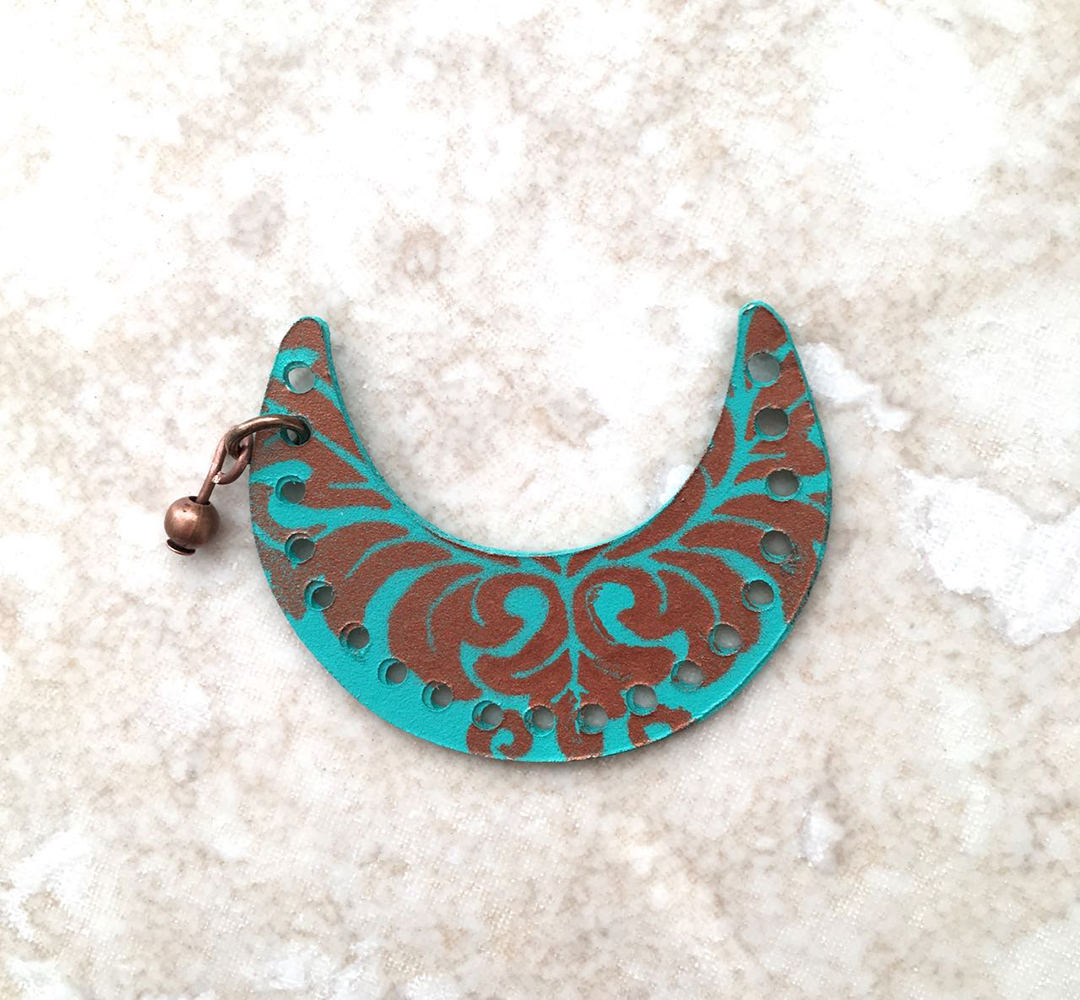
Step 17 - Attach a 6mm jump ring to all but the top holes on the perimeter of the crescent. Slip a looped bead onto each. Close the jump rings.
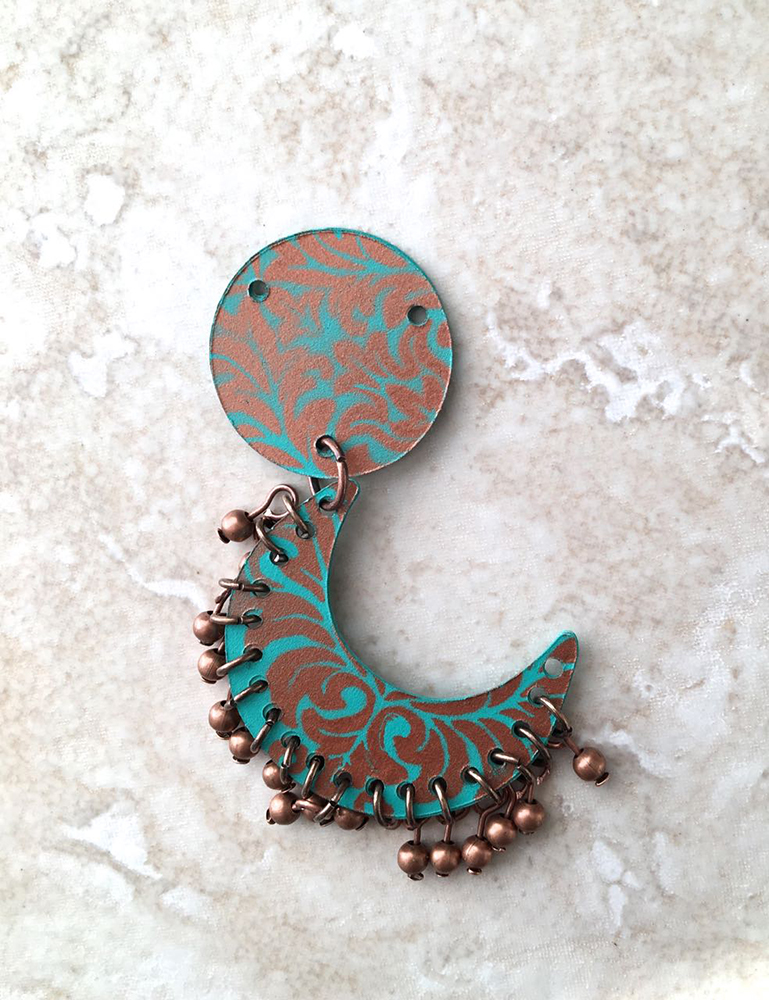
Step 18 - Open a 8mm jump ring and connect the large circle to the top outside holes in each crescent.
Step 19 – Attach a 6mm jump ring to the center top hole in the large circle. Connect it to a hole in the small circle.
Step 20 – Attach an earring wire to the remaining hole.
TIP: Earrings measure 4” long
Project designed and created by Gloria Uhler at Domestic-Divaonline.com for Testor’s Corp 2018.