Rust-Oleum Projects
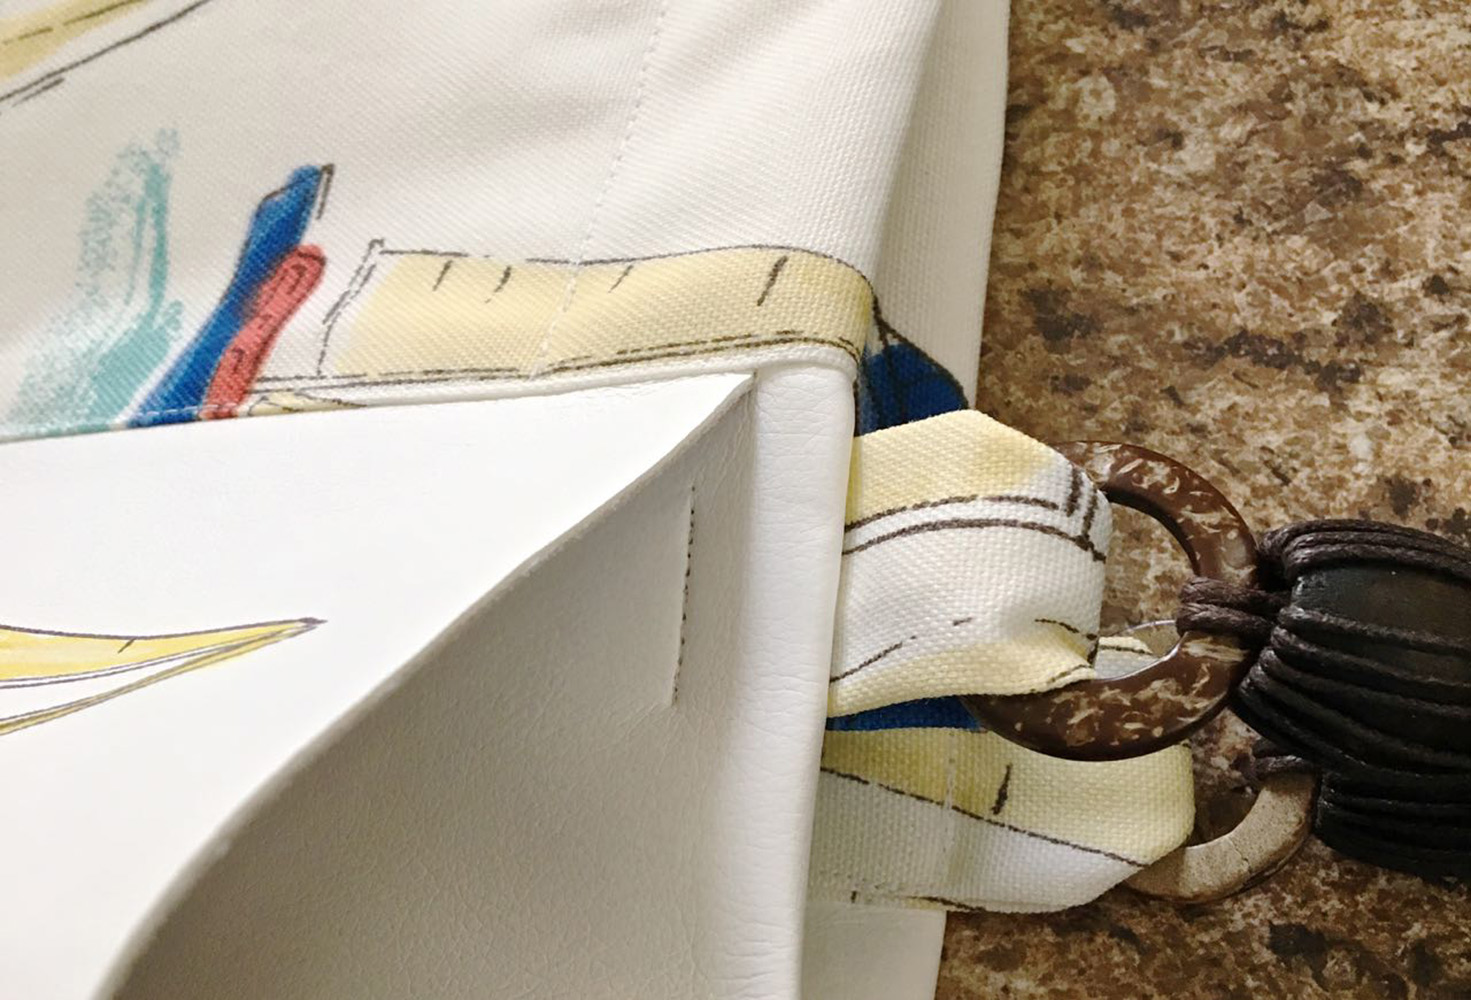
Custom Airbrushed Beach Tote
Browse Projects
-
Proud Football Mom Shirt
-
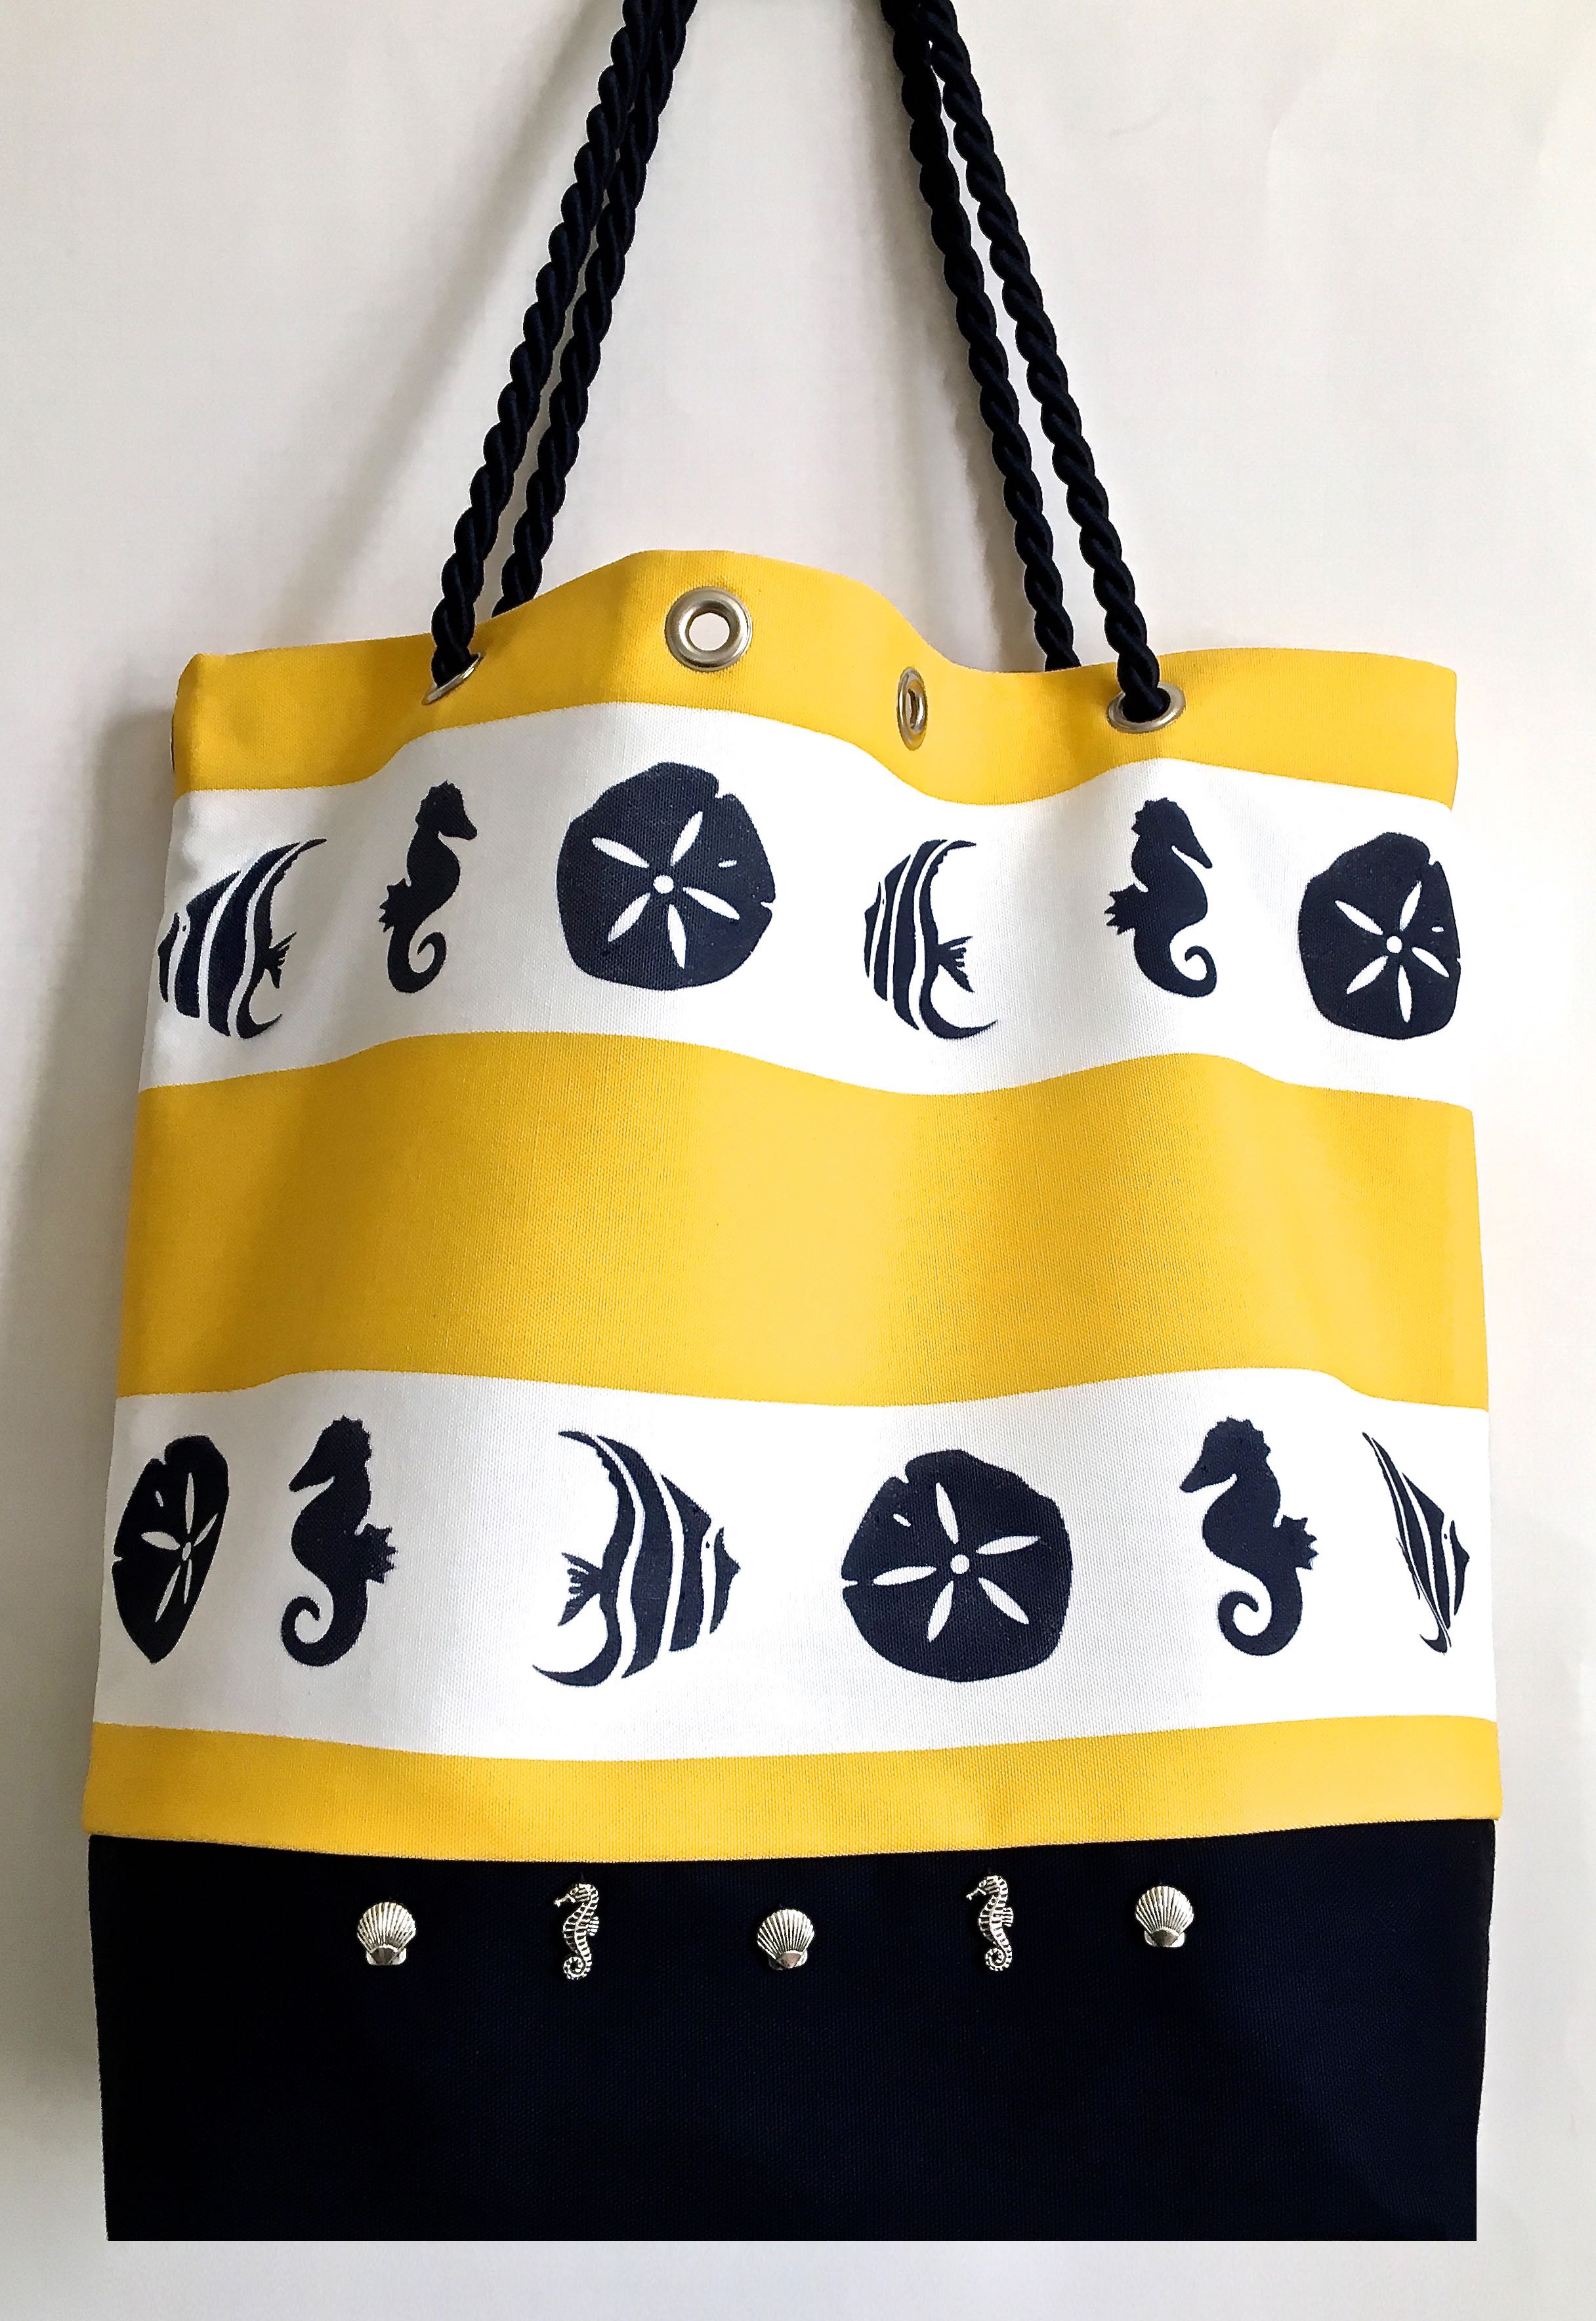
Seashell Beach Bag

-
Tools & Supplies:
-
Testors Aztek Paints - 9440 White, 9442 Yellow, 9441 Black, 9446 Red, 9449 Blue
-
Testors Aztek Airbrush and Paint Cups
-
Testors 302939 Make Your Own Markers - 4
-
Stencil Adhesive
-
Card Stock
-
Craft Knife
-
Painter's Tape or Clips
-
1 yard White Vinyl
-
1 yard of Canvas Sailboat Theme Fabric
-
Wood and Rope Handbag Handles 6"x7.25"
-
1/2 yard of 20" wide Heavy Fusible Interfacing
-
2/3 yards Muslin (Lining)
-
Teflon Presser Foot for Sewing Vinyl (Optional)
-
14"x4" Heavy Cardboard
-
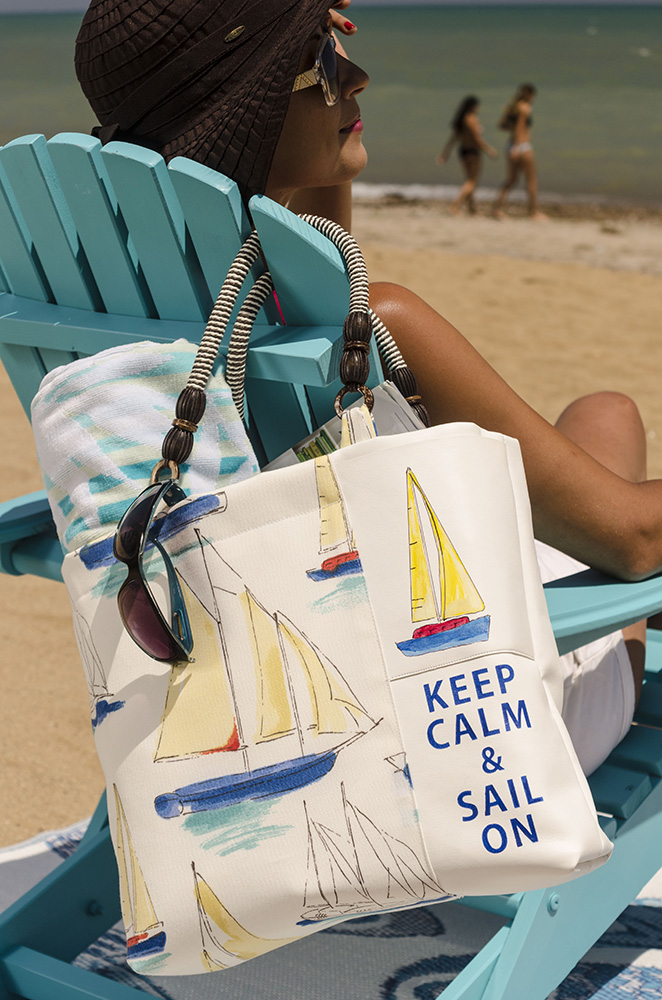
A DIY airbrushed beach tote showcases your love for the water’s edge. Create a unique carry-all for all of your beach items, such as sunglasses, a good book, and your sunblock.
Project Steps:
- Fuse the interfacing strips to the two short ends of the 36” vinyl using an iron, on a low setting, with no steam. These fused edges will be the top facings for the bag.
- Fuse interfacing to the vinyl pocket.
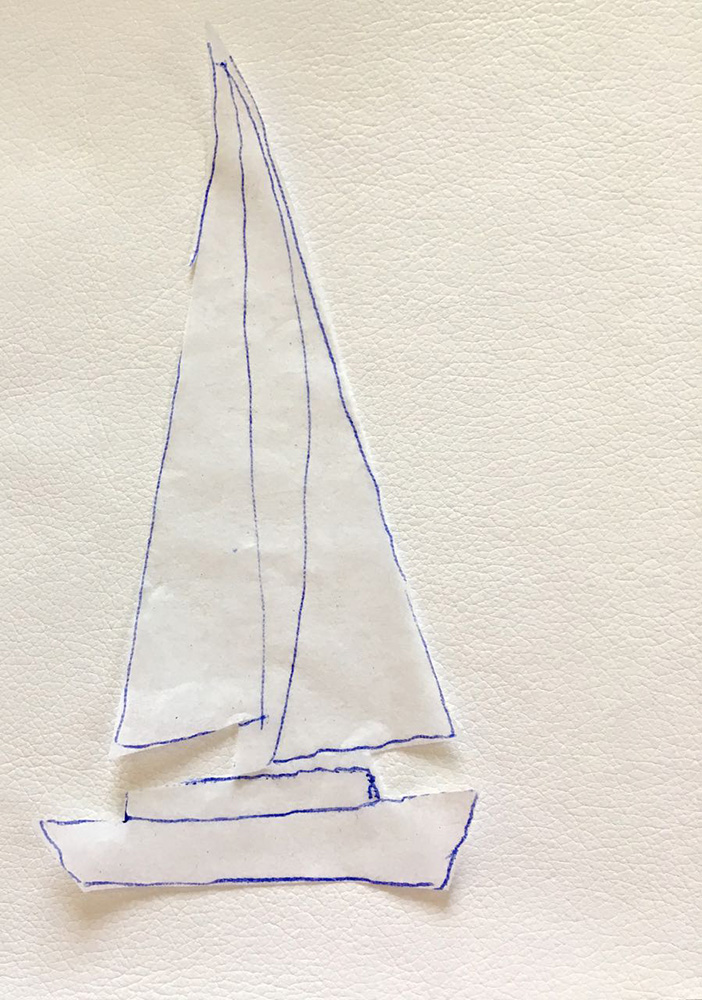
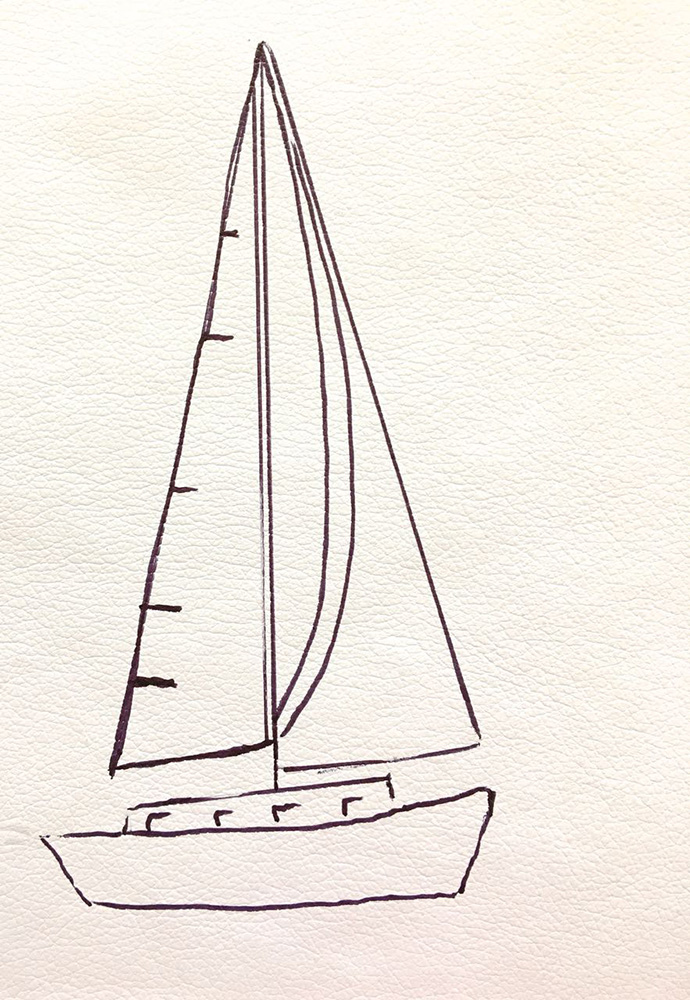
- Place tracing paper on the smallest of the fabric’s sailboat image. Trace the image.
- Cut the outline. Center it vertically and position it one inch from the left edge of the pocket.
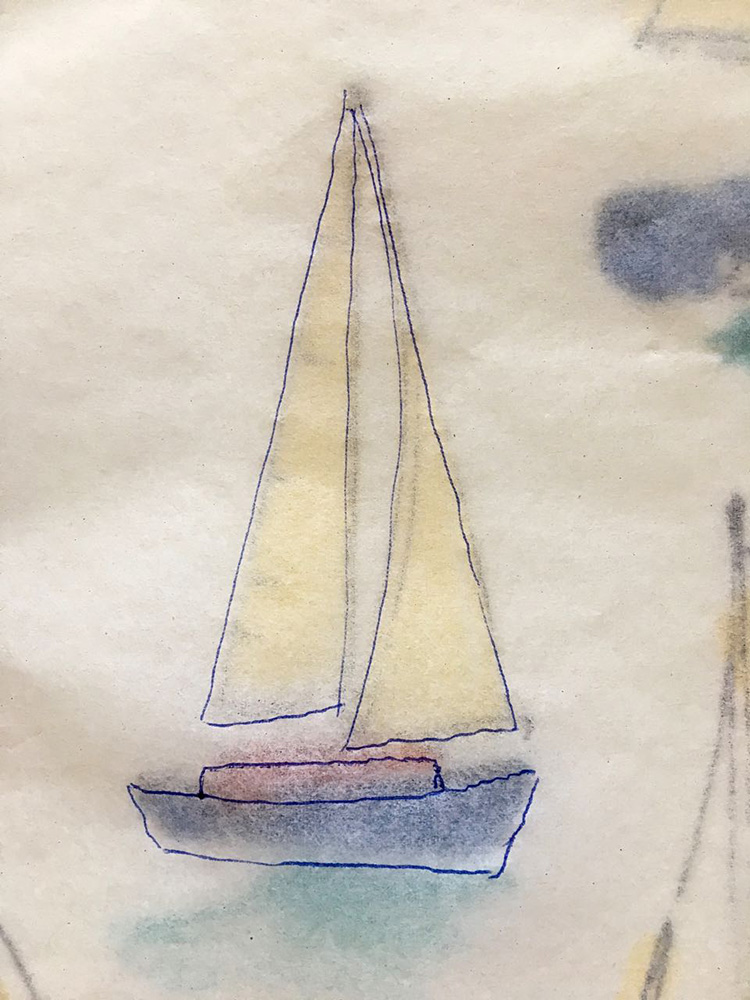
- Trace the outline onto the vinyl using the fine tip on a make-your-own Testors marker. Follow instructions on the marker packaging to fill the marker with black acrylic paint.
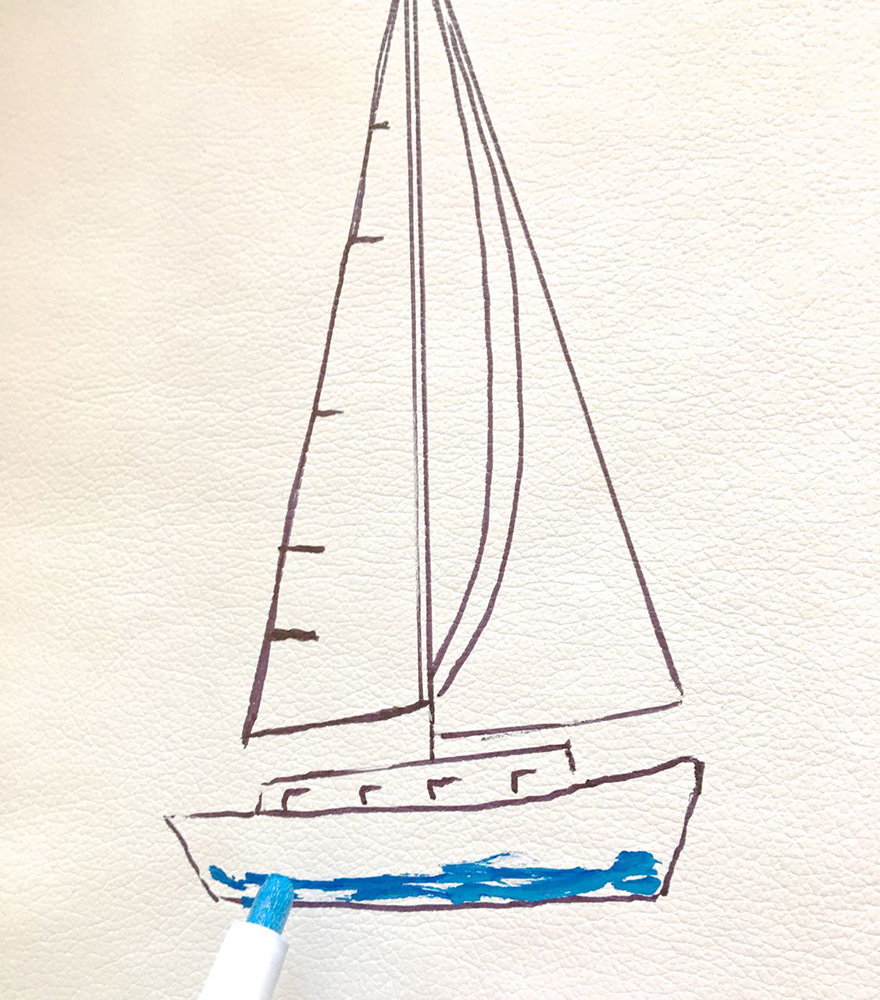
- Add a small amount of white and a bit of blue to another make-your-own marker. Use the wide tip to fill the space at the bottom of the boat.
- Empty out the marker and fill it with only blue paint and fill the upper part of the boat.
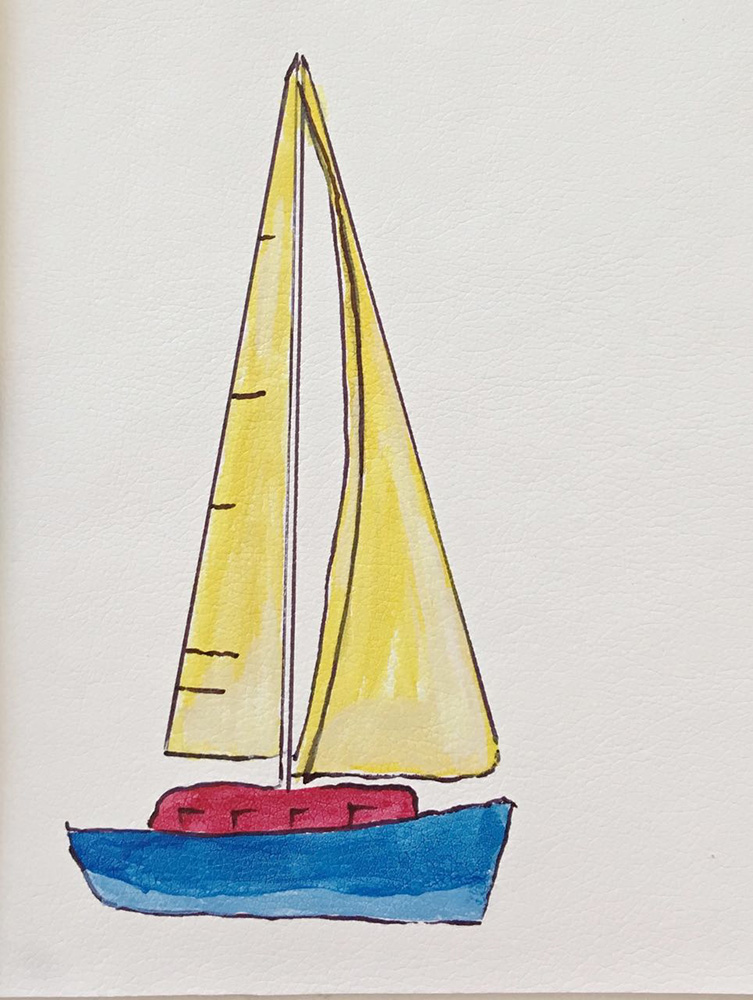
- Use a red marker and yellow marker to finish coloring the boat. When painting with the yellow color, create variations by starting with yellow mixed with white. Fill the sails then add full yellow color and add darker details. Go back over the black lines with the black marker if necessary.
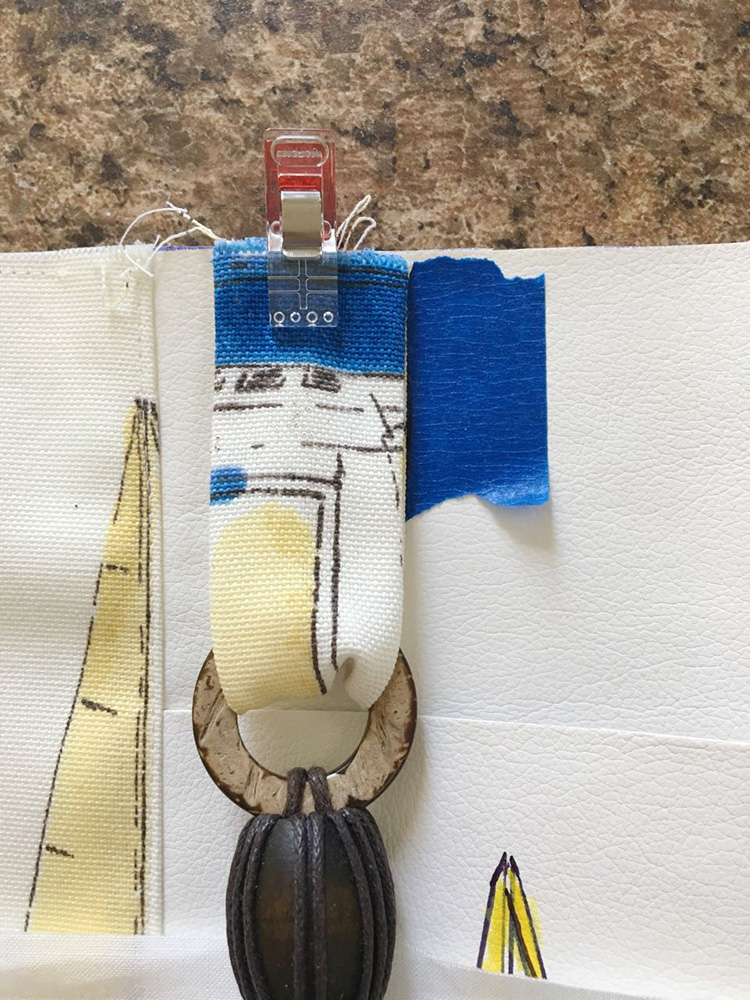
- Clip or tape the pocket 2.75” from the right top edge of the vinyl bag front.
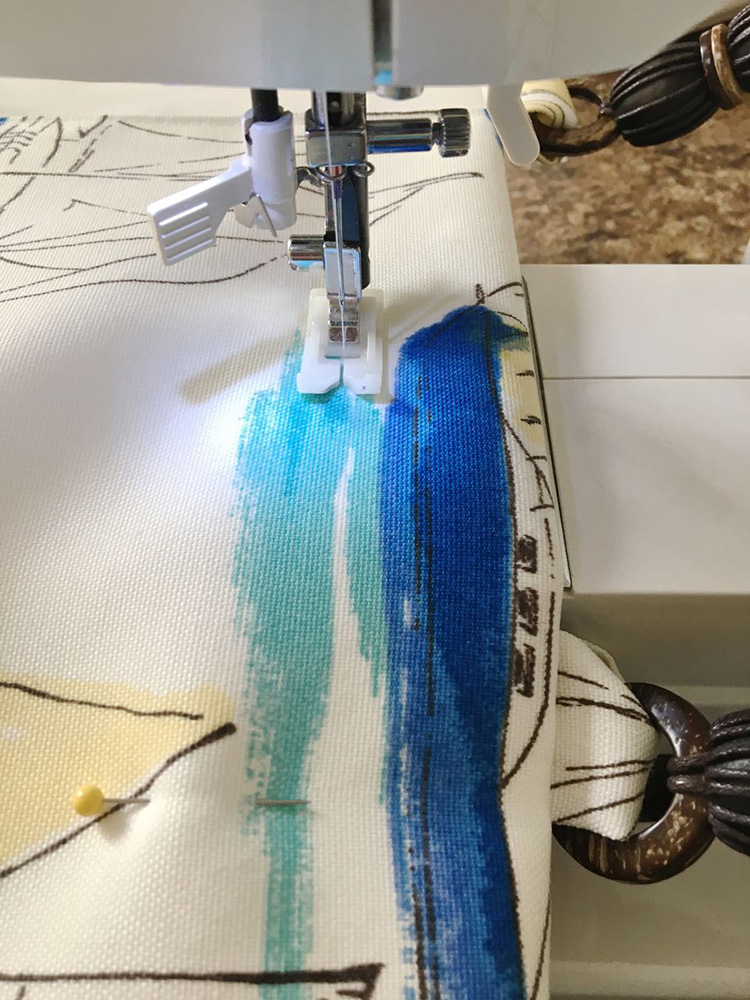
- Press under a .50” hem on the right edge of the canvas fabric. Lay the fabric on top of the vinyl matching the left vertical edge. Stitch the canvas to the vinyl close to the hemmed edge, catching the left edge of the pocket in the seam.
- Stitch the bottom edge of the pocket to the bag front. Stitch the right pocket edge very close to the bottom vinyl layer to hold it in place during step 14.
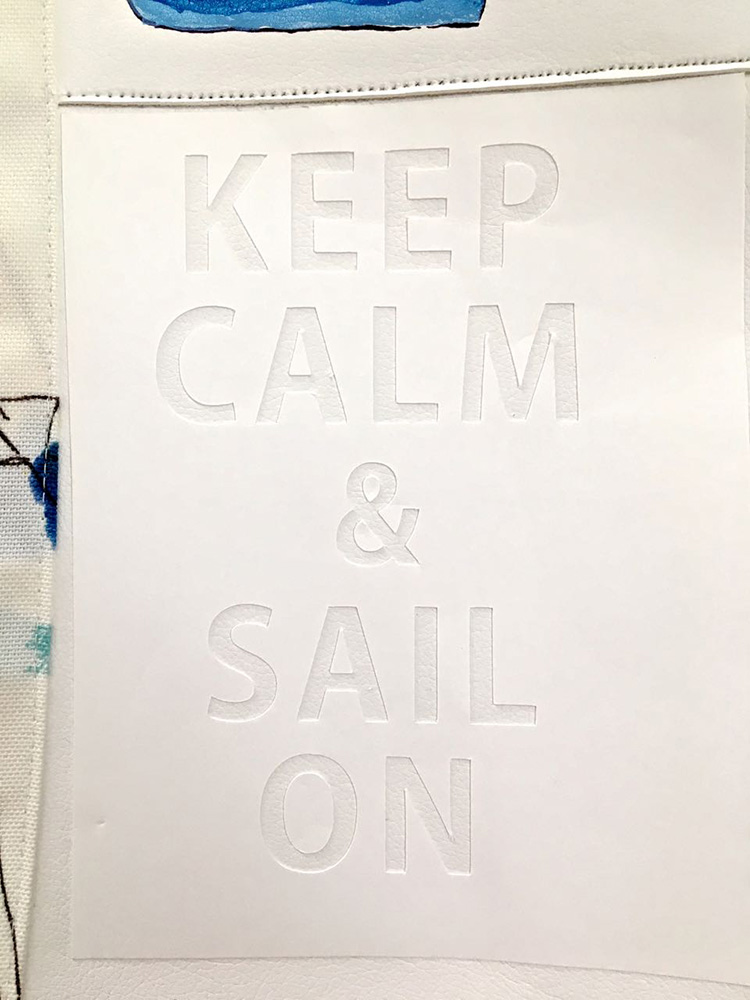
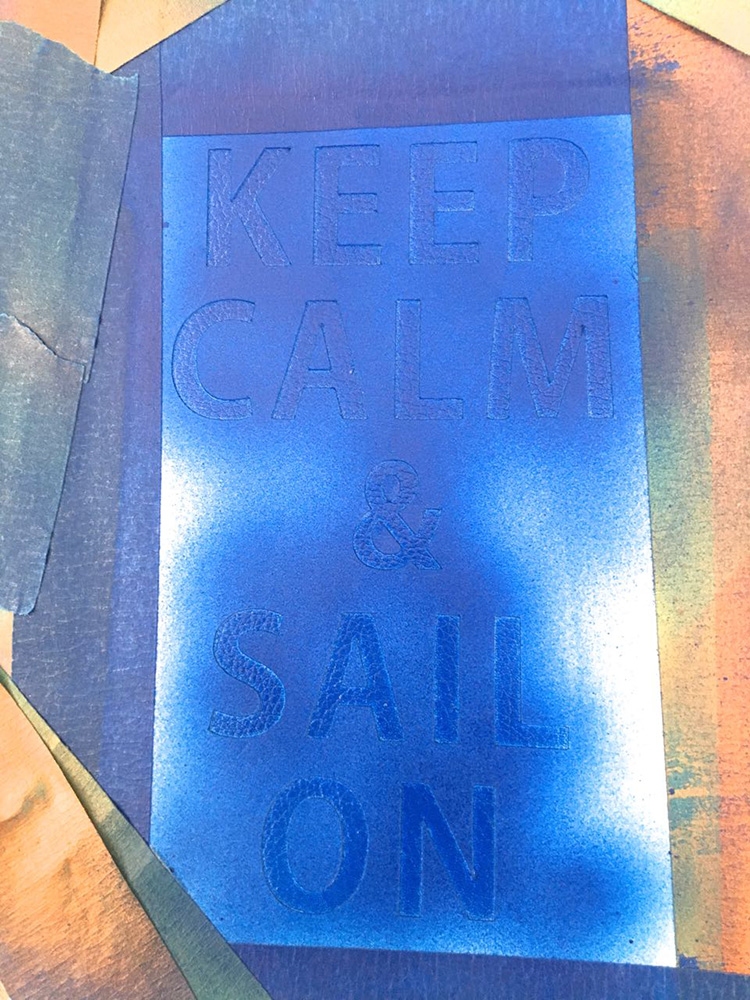
- Print out the “Keep Calm…” message on card stock in bold letters to create a stencil. The entire message should be no larger than 3” wide and 5” long. Cut out the letters with a craft knife. Apply adhesive to the back and press the stencil to the bag front beneath the pocket.
- Protect surrounding fabric and airbrush the stencil with blue paint. When dry, remove the stencil.
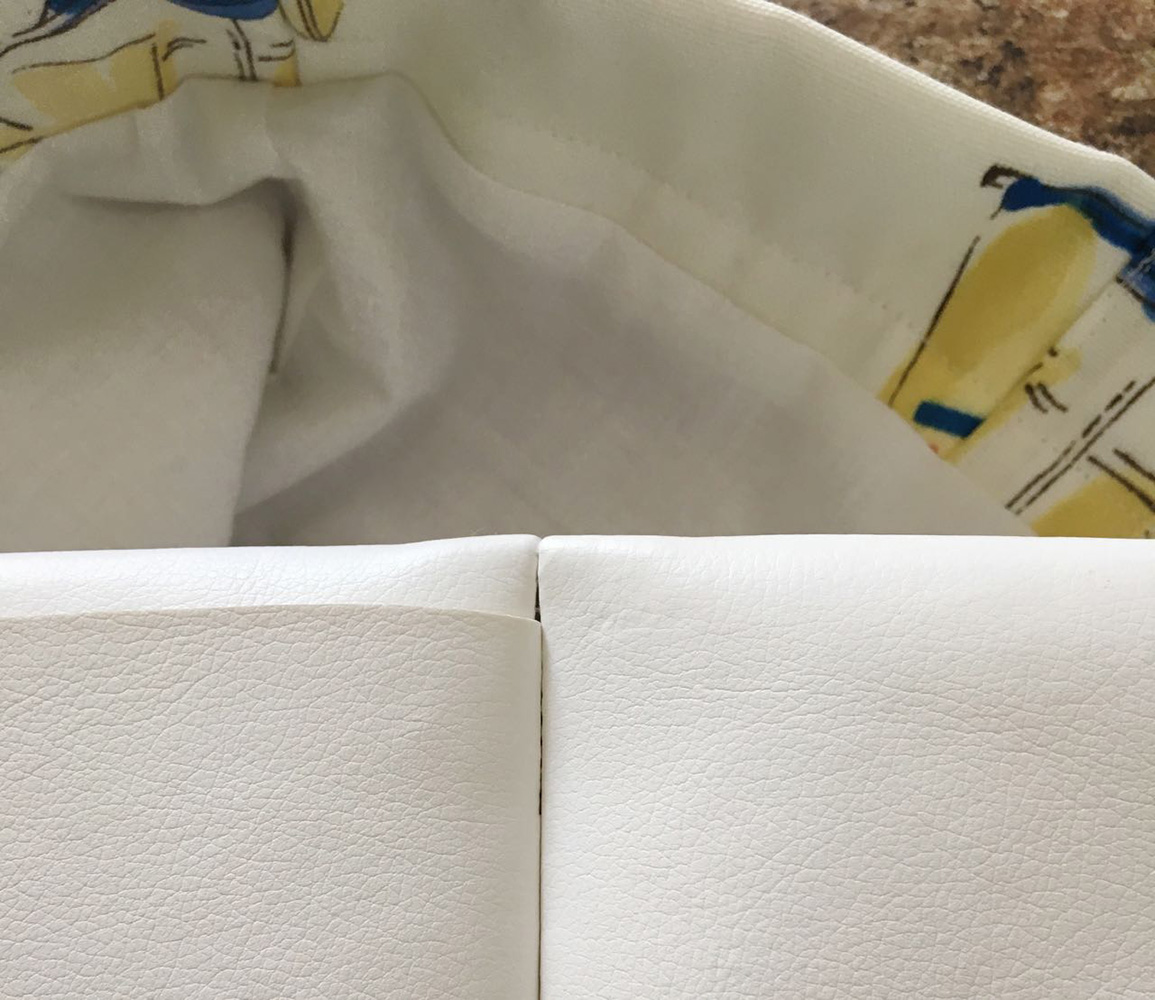
- Fold the bag in half with the right sides together. Sew the long left and right side seams.
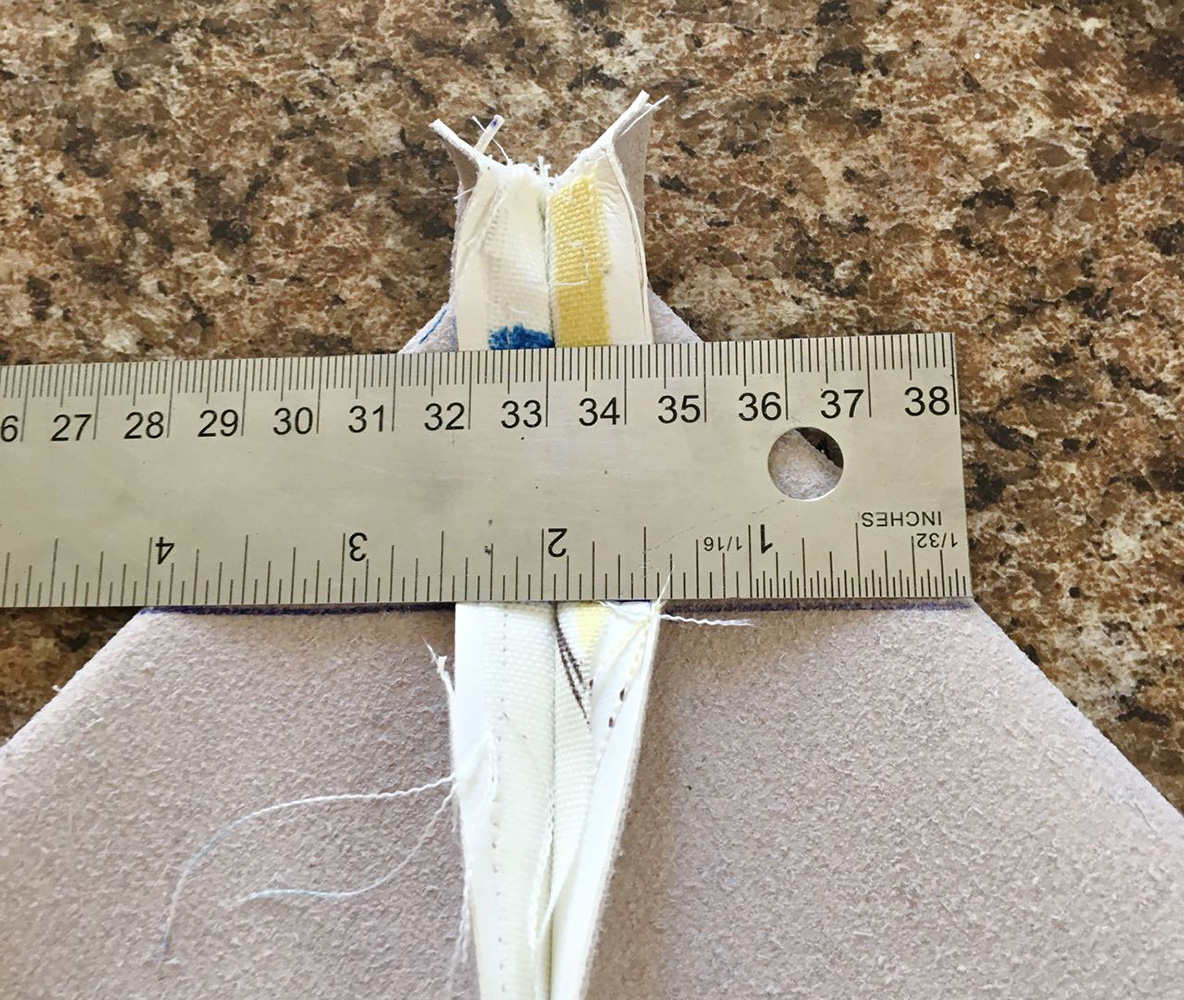
- Create the bag bottom by pulling on the left and right bottom corner seams. Flatten the two fabric layers under a ruler. With a pen, draw a 4” line along the ruler. Be sure there is 2” on either side of the seam line. Stitch on the pen line through both layers creating the 4” flat bottom.
- Stitch the long edges of each strap with right sides together. Trim and turn them inside out.
- Insert one end of each strap into the purchased handle and fold the fabric in half. Clip the ends of the strap to the top raw bag edge 5” from the side seam. Stitch a “U” shape to attach the strap. Start at the raw edge and sew 2.25”, pivot and stitch across the width of the strap then move back to the raw edge.
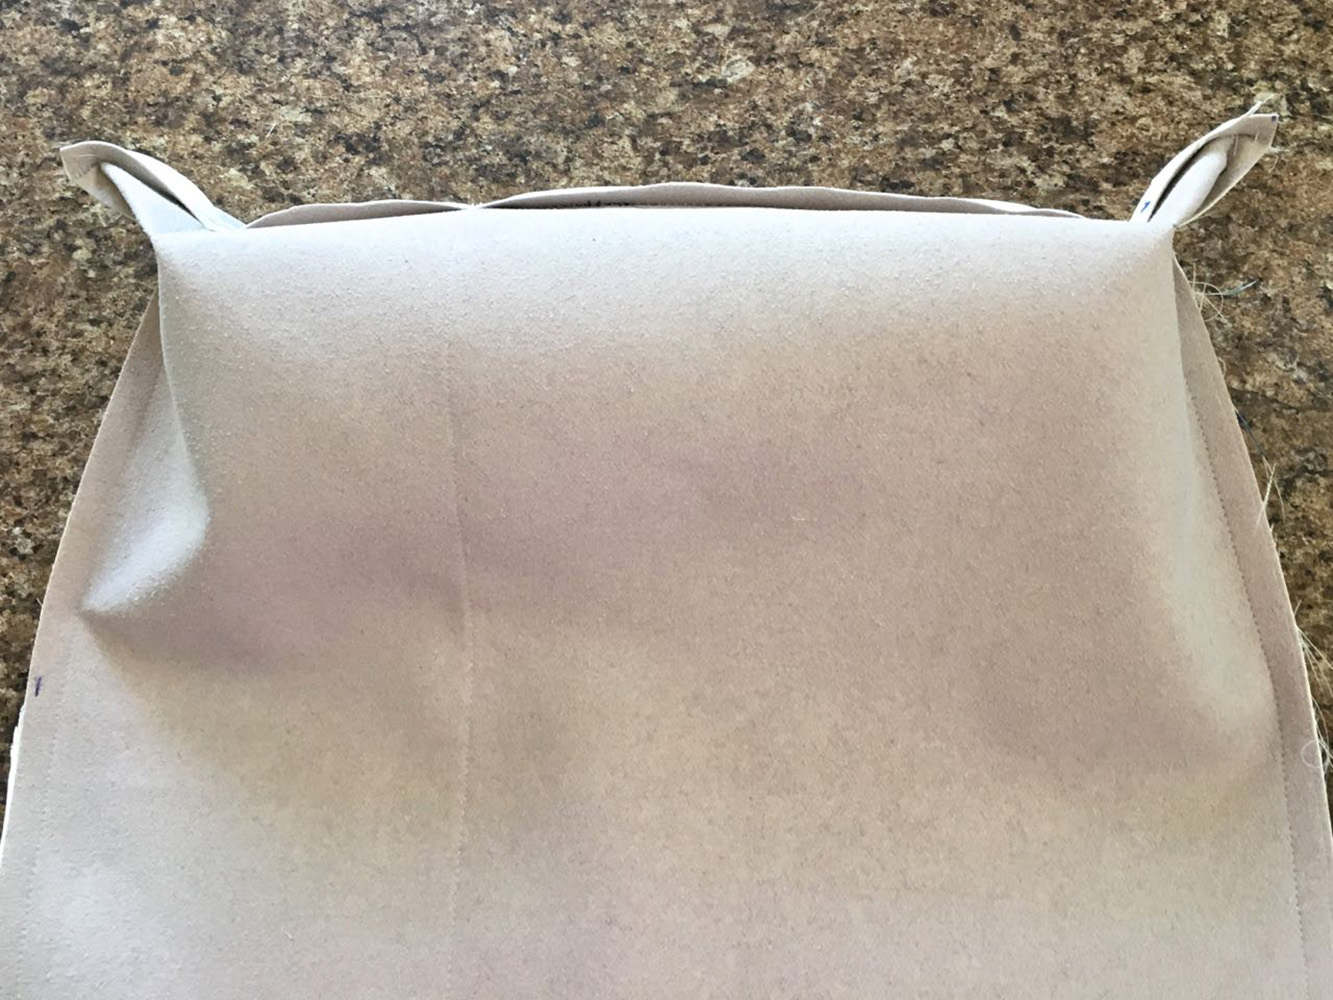
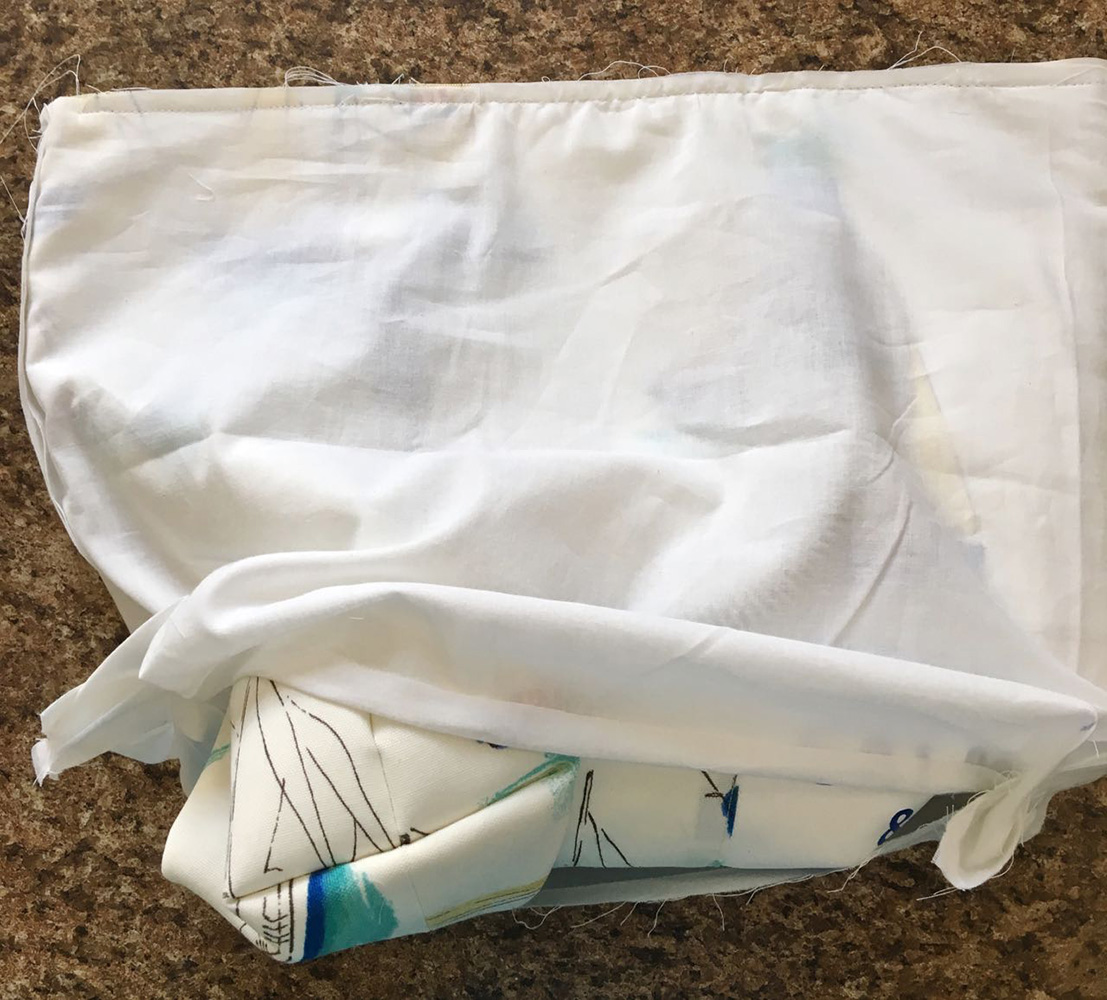
- Match up the two lining pieces and sew the three sides together leaving an 11” opening in the center bottom. Create a flat bottom for the lining as you did for the bag in step 15.
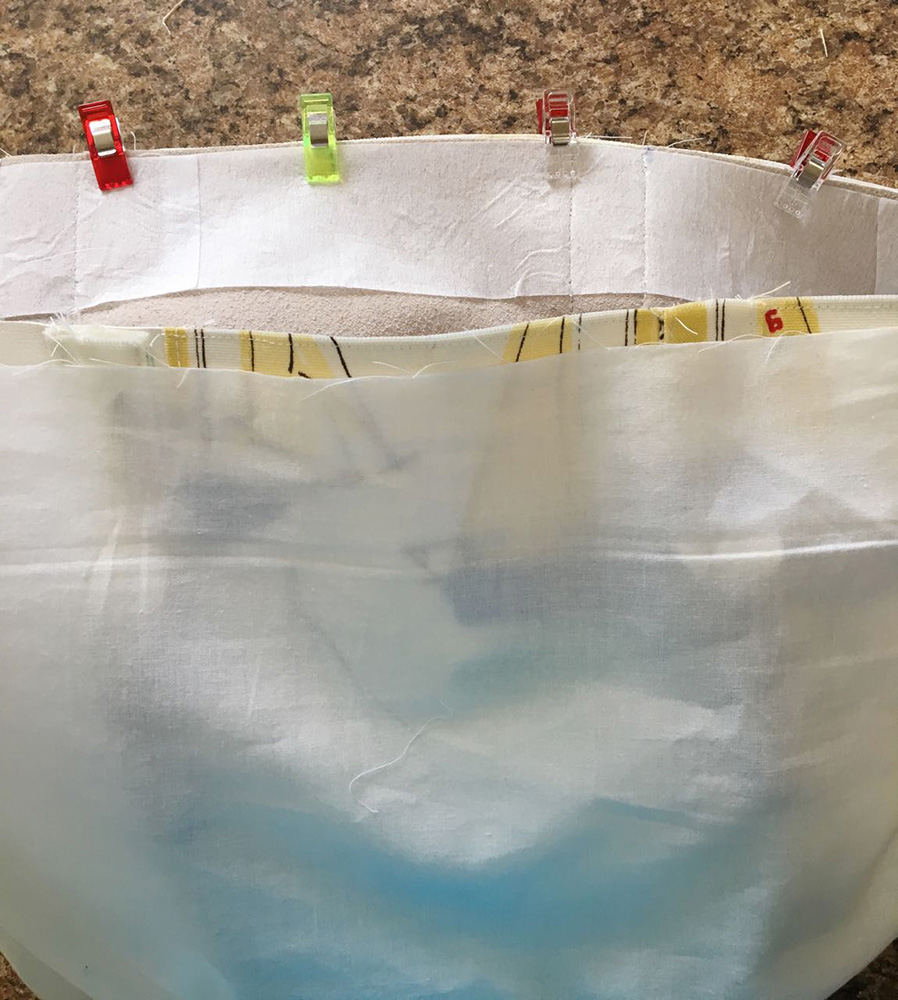
- Slip the right side of the lining over the right side of the bag. Clip the two layers together then stitch the top edges with a .25” seam.
- Pull the bag out the bottom of the lining. Seat the cardboard into the bottom of the bag. Hand or machine stitch the lining opening together and stuff the lining inside the bag and into the corners. This will automatically fold over the upper fabric to create the top facing.
- Stitch 1.50” from the facing fold in the top of the bag. Sew from the edge of the canvas fabric on the front to the edge of the canvas fabric on the back. Do not stitch across the plain vinyl.
- Secure the vinyl facing by sewing vertically over the side seam. Also hide a line of stitching inside the top of the pocket over the strap area.


TIPS:
- All seams are .50” unless specified.
- Finished bag size 18” x 14”
- Protect your work surface and all areas not being painted. Always allow paint to dry completely before moving to the next step.