Rust-Oleum Projects
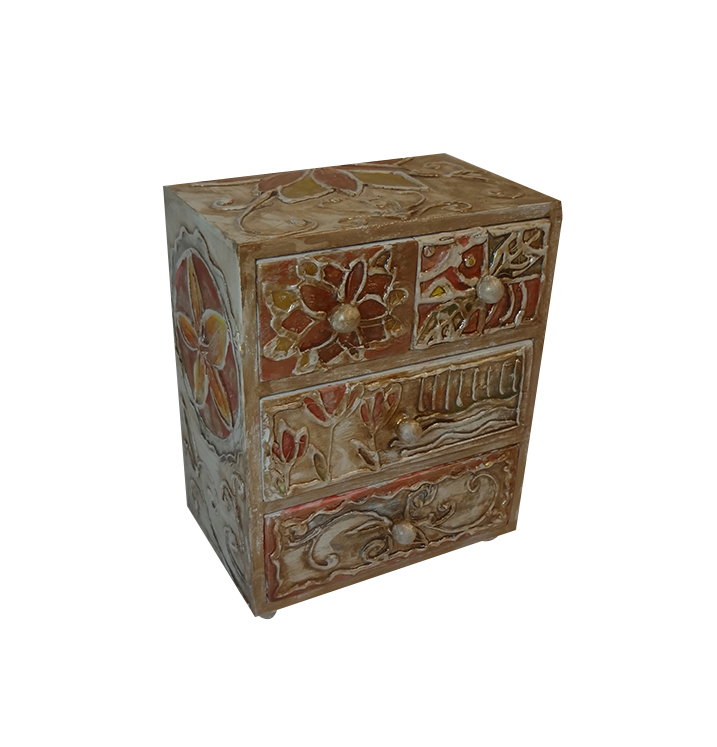
Decorative Floral Jewelry Box
Browse Projects
-
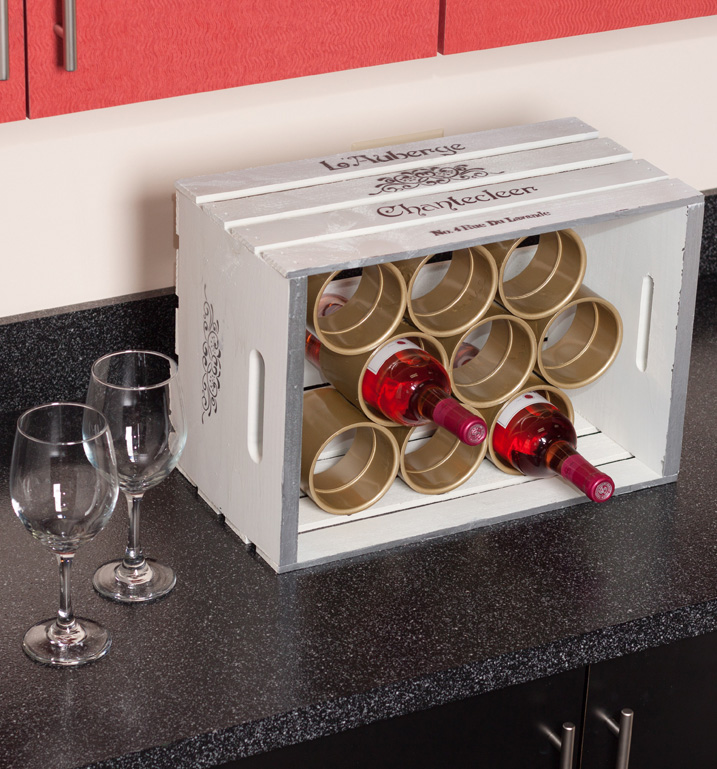
Wine Crate
-
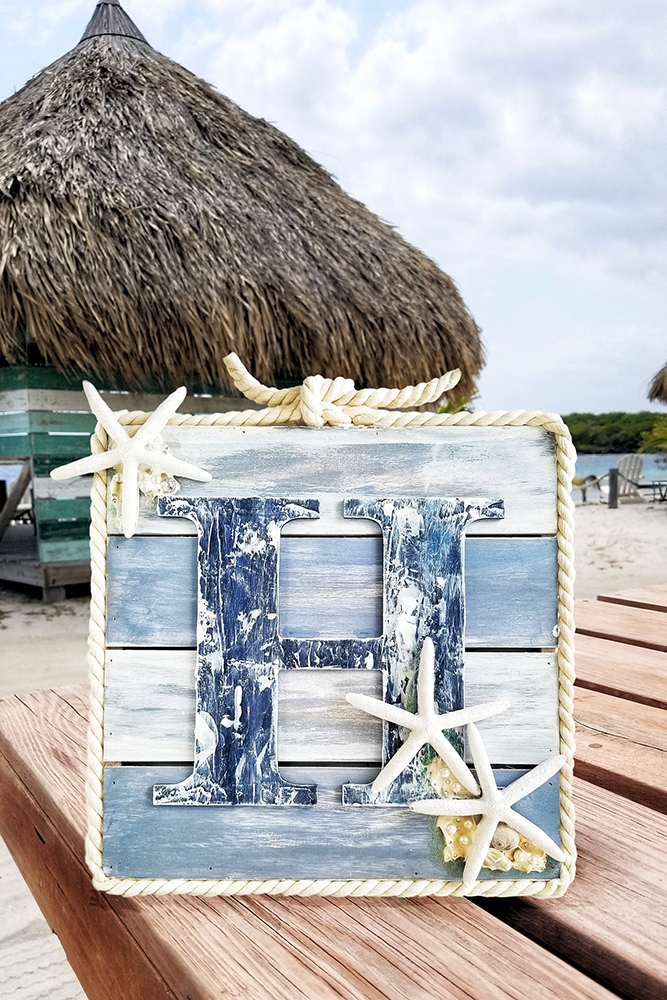
DIY Monogrammed Beach Sign
-
Tools & Supplies:
-
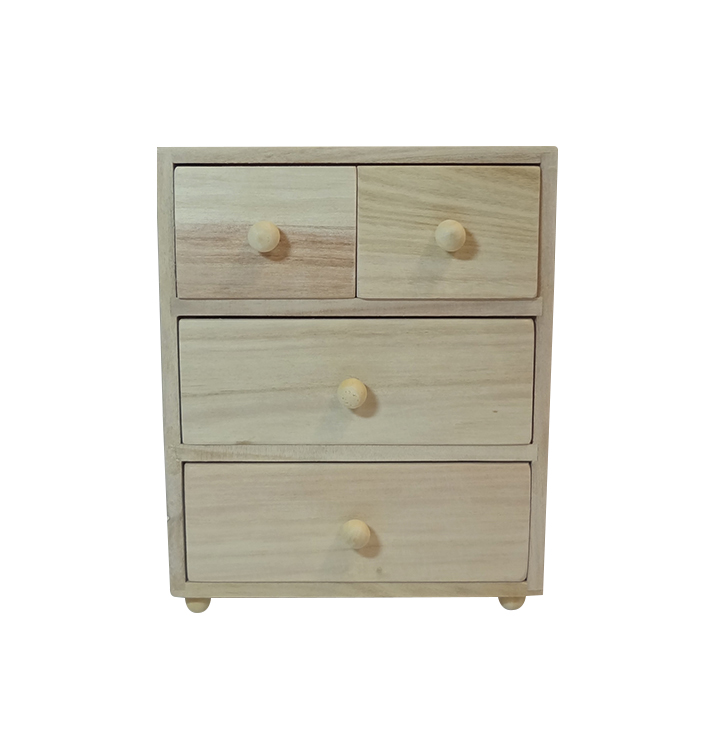
Artminds Wooden 4 Drawer Box (Item #10397770 at Michaels)
-
Assorted Paint Brushes
-
Glue Gun
-
Pencil

- Use a pencil to draw out the design you would like to put on the jewelry box. Try to avoid a lot of small details.
- Once the glue gun is hot, trace over your design with glue. Try to leave an even line of glue. Don’t worry about the “stringers” that the glue gun leaves behind until you are finished tracing your design. Once the glue has cooled, remove the stringers by rubbing your fingers gently over them and then picking them off.
- Prime the entire box, inside and out, with the white primer. Make sure you get all of the nooks and crannies. Let everything dry, thoroughly, before continuing.
- Get the colors out and let’s start painting the box. Brush the Metallic Gold paint all over the box. To get the antiqued look, dip your brush into a small amount of paint. The motion you want to use is more like trying to wipe the paint off of your brush and onto the box, letting some white show through. Go back and fill in some details. Let the metallic gold paint dry completely.
- Using the Teak wash, fill in some details. You “puddle” it on with a paint brush and the paint will settle into the grooves and cracks. Repeat the process with the Redwood wash.
- Using the Flat Sky Blue, Flat Green and Gloss Yellow Enamel paints, fill in additional detail as desired. Let the paint dry completely.
- You’re almost finished. Just like when applying the Metallic Gold, using less paint and being light handed, apply flat white paint to the entire box. The idea is to capture the highlights. Let it dry.
- Last step! Brush the Brown Enamel Stain on generously, covering an entire section at a time. Take a paper towel and wipe off the stain, starting at one side and ending in the other in one motion. This will leave the stain down in the low areas, giving the box an old world look.
- Continue brushing the Brown stain onto the box and wiping it off, one section at a time. Let the stain dry and apply a clear coat, if desired.