Rust-Oleum Projects
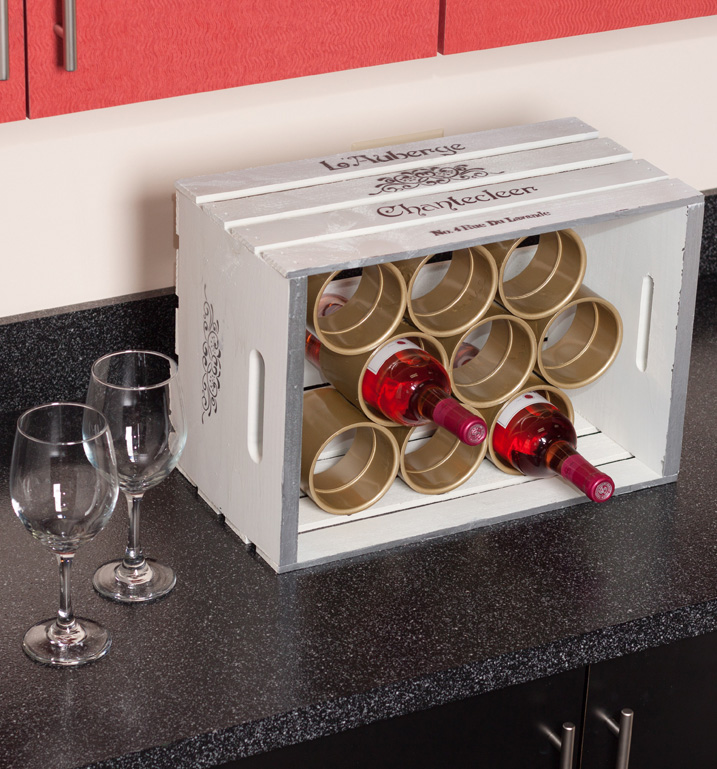
Wine Crate
Browse Projects
-
VERTICAL CHESS BOARD
-
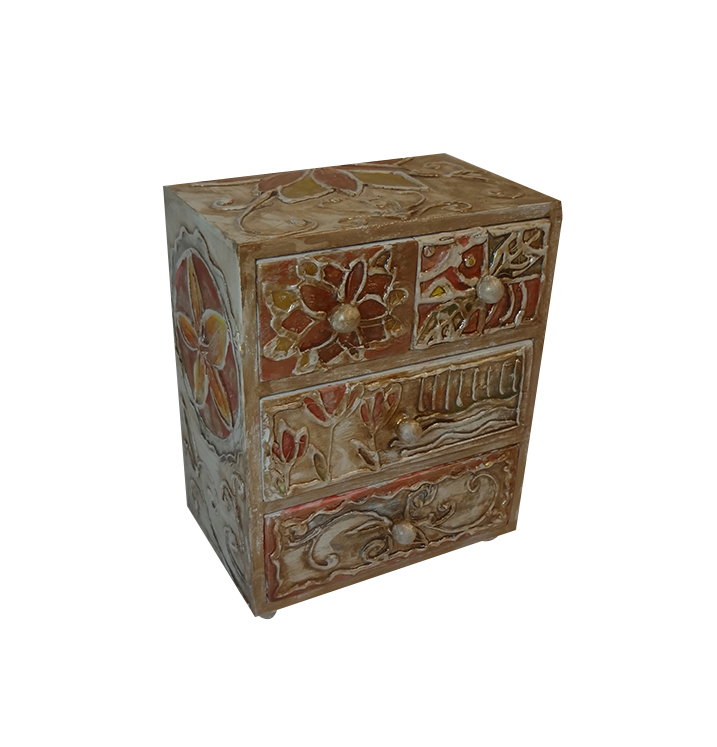
Decorative Floral Jewelry Box

-
Tools & Supplies:
-
Crate
-
3" PVC Couplings
-
Stencil
-
Epoxy Glue
-
Painter's tape

Instructions for the crate:
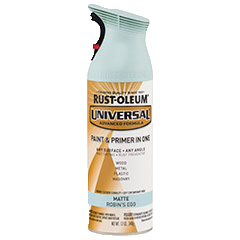
- Make sure that crate is clean and dry. Spray paint crate all over with the Rust-Oleum 282816 Matte French Crème color.
- Let the paint dry on the crate.
- Take your stencil and lay it on the top of the crate, measure the area from the crate edges to the stencil edges to make sure that the stencil is centered on the top of the crate.
- Using the painter’s tape, make sure that they areas on the top of the crate that are outside the edges of the stencil are fully covered.
- Using the Testors 1830 Diamond Dust spray paint, spray evenly over the stencil on the top of your crate. Let the paint dry. Remove the stencil and painter’s tape.
- Using this same method, spray paint the middle design of the stencil to the sides of your crate.
- To paint the edges of the crate, lay the crate on its longer side on a table with the opening facing you.
- Using painter’s tape, tape above and below the front edges of the crate that face you.
- Using a paint brush, paint the edges of the crate using Testor’s 1146TT Metallic Silver bottled paint.
Instructions for the wine holders:
- Cut out a piece of paper that has the same dimensions of the inside of your crate.
- Layout the nine 3” PVC couplings with the holes facing upward on your paper cutout with the inside crate dimensions. Arrange the couplings so that they fit within the dimensions of your paper and make sure that the sides of the couplings touch together.
- Mix the epoxy glue on a piece of tile or other non-stick surface. Add the glue to the putty knife and make ¼” vertical glue lines on the 3” PVC couplings to the areas where they touch one another.
- Let the glue dry on the couplings.
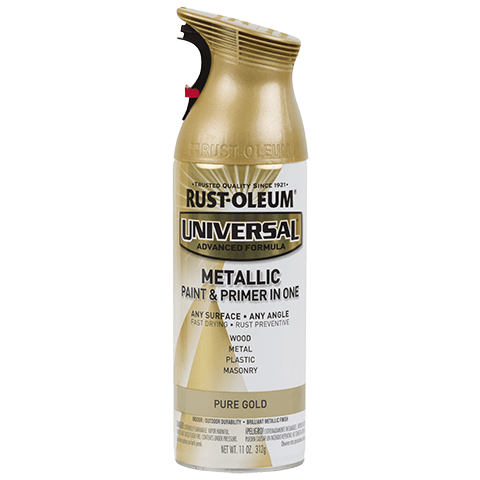
- Spray paint the attached couplings using the Rust-Oleum 245221 Metallic Pure Gold paint. Spray all sides inside and out.
Final instructions:
- Lay the crate on its bottom side with the opening facing you.
- Place the attached couplings inside the crate with the holes facing you.
- Mix more of the epoxy glue and make ¼” vertical glue lines on the 3” couplings on the area where they touch the bottom of the crate.
- Let the glue dry.
Tip: Allow paint to dry completely between steps.