Rust-Oleum Projects
Party on the Patio Lantern
Browse Projects
-
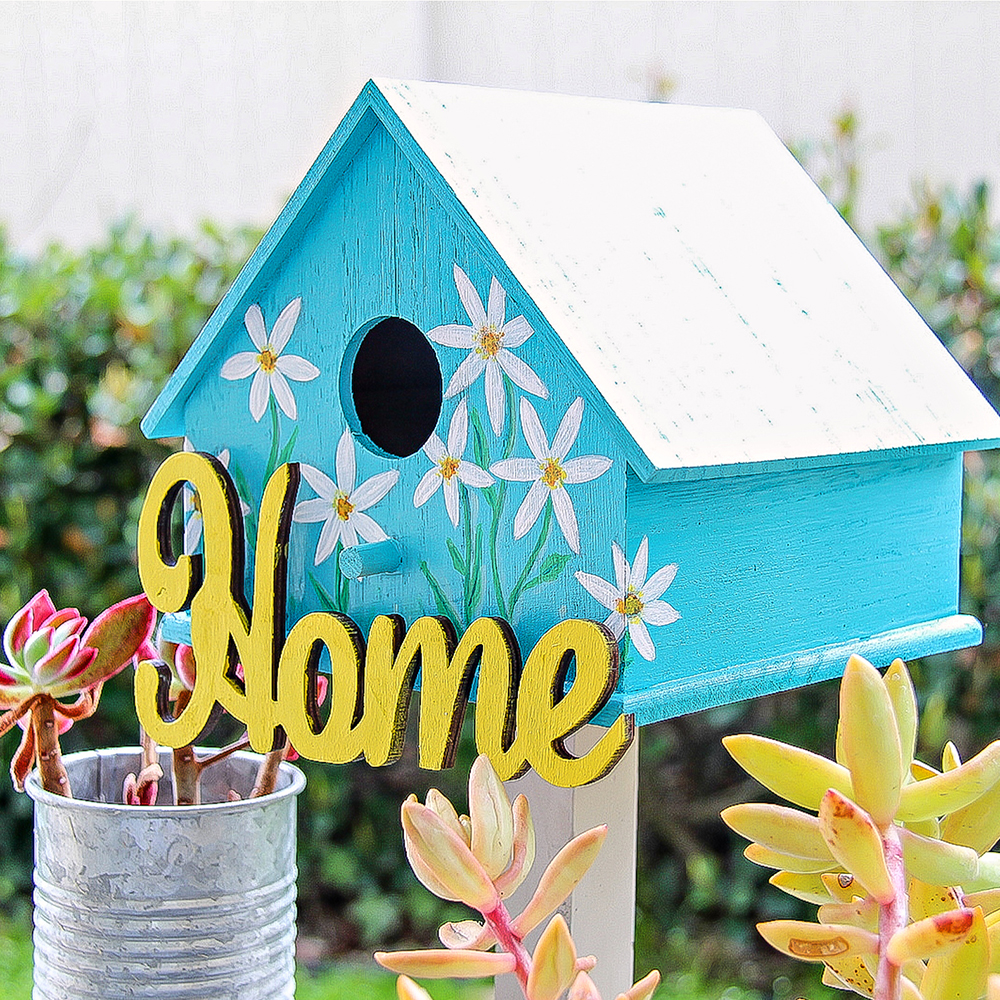
Paint Your Own Birdhouse
-
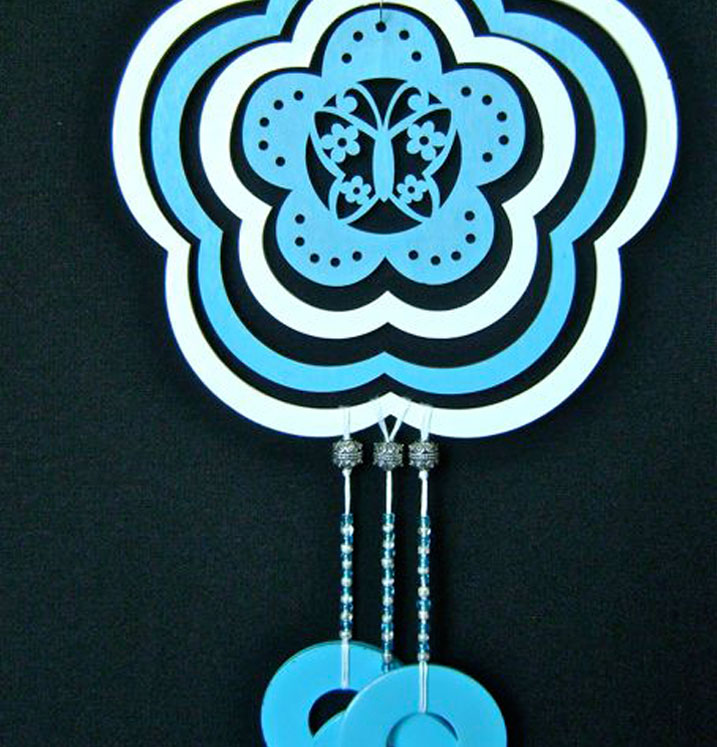
Blowing in the Wind Chimes
-
Tools & Supplies:
-
Ashland Submersible LED Lights
-
Ashland Votive Holder
-
Bead Gallery Beads
-
Card Stock
-
DMC Tapestry Needle 18
-
Elmers Glue
-
Exacto Knife
-
Plastic Mesh Canvas
-
Scotch Spray Mount Repositionable Adhesive
-
Wire 22 Gauge
-
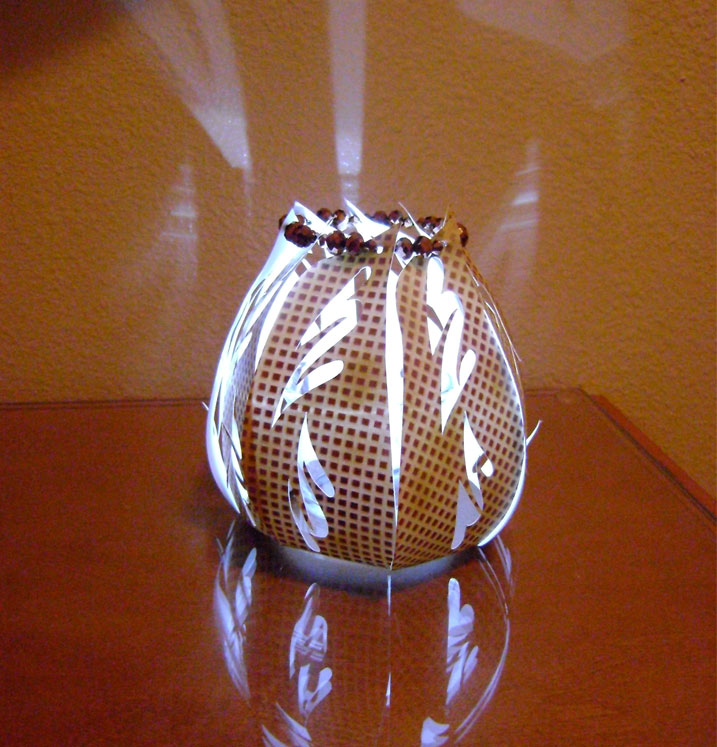
Instructions:
- Download and print out four copies of Lantern Template by clicking here. Print two copies of Template “B” on heavier stock or cut out on cardboard to stabilize the lantern base.
- Using a craft knife, cut out the templates and the black designs in each panel. Pierce a hole in the panel where indicated with a tapestry needle.
- Glue together the “A” templates overlapping the tab ends.
- Together, the templates will form the lantern. The joined lantern pieces should match the ring size of the “B” template.
- Apply glue to one of the rings.
- Position the lantern on top of the glue. Apply glue to the second ring and lay it on top of the lantern, sandwiching it between the rings.
- Spray the back of the plastic canvas with adhesive spray and press it onto the lantern.
- Spray the surface with Burnt Sienna paint.
- Remove the plastic canvas and freely spray the lantern with Gold paint.
- Shape the wire into a circle by smoothing it around a bottle or cylinder that measures at least three inches around. Slip the wire off the cylinder. Create a small loop on one end of the wire.
- Slip two 4mm beads, two 6mm beads and two more 4mm beads on the wire.
- Pass the wire into the hole of one panel. Alternating, add more beads and continue to add more panels to the wire.
- When all the panels are threaded, bend the end of the wire into a 45-degree angle.
- Insert the angled end through the wire loop. Bend a loop in that end of the wire to complete the circle.
- Turn on the LED light by twisting its base.
- Place the light into the glass votive holder.
- Lower the lantern over the votive holder.
“Designed and Created for Testors by Domestic-Divaonline.com