Rust-Oleum Projects
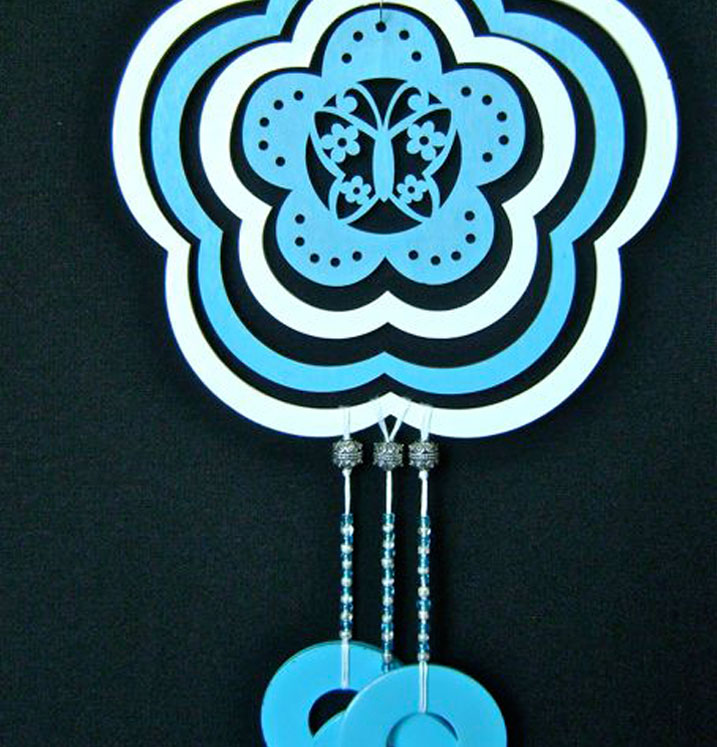
Blowing in the Wind Chimes
Browse Projects
-
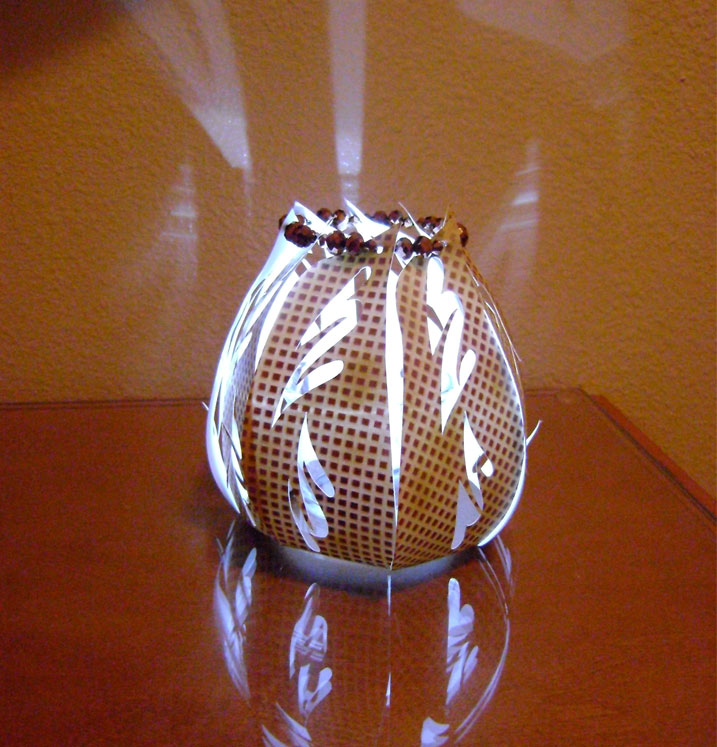
Party on the Patio Lantern
-
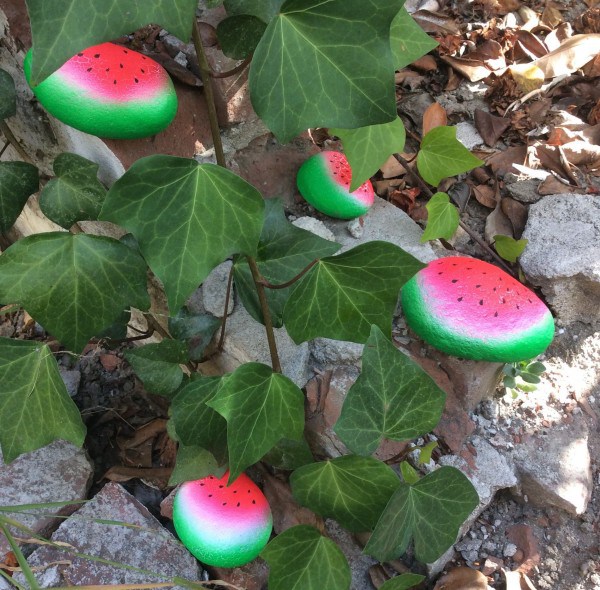
Watermelon Painted Rocks
-
Tools & Supplies:
-
Beading Needle
-
Bead Gallery Beads
-
Blue And Silver Beads
-
Butterfly Plaque
-
Cut Metal Washers 3
-
White Embroidery Floss
Instructions:
Painting The Plaque Frames & Washers
- Separate the frames of the plaque from each other by removing them from the wire rings. Before painting, remove the rings from the frames. They will be used to reassemble the plaque again later so bend them gently. Also remove the hanger cord and wooden bead.
- Using white paint, airbrush both sides of the largest and second largest wooden frames.
- Mix a little blue paint with the teal and white paint to match the blue color of the beads. Airbrush both sides of the remaining two wooden frames with the new blue paint.
- Airbrush the three metal washers with the new blue paint. Also paint the small wooden bead that came with the plaque.
- Spray both sides of the washers with Glosscote lacquer.
- Reconnect the four wooden frames by joining them with the metal rings.
Hangers & Beads
- Cut three strands of floss to measure 20”.
- Fold one piece of floss in half. Insert the fold through a painted metal washer.
- Bring the cut ends through the fold.
- Thread the floss ends through the big eye needle.
- Pass the needle through the 6/0 silver and blue beads until there are ten of each on the strand. Bring the needle through the ornate silver bead.
- Bring the strand over the largest white frame and position it in the center. Pass the needle back through the ornate bead.
- Tie the strand in a knot three times.
- The resulting knot should be large enough to keep the ornate bead from slipping down the strand.
- Cut off excess floss.
- Create two more beaded strands in the same way. This time add only seven 6/0 blue and seven silver beads. Attach one strand to the right and about ½” off the frame’s center. Add the second strand to the left of the center. The left and right strands should hang one inch shorter than the center strand.
- Cut three strands of floss to measure 8”. Tie a single knot in one end and tape it to a work surface. Braid the three strands.
- To create a new hanger, thread one end of the braid through the needle and bring it through the wood bead. Do the same with the other end of the braid.
- Tie the two braided ends into a knot. Tie two more knots to reinforce the new hanger and trim the ends.
Tip: Allow paint and lacquers to dry completely between steps.