Rust-Oleum Projects
Hydrodipped Halloween Pumpkins
Browse Projects
-
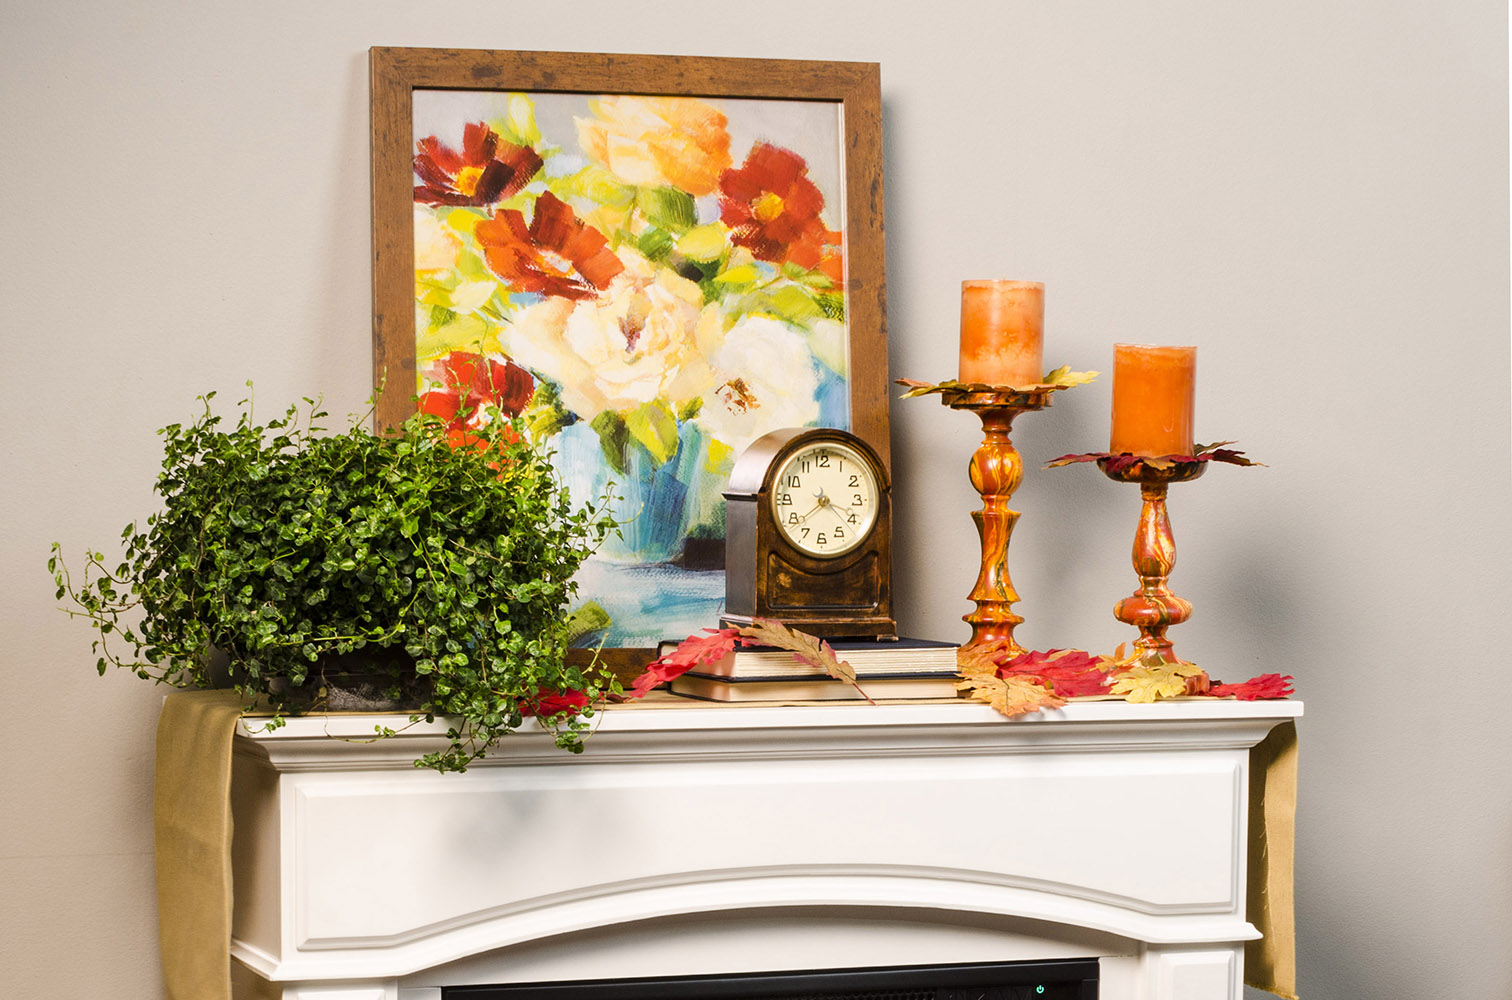
Light Up Your Room for Thanksgiving with Hydrodipped Candlesticks
-
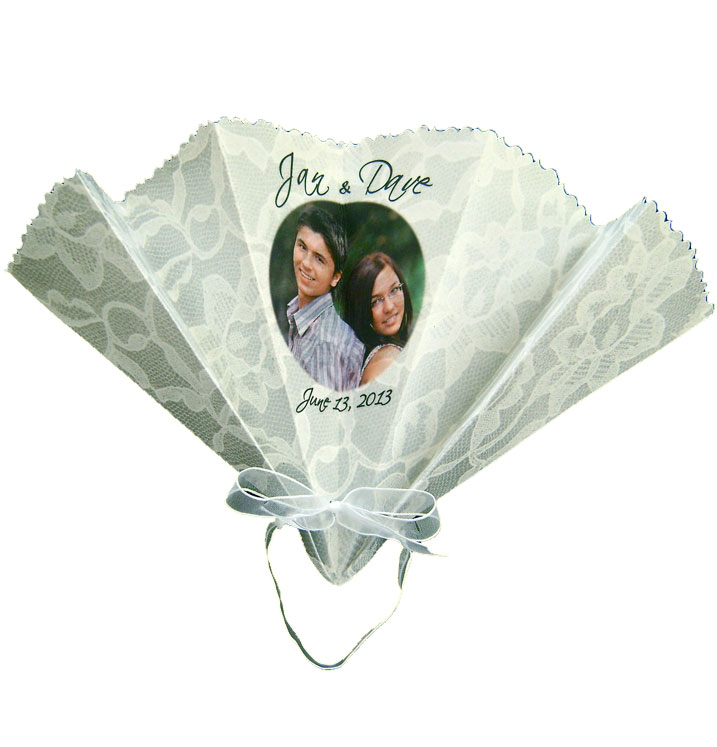
Love & Lace Fan
-
Tools & Supplies:
-
Plastic pumpkins
-
5-gallon bucket
-
Water
-
Coffee stir stick
-
Gloves
-
Drop Cloth

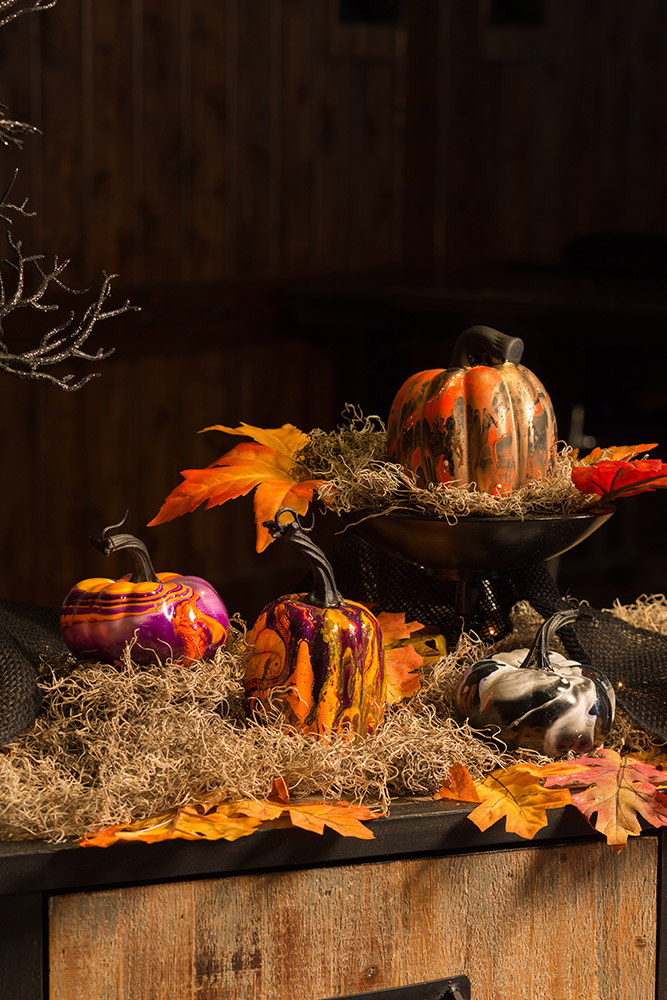
Put a spin on painting pumpkins this year and try hydrodipping! Enamel paints float on water and create a swirled effect on many different surfaces.
Project Steps
Step 1
Fill a 5-gallon bucket with tepid water (about 78 degrees)
Step 2
Shake enamel paint containers to mix paint, then pour each one very slowly onto the top of the water. When pouring, be sure to be no more than 3” from the water so the paint sits on top of the water.
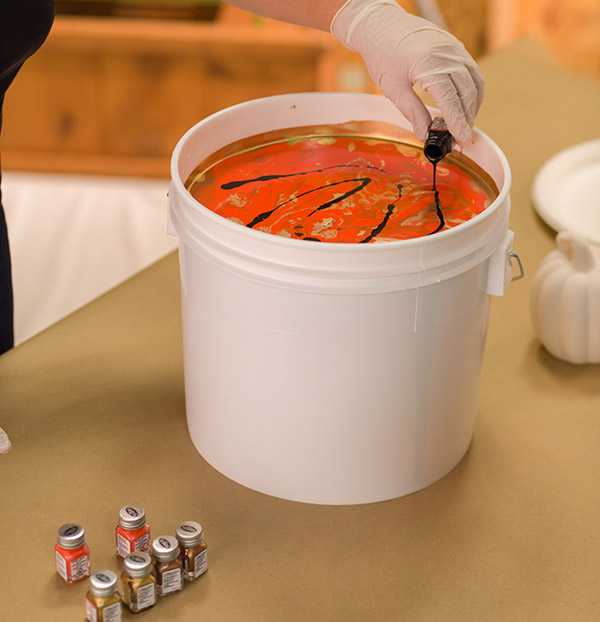
Step 3
Using a coffee stir stick, slowly drag and swirl the paint on the top of the water just enough to create a design, not enough to mix them together.
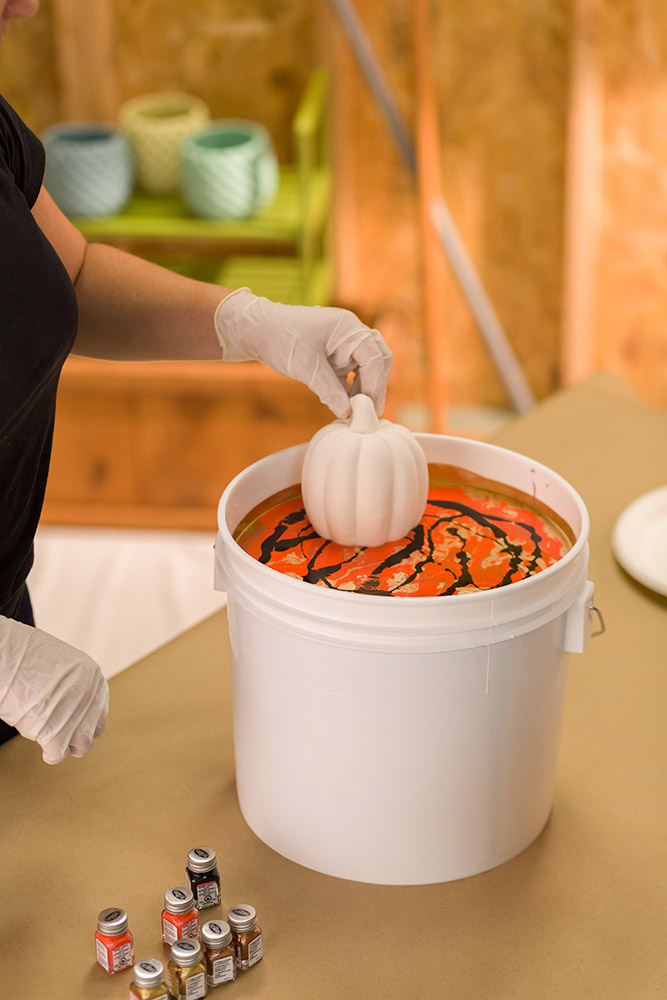
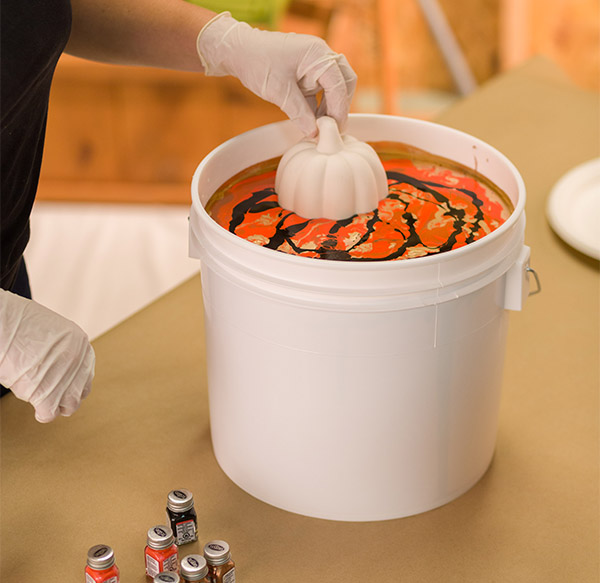
Step 4
Slowly dip each pumpkin into the water on slight angle, allowing the paint to adhere to the surface as the pumpkin is submerged. Slowly pull the pumpkin up and out of the water. Rotate the pumpkin as you remove it from the water for an added effect.
Step 5
Set each pumpkin aside to dry for at least 24 hours.