Rust-Oleum Projects
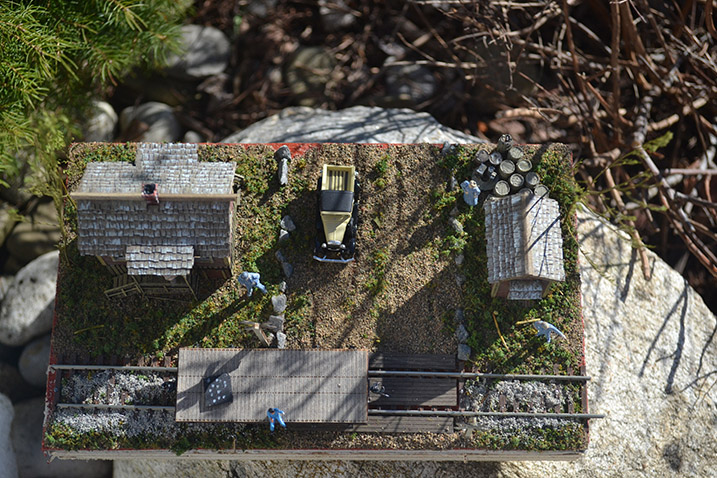
The Office at Cranberry Yard - Diorama
Browse Projects
-
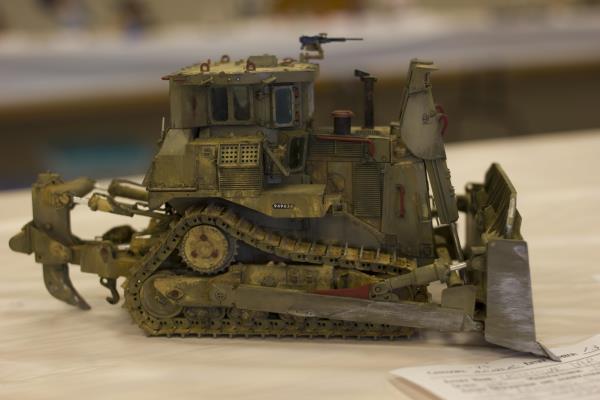
1/35 Scale Model of Caterpillar D9R Armored Bulldozer
-
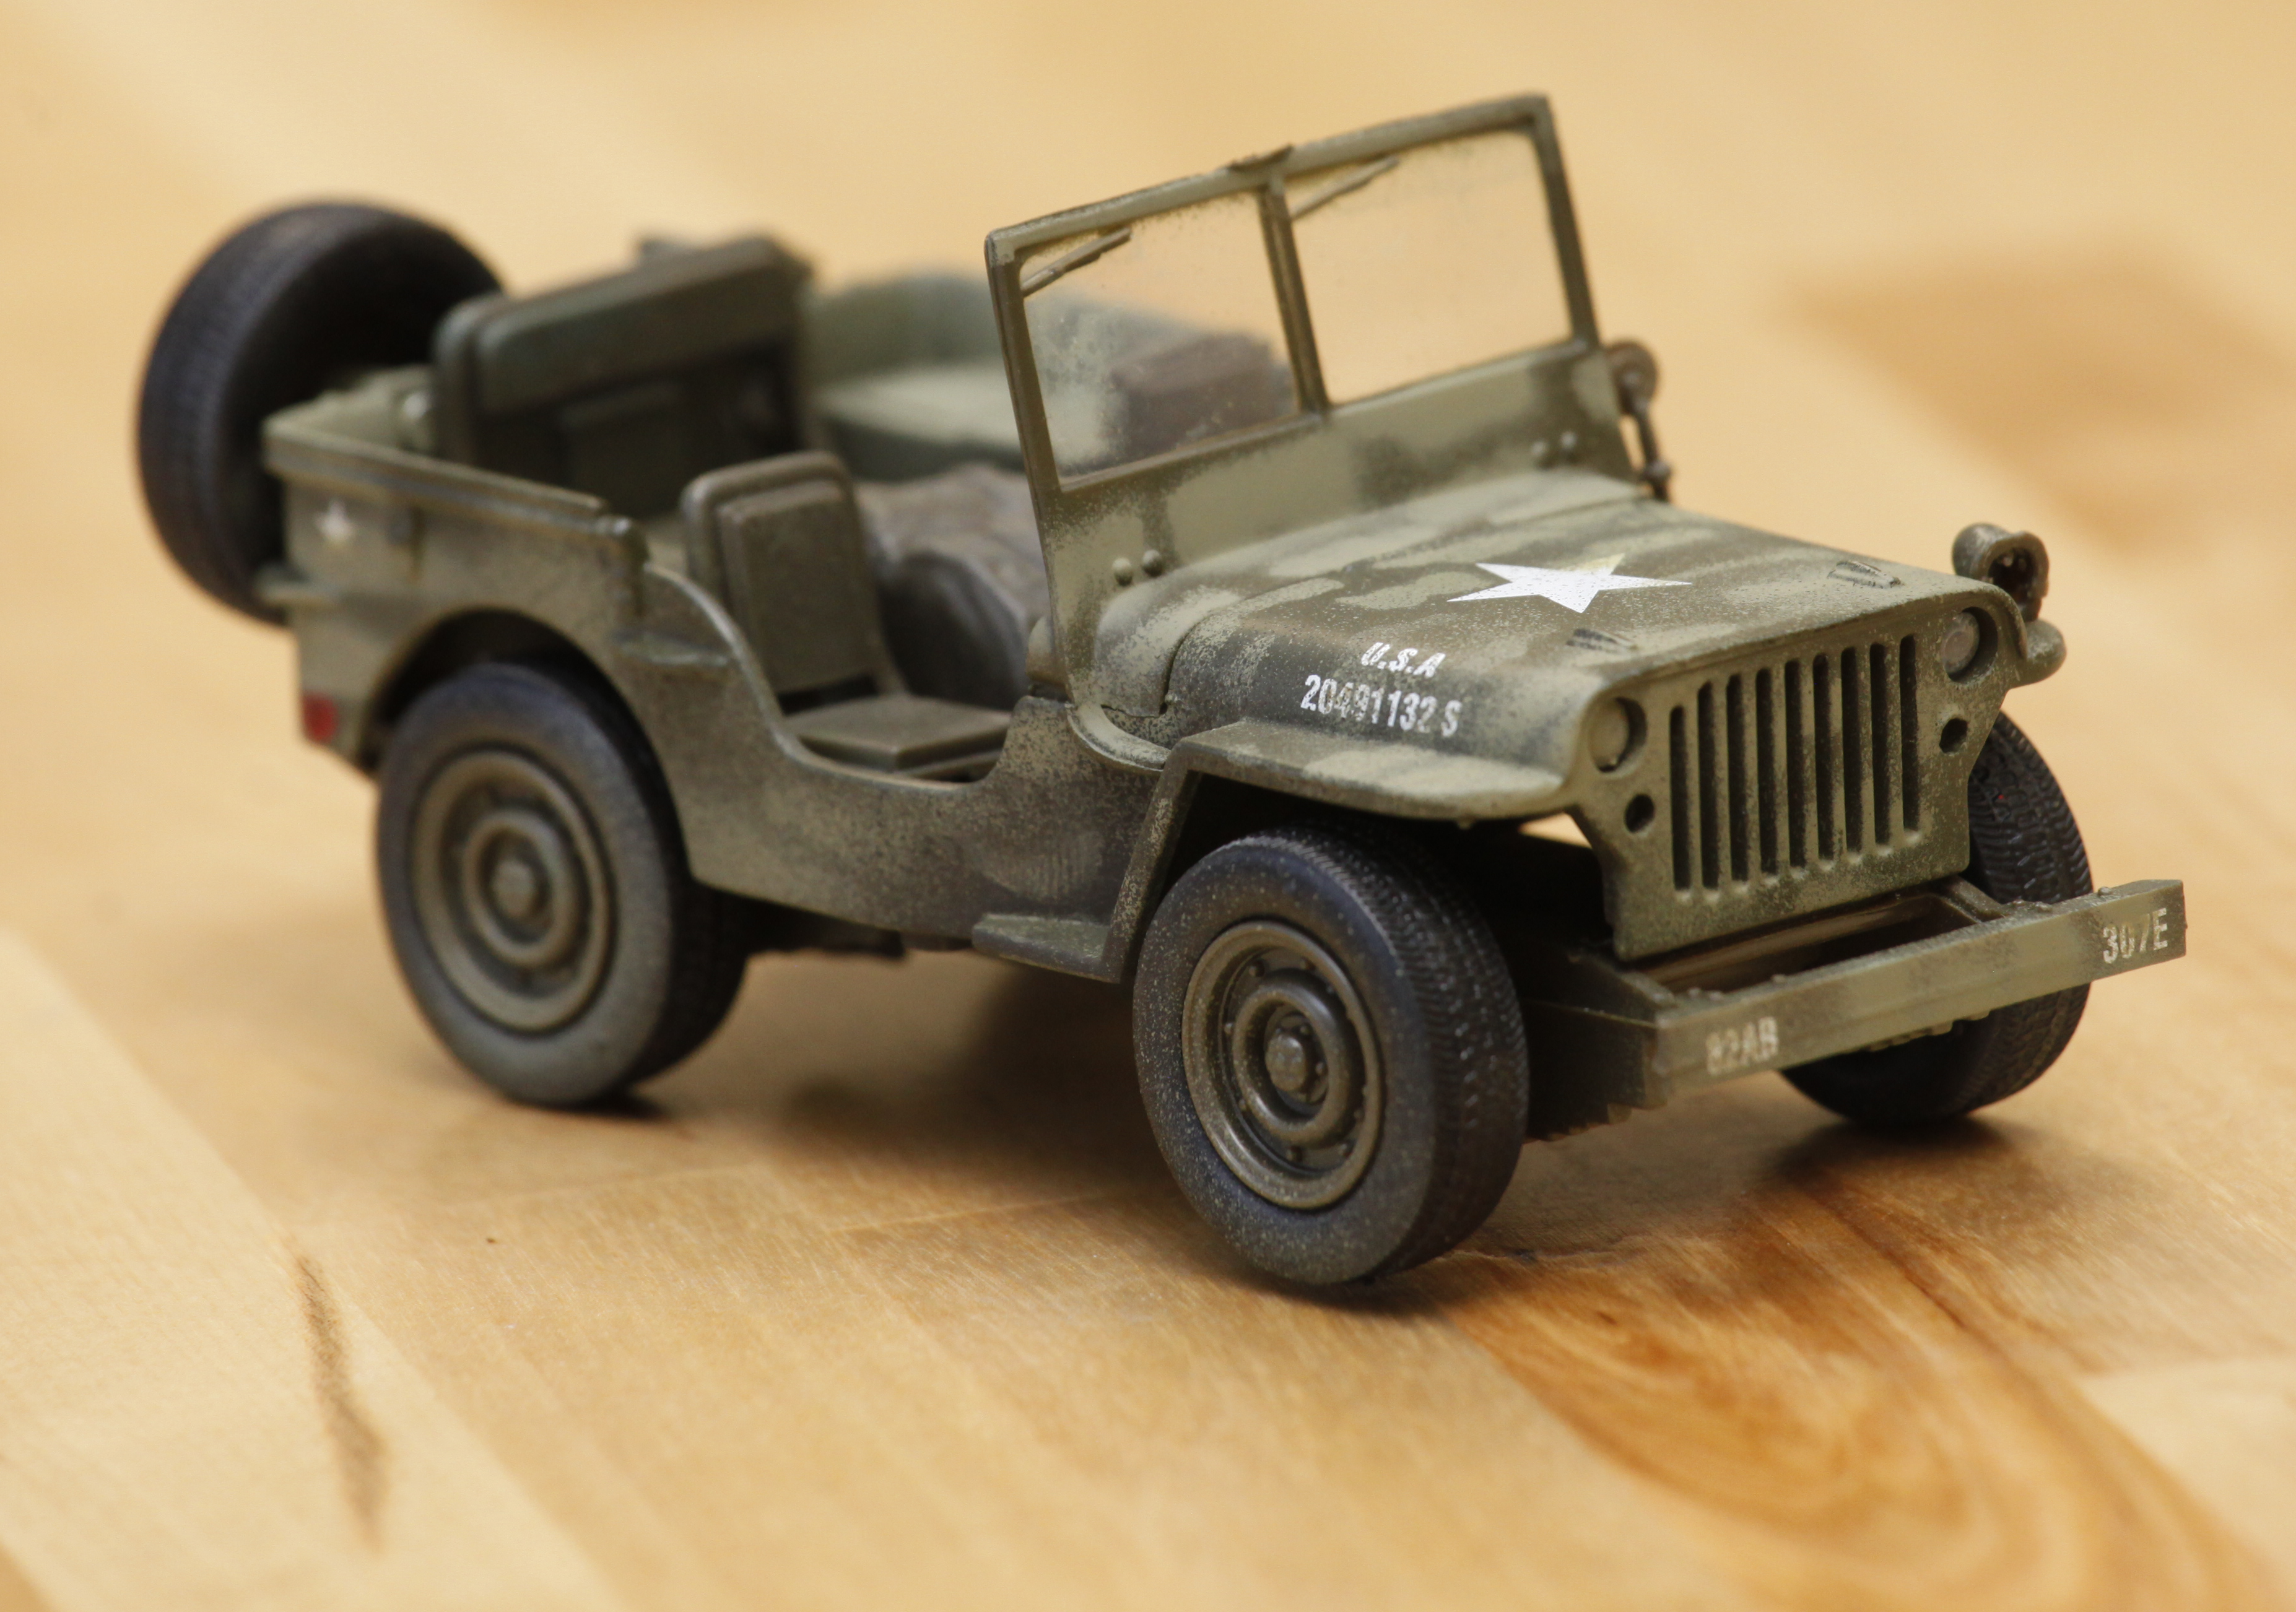
Jeep Willys Camo Airbrush Project
-
Tools & Supplies:
-
The Office at Cranberry Yard Laser Cut Wood Kit
-
Scenic Express Green Adirondack Blend
-
Square
-
Awl
-

The Office at Cranberry Yard – Paint Finishing Tutorial
Created By Richard Hatton for The Testor Corporation.
Materials Needed:
Testors® Model Master® Acrylic Paints
- Roof Brown-Flat # 4884
- Railroad Tie Brown-Flat #4885
- Reefer Gray –Flat #4886
- Boxcar Red-Flat # 4881
- Oxide Red-Flat #4882
- Depot Buff –Flat #4878
- Earth –Flat #4877
- Aged Concrete-Flat # 4875
- Reefer White-Flat # 4873
- Black Detail Wash-Flat # 4871
- Rust-Flat # 4675
- Aluminum –Flat #4677
- Gray Primer-Semi-Gloss #4680
281211 G-Clamps
50627C Hobby knife with #11 blade
8812 Sanding Films
3503X Wood Glue
8862C Premium Flat Brushes
50631C Tweezers
Other Products:
Bar Mills Scale Model Works HO 0432 The Office at Cranberry Yard Laser Cut Wood Kit
Scenic Express Green Adirondack Blend
Square
Awl
Project Steps
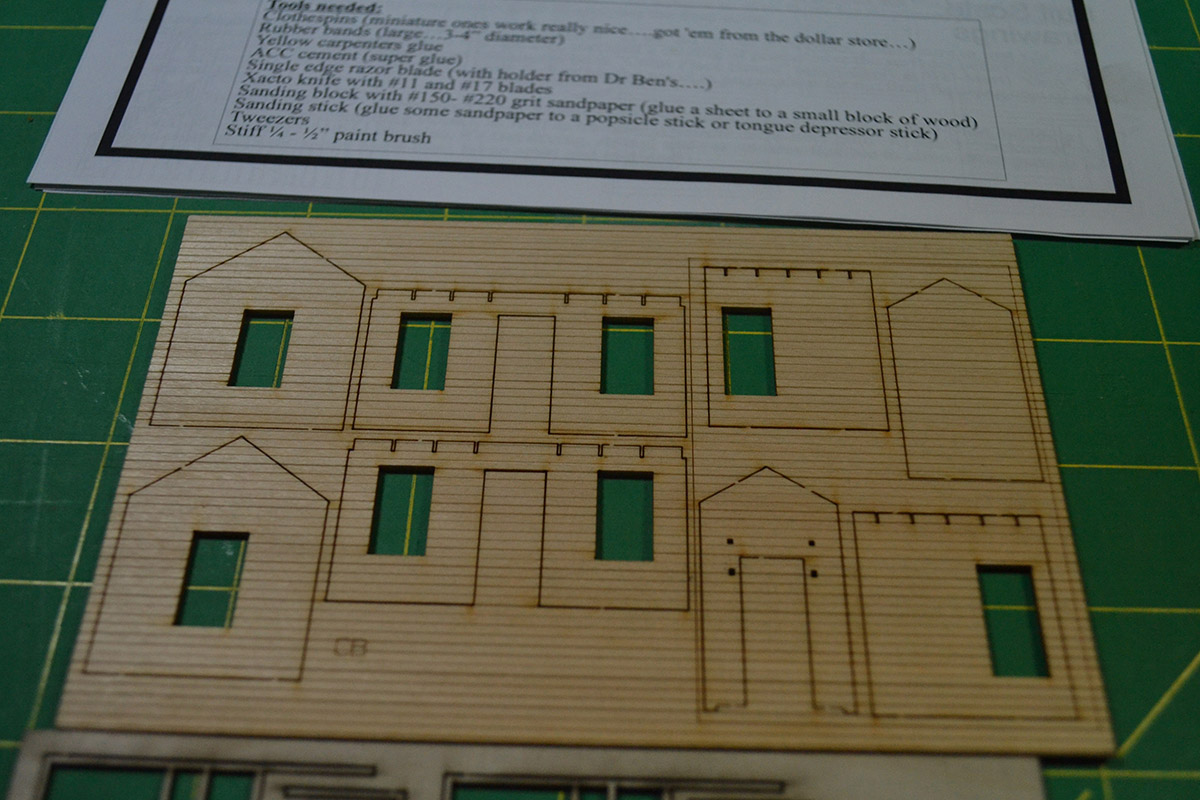
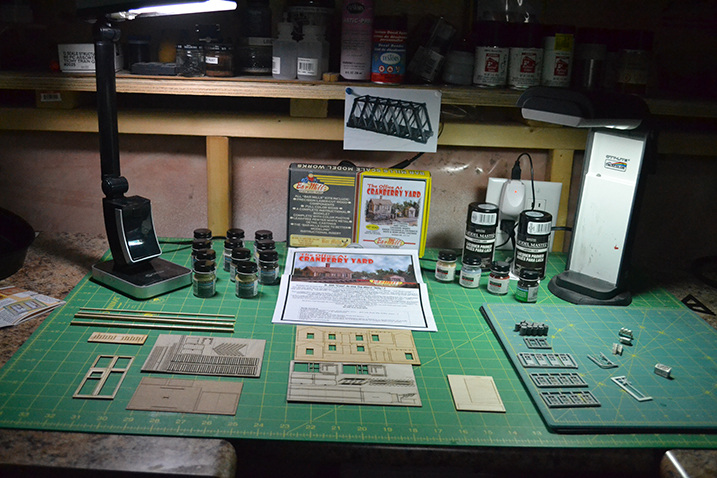
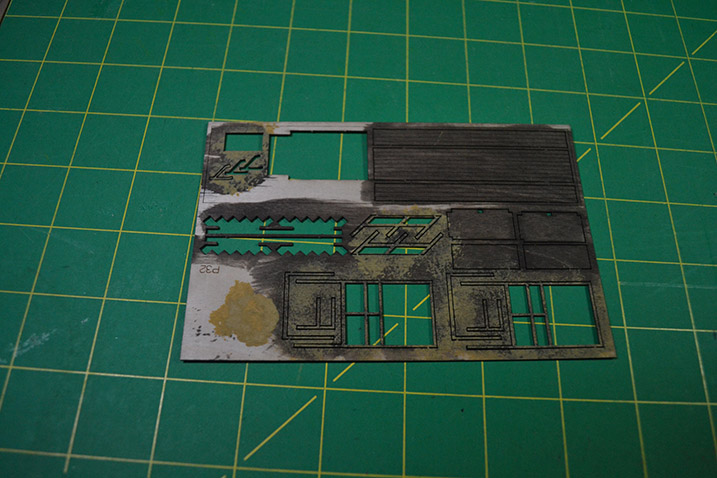
Step 1
Open the Cranberry Yard Kit, lay out the components and gather your supplies.
Step 2
First we need to add texture to the walls of the building. This is done in several steps.
- Using a stiff wire brush we brush across the walls several times, in the same direction the boards run, in order to add a wood grain effect.
- In random locations carve lines over the wall to represent where board ends would meet,
- Next using a small pin or awl, place 2 nail holes on either side of the board ends.
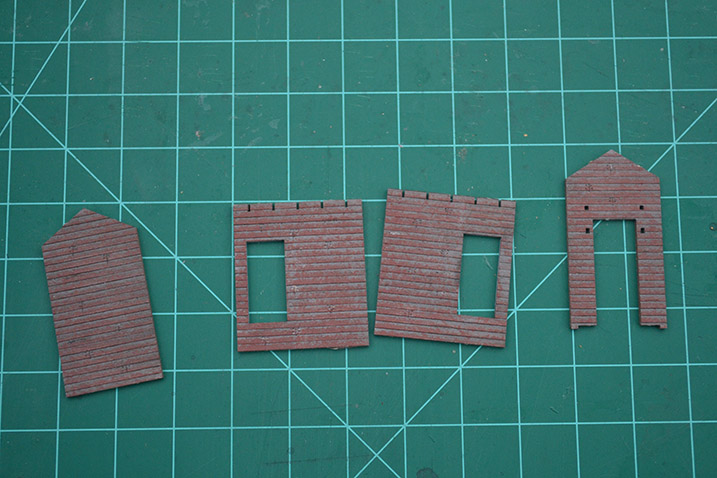
(The details are hard to see here but will show up after priming, sand and weathering)
Step 3
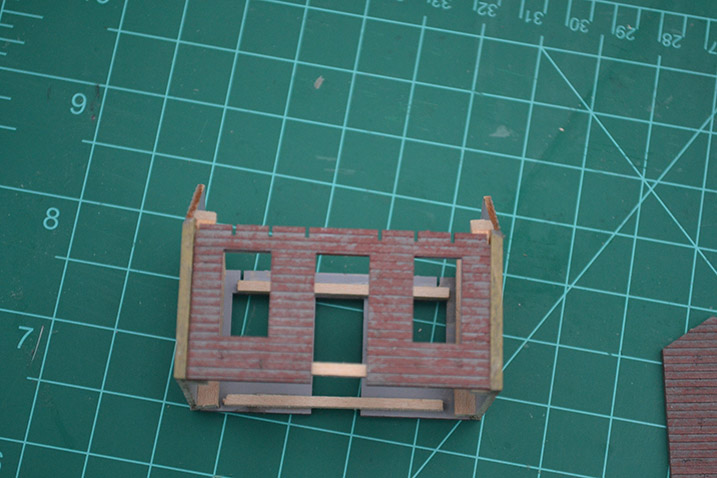
Glue bracing to the interior of the walls. This will reduce the chance of warping. Ensure you read the kit instructions, so you don’t put bracing where structure is going to be added to join the 4 walls together. Let glue dry completely.
Step 4
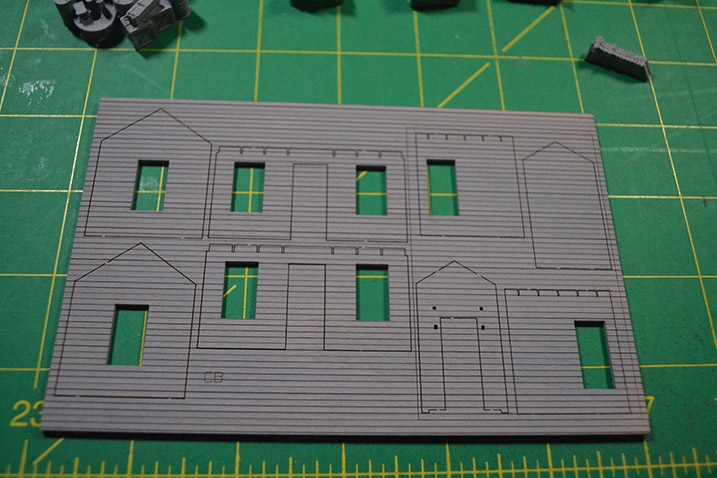
Using Testors’ Gray Primer, prime both the interior and exterior of the walls. This will entice even drying on each side and will also help to eliminate warping.
Step 5
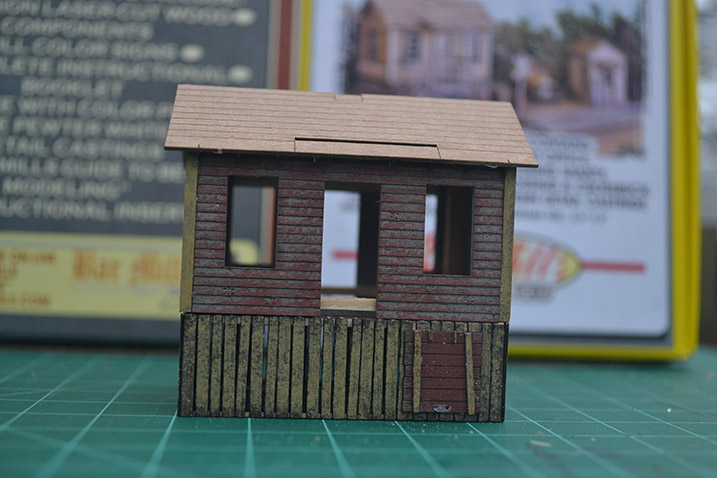
We now add color. I use a method that allows me to control the amount of paint I add to the surface. I use a piece of terry cloth that is dipped into your chosen color. Dab the excess paint off onto a cloth to remove excess paint. By doing this you can control how much of a weathered look you will have. It is easier to add paint than to remove it. Take your time tapping the paint onto the building walls until you get your desired effect. You will notice you can now see the board ends and nail holes we created earlier. I used Boxcar Red as the main color for the walls, then use Depot Buff for the trim.
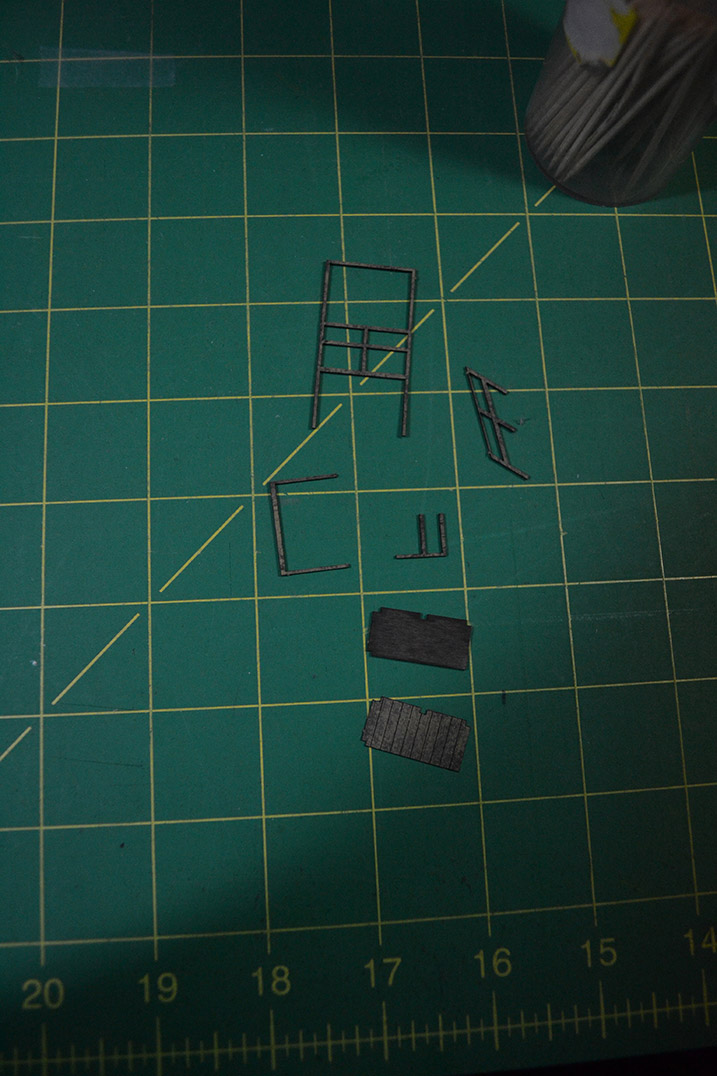
Step 6
Use a hobby knife to cut-out the walls. Assemble the walls per the kit instructions.
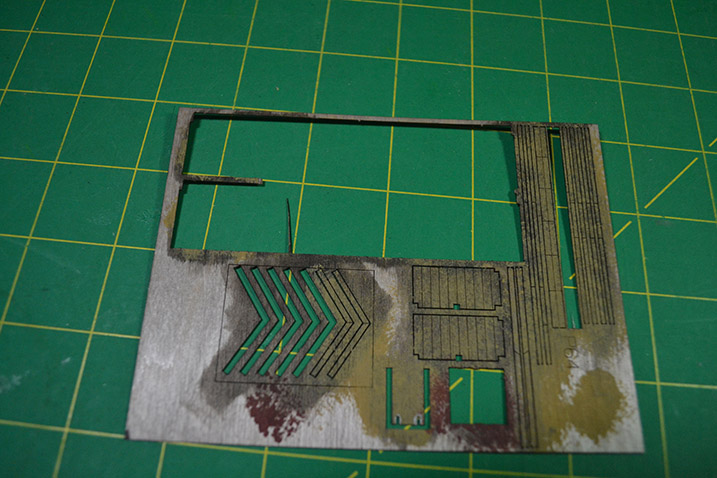
Step 7
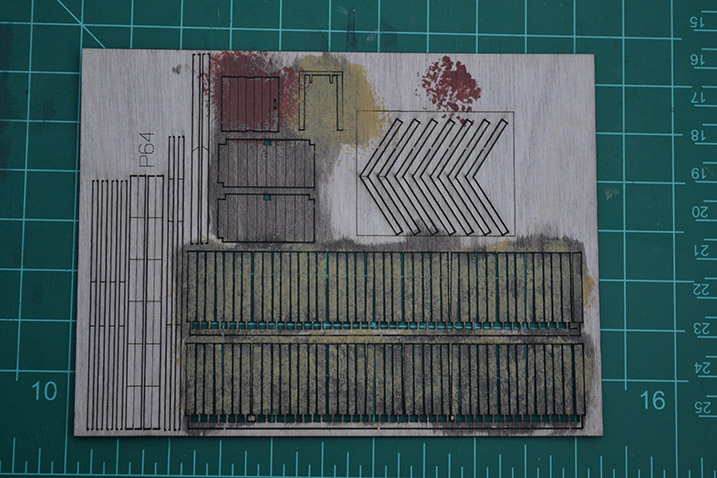
Weather and paint some of the detail parts for the structure. This includes the base, flooring, skirting, etc. Use the same application method to apply the paint and weathering as outlined in step 5. To weather and paint the detail parts, I first covered them with a base of Black Detail Wash. For the pickets under the building, I used Depot Buff and Boxcar red for the hatch. For the steps, I used aged concrete.
Step 8
Cut-out and assemble main building structure, per the kit instructions.
Step 9
Next, paint and weather the windows and doors, as per instructions. I used white for the doors and Reefer gray for the windows. Both received a light coat of Black Detail Wash.
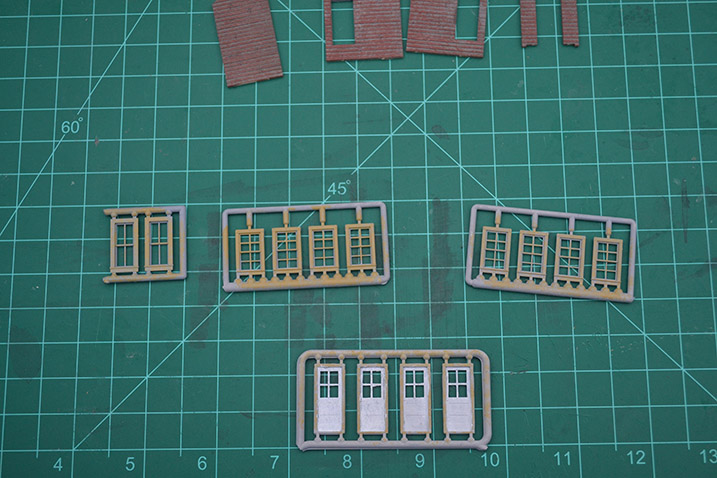
Step 10
Add the windows and doors to the structures
Step 11
Weather and paint the remaining kit pieces using the method outlined in step 5. The remaining pieces received a coat of Black detail wash. After letting it dry, I applied Depot Buff sparingly as per earlier instructions.
Step 12
Assemble all components, as per kit instructions.
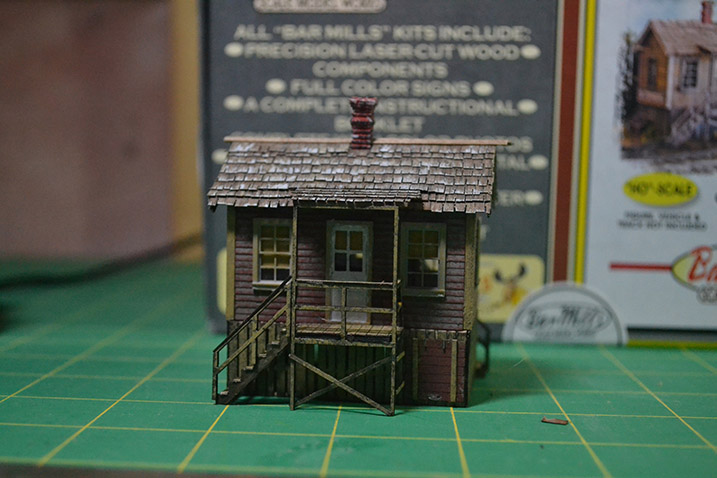
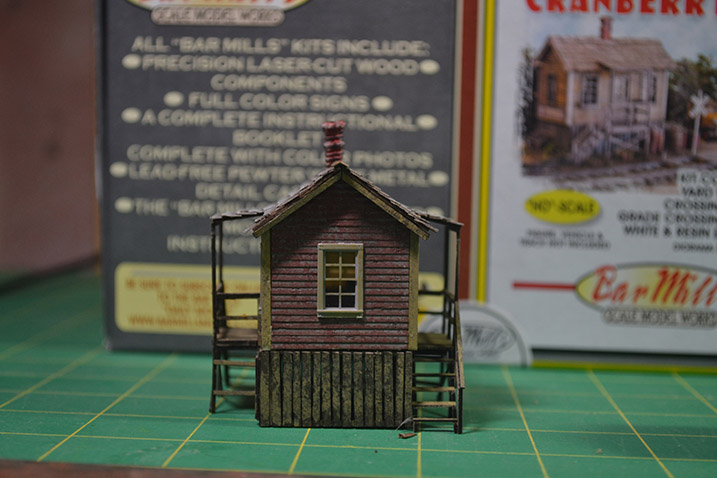

Step 13
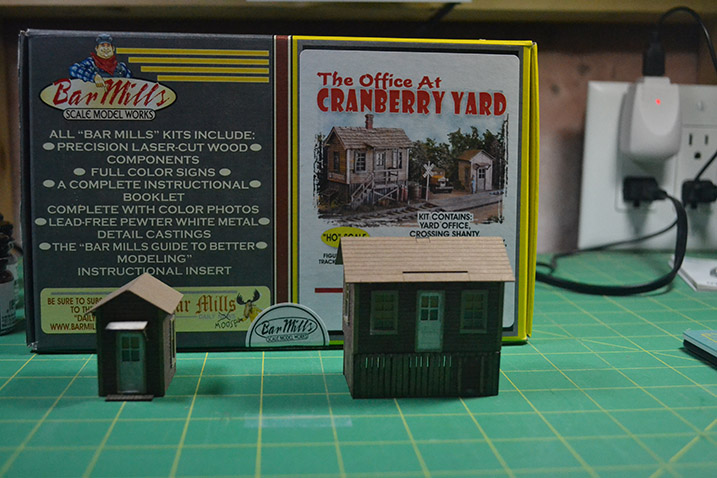
After the cedar shingles were installed on the cabins, using the dry brush method, I applied a thin coating of Roof Brown Flat for contrasting color. Next I added streaks of gray dry brushing downward from the peak to show gray streaks in the shingles. I then applied white in a similar manner, only brushing from the bottom to the top, trying to catch only the bottom edge of the shingles based on your taste. I then glued the structures to a small display made for them and added the necessary scenery to complete. The scenery in the final diorama is a combination of natural supplies collected from the forest, as well as products from Scenic express.

Just a note that the colors I used are my choice. Please use your own choices. The techniques here are not my own but methods I have learned from many of the kind model railroaders I have met along the way. They will work for you as they have for me. Pass these along and Happy Modelling!