Customer Project
Jeep Willys Camo Airbrush Project
Browse Projects
-
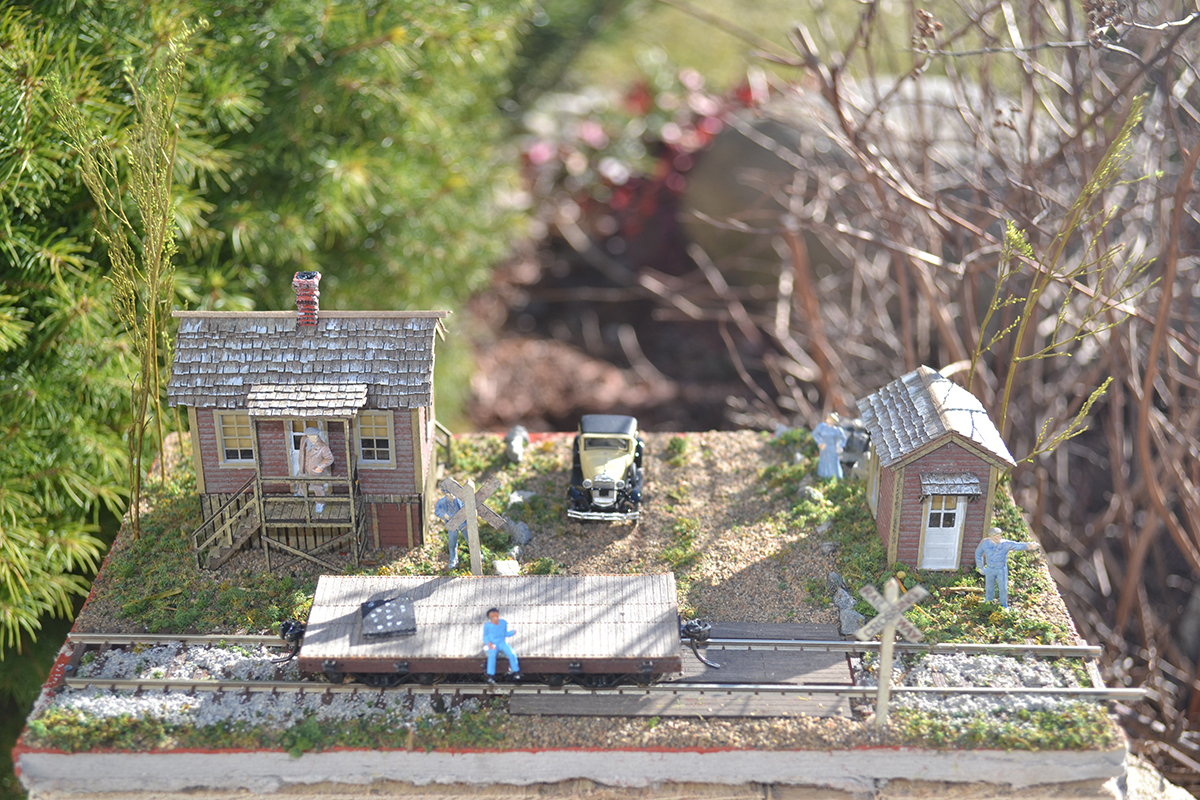
The Office at Cranberry Yard - Diorama
-
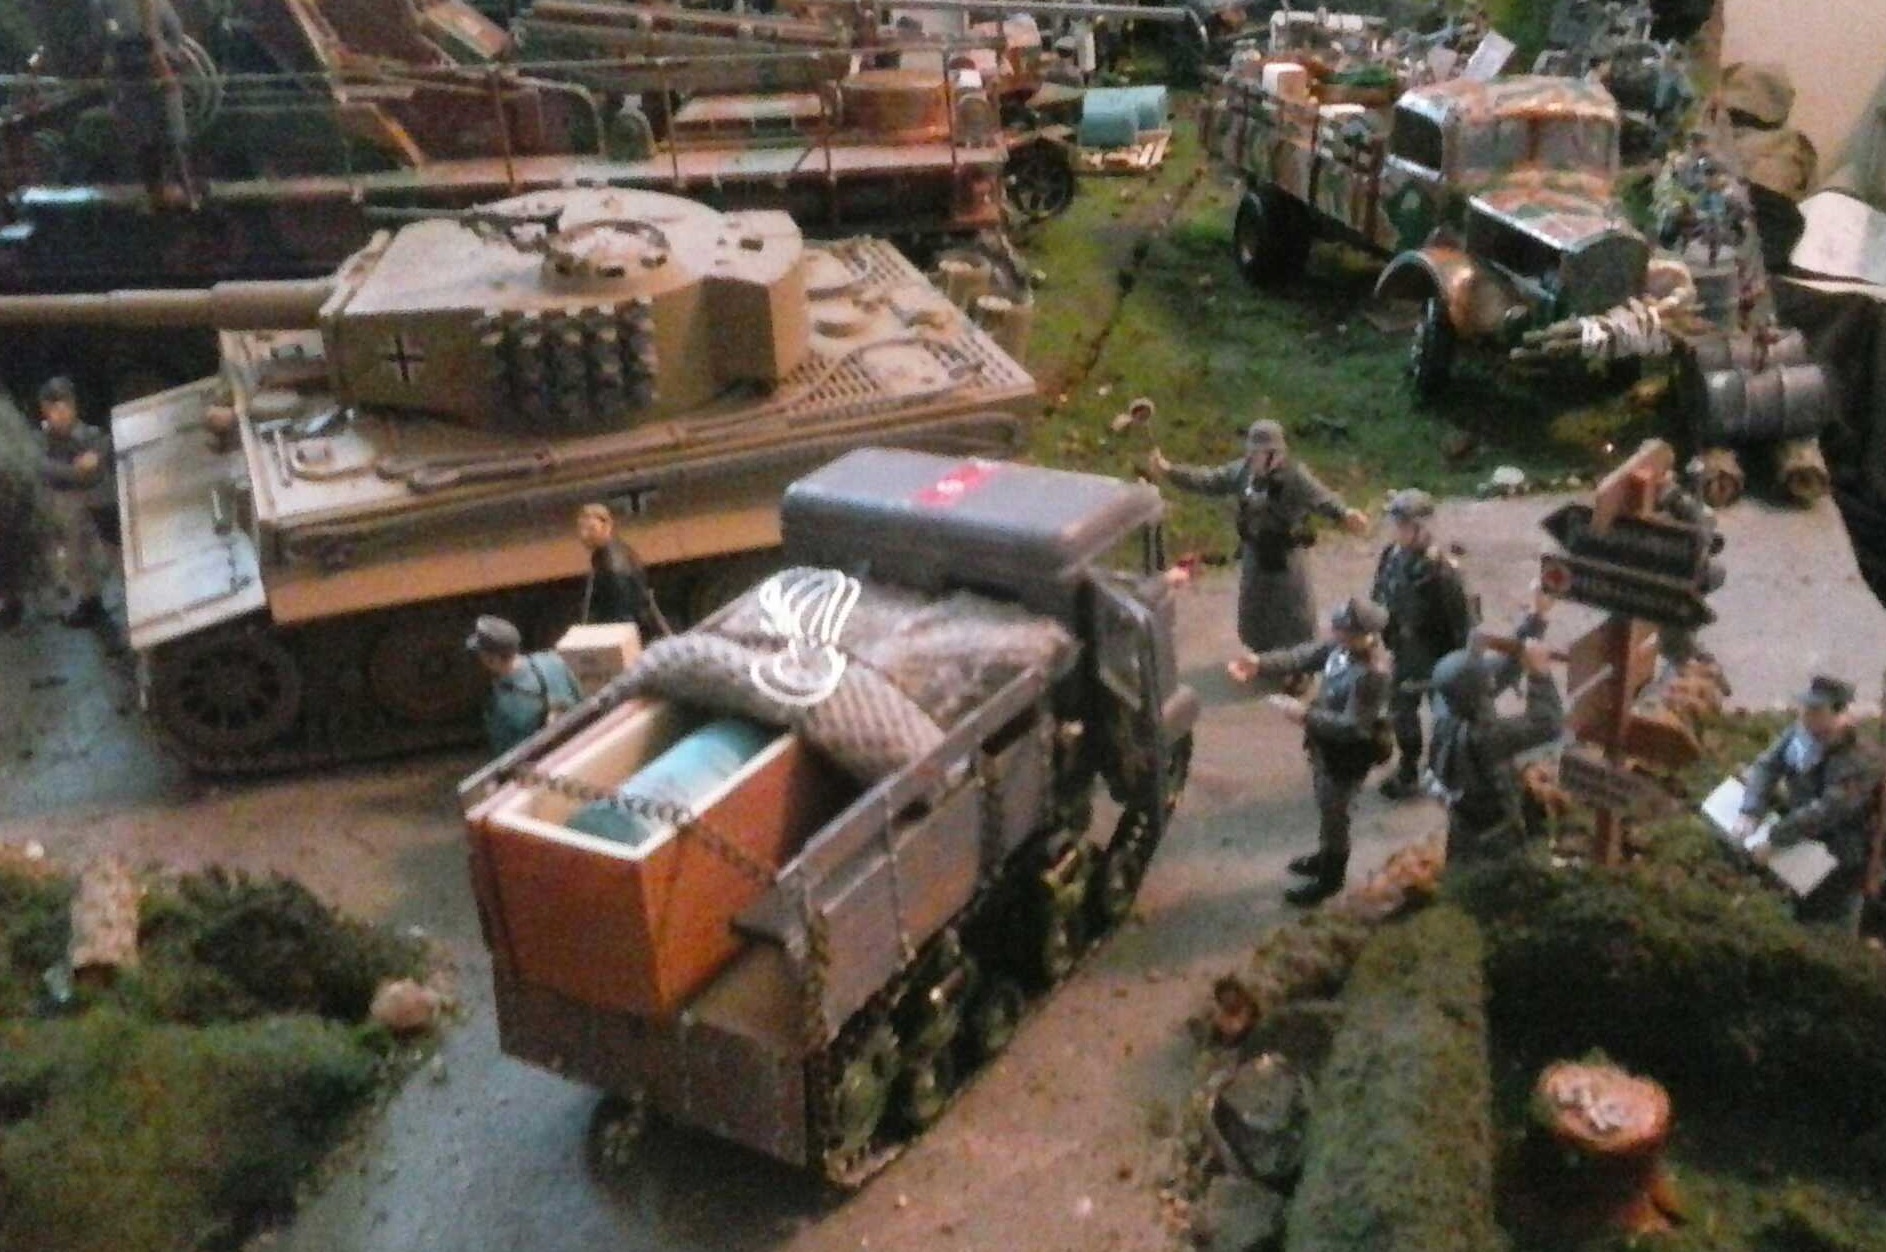
Karl-Device diorama 1/35 scale
-
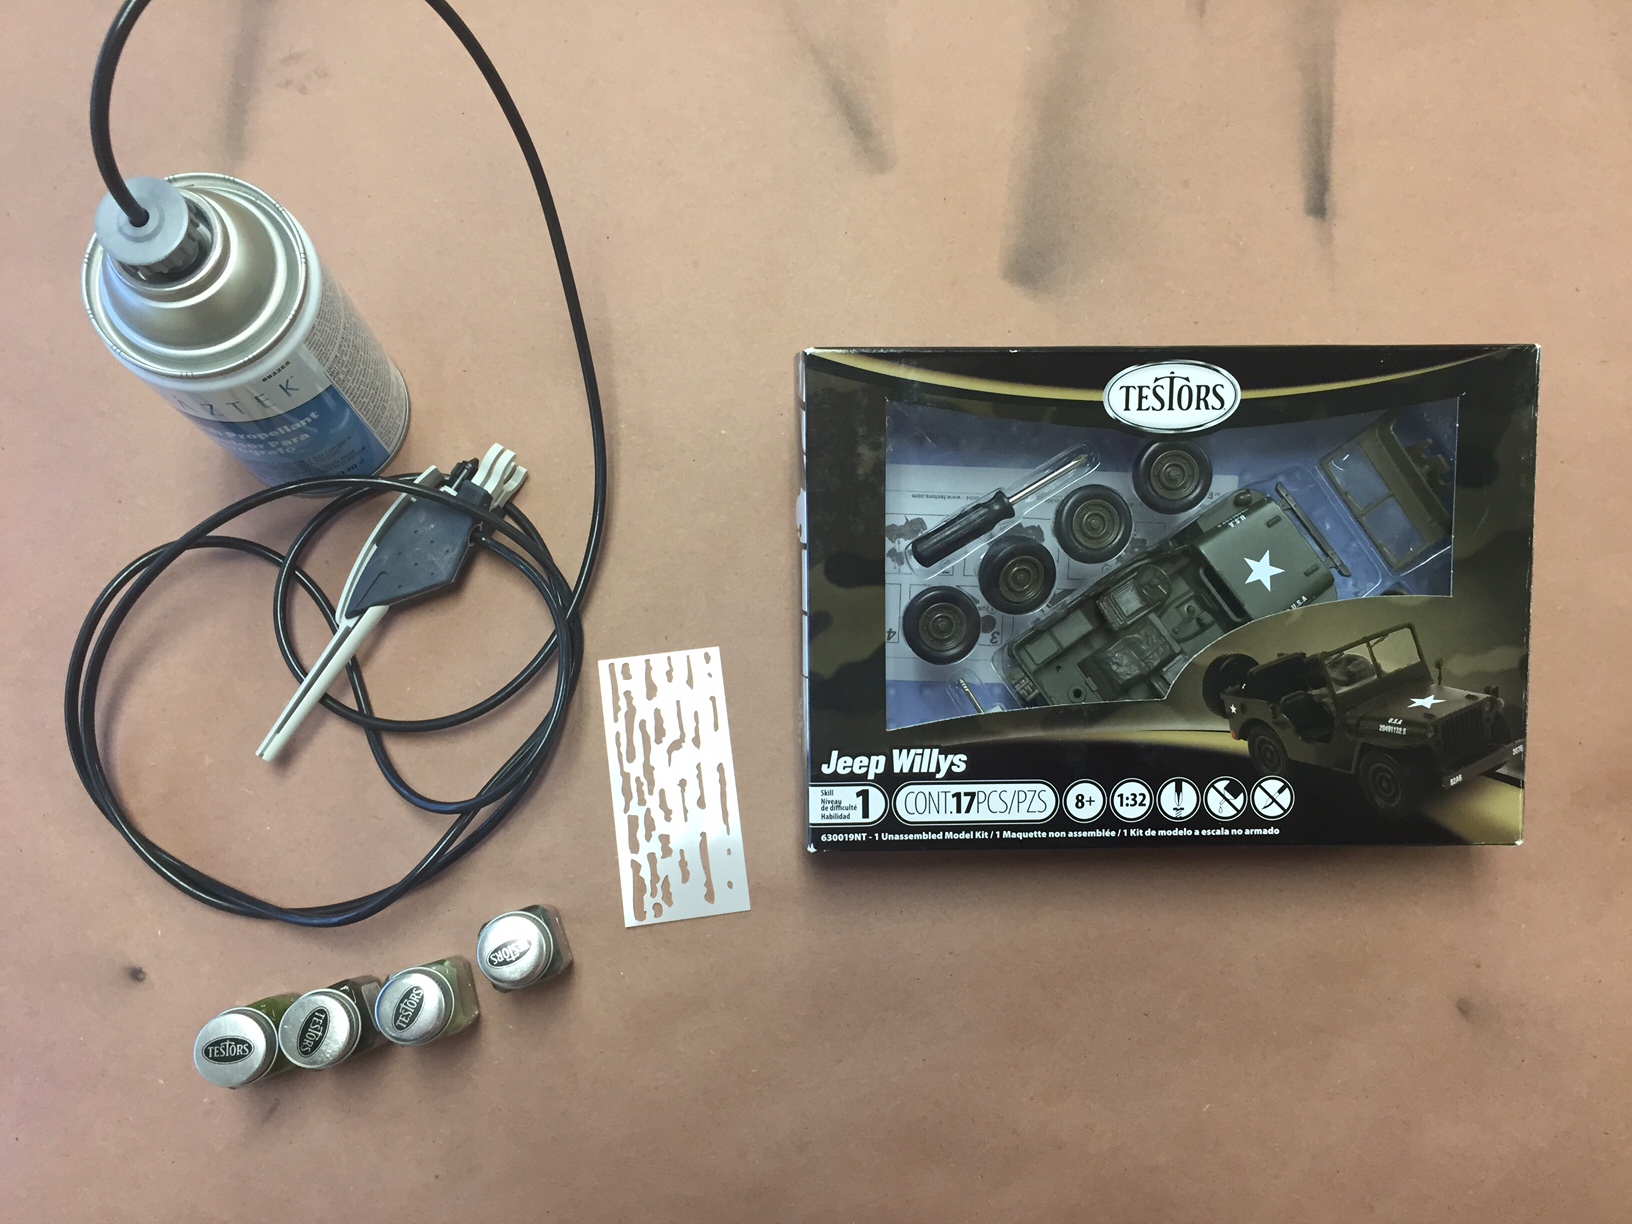
Tools & Supplies:
-
Masking Tape
-
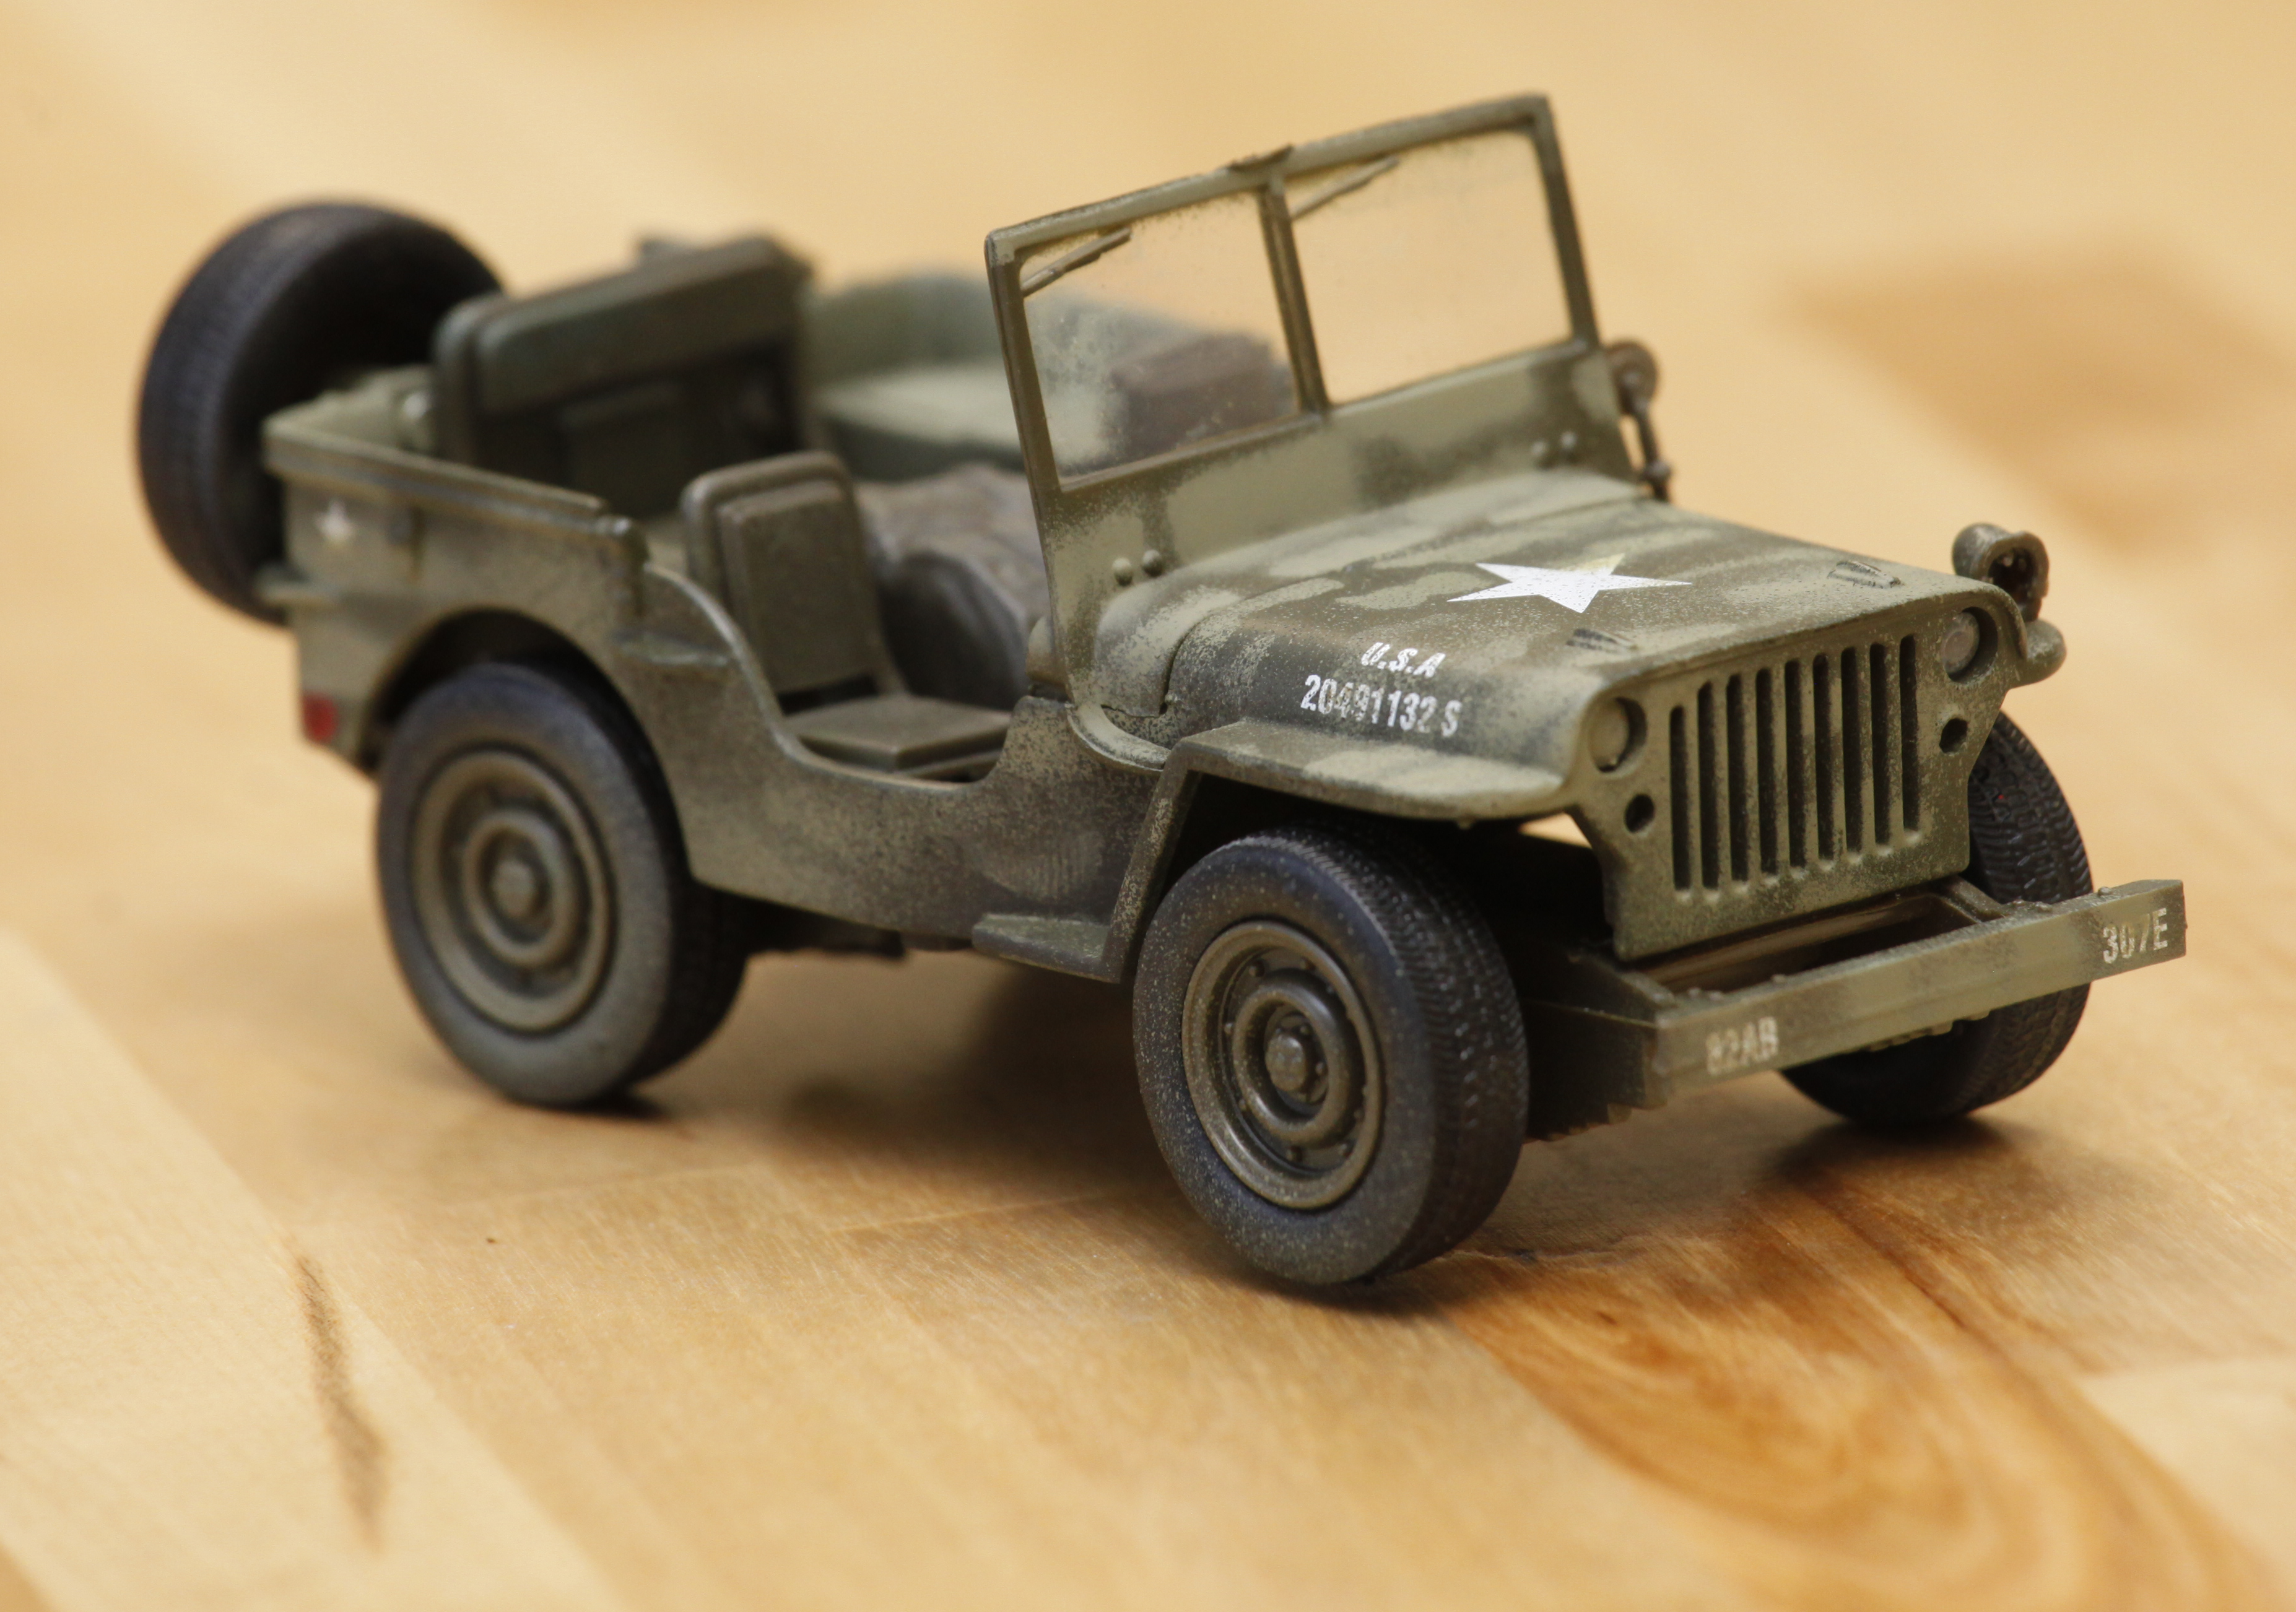
- Using Testors Jeep® Willys® model kit 630019NT, remove the jeep body, front bumper, and windshield parts from model kit.
- Apply masking tape to any parts that you do not want painted (ex, windshield glass, spare tire, Jeep interior).
- Using Testors Amazing Air Camo Airbrush kit, 4034 or 281243, attach the airbrush clip cap (with dip tube inserted) on to the Tan paint bottle.Test the paint flow on a piece of scrap paper by pressing down the airbrush trigger.
- Holding the camo stencil on or slightly above the surface of the jeep, spray your airbrush with brief, repeated sprays until the desired effect is achieved.
- Tip: For softer edges on the camo pattern, hold the stencil slightly above the surface. Likewise, hold the stencil tight to the surface for a sharper pattern. Practice on scrap paper first until you are comfortable. To avoid painting over the decals on the model, position the stencil so that decals are covered by stencil before spraying.
- To add “dirt” to the tires, lay the tires on scrap paper and spray your airbrush just below the tires, allowing some of the overspray to lightly spray the tires (while not spraying directly at them).
- Allow to dry and then assemble the model per the instructions.